Workshop Refurbishment
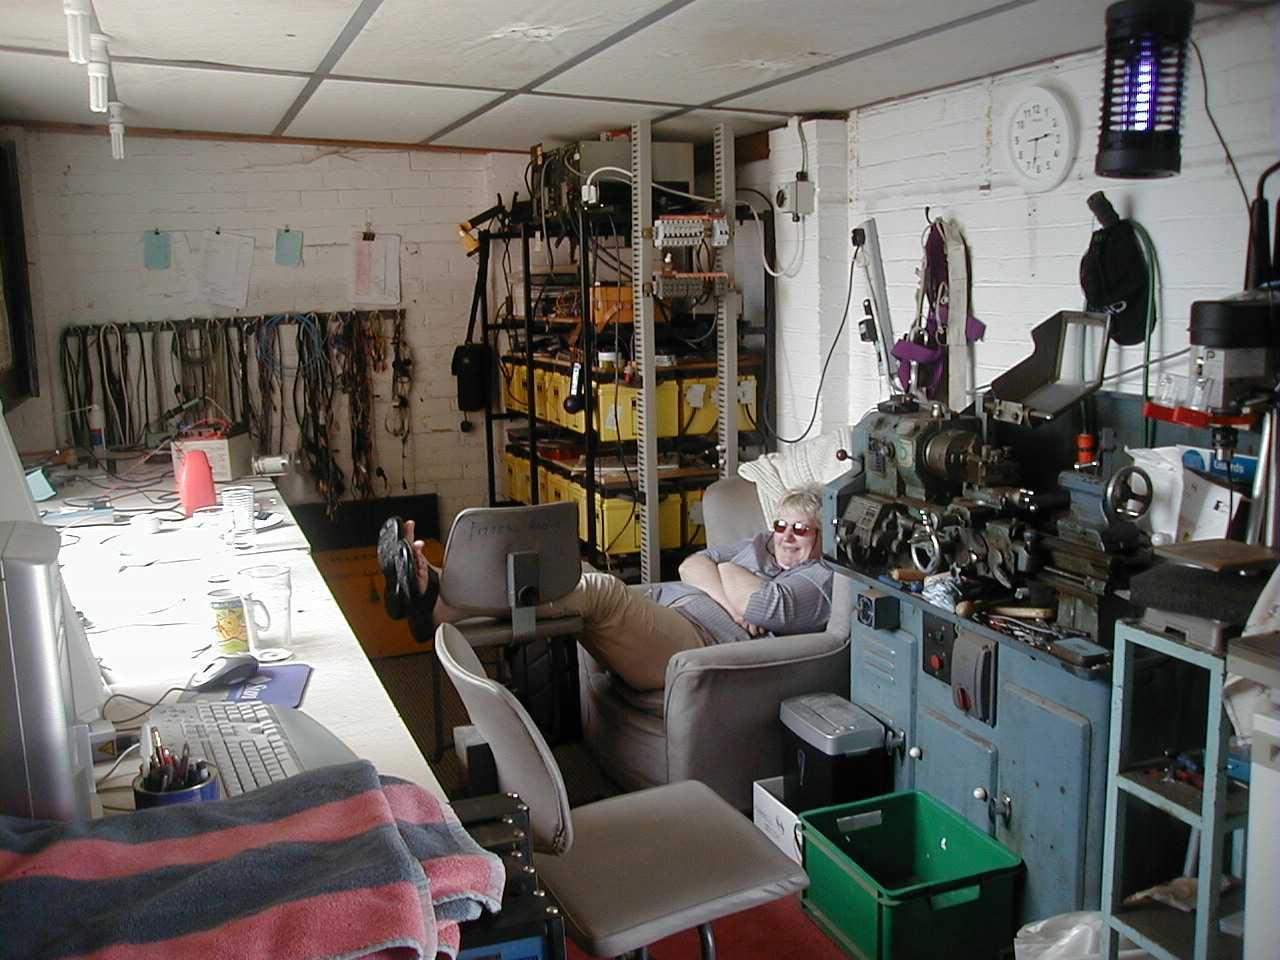
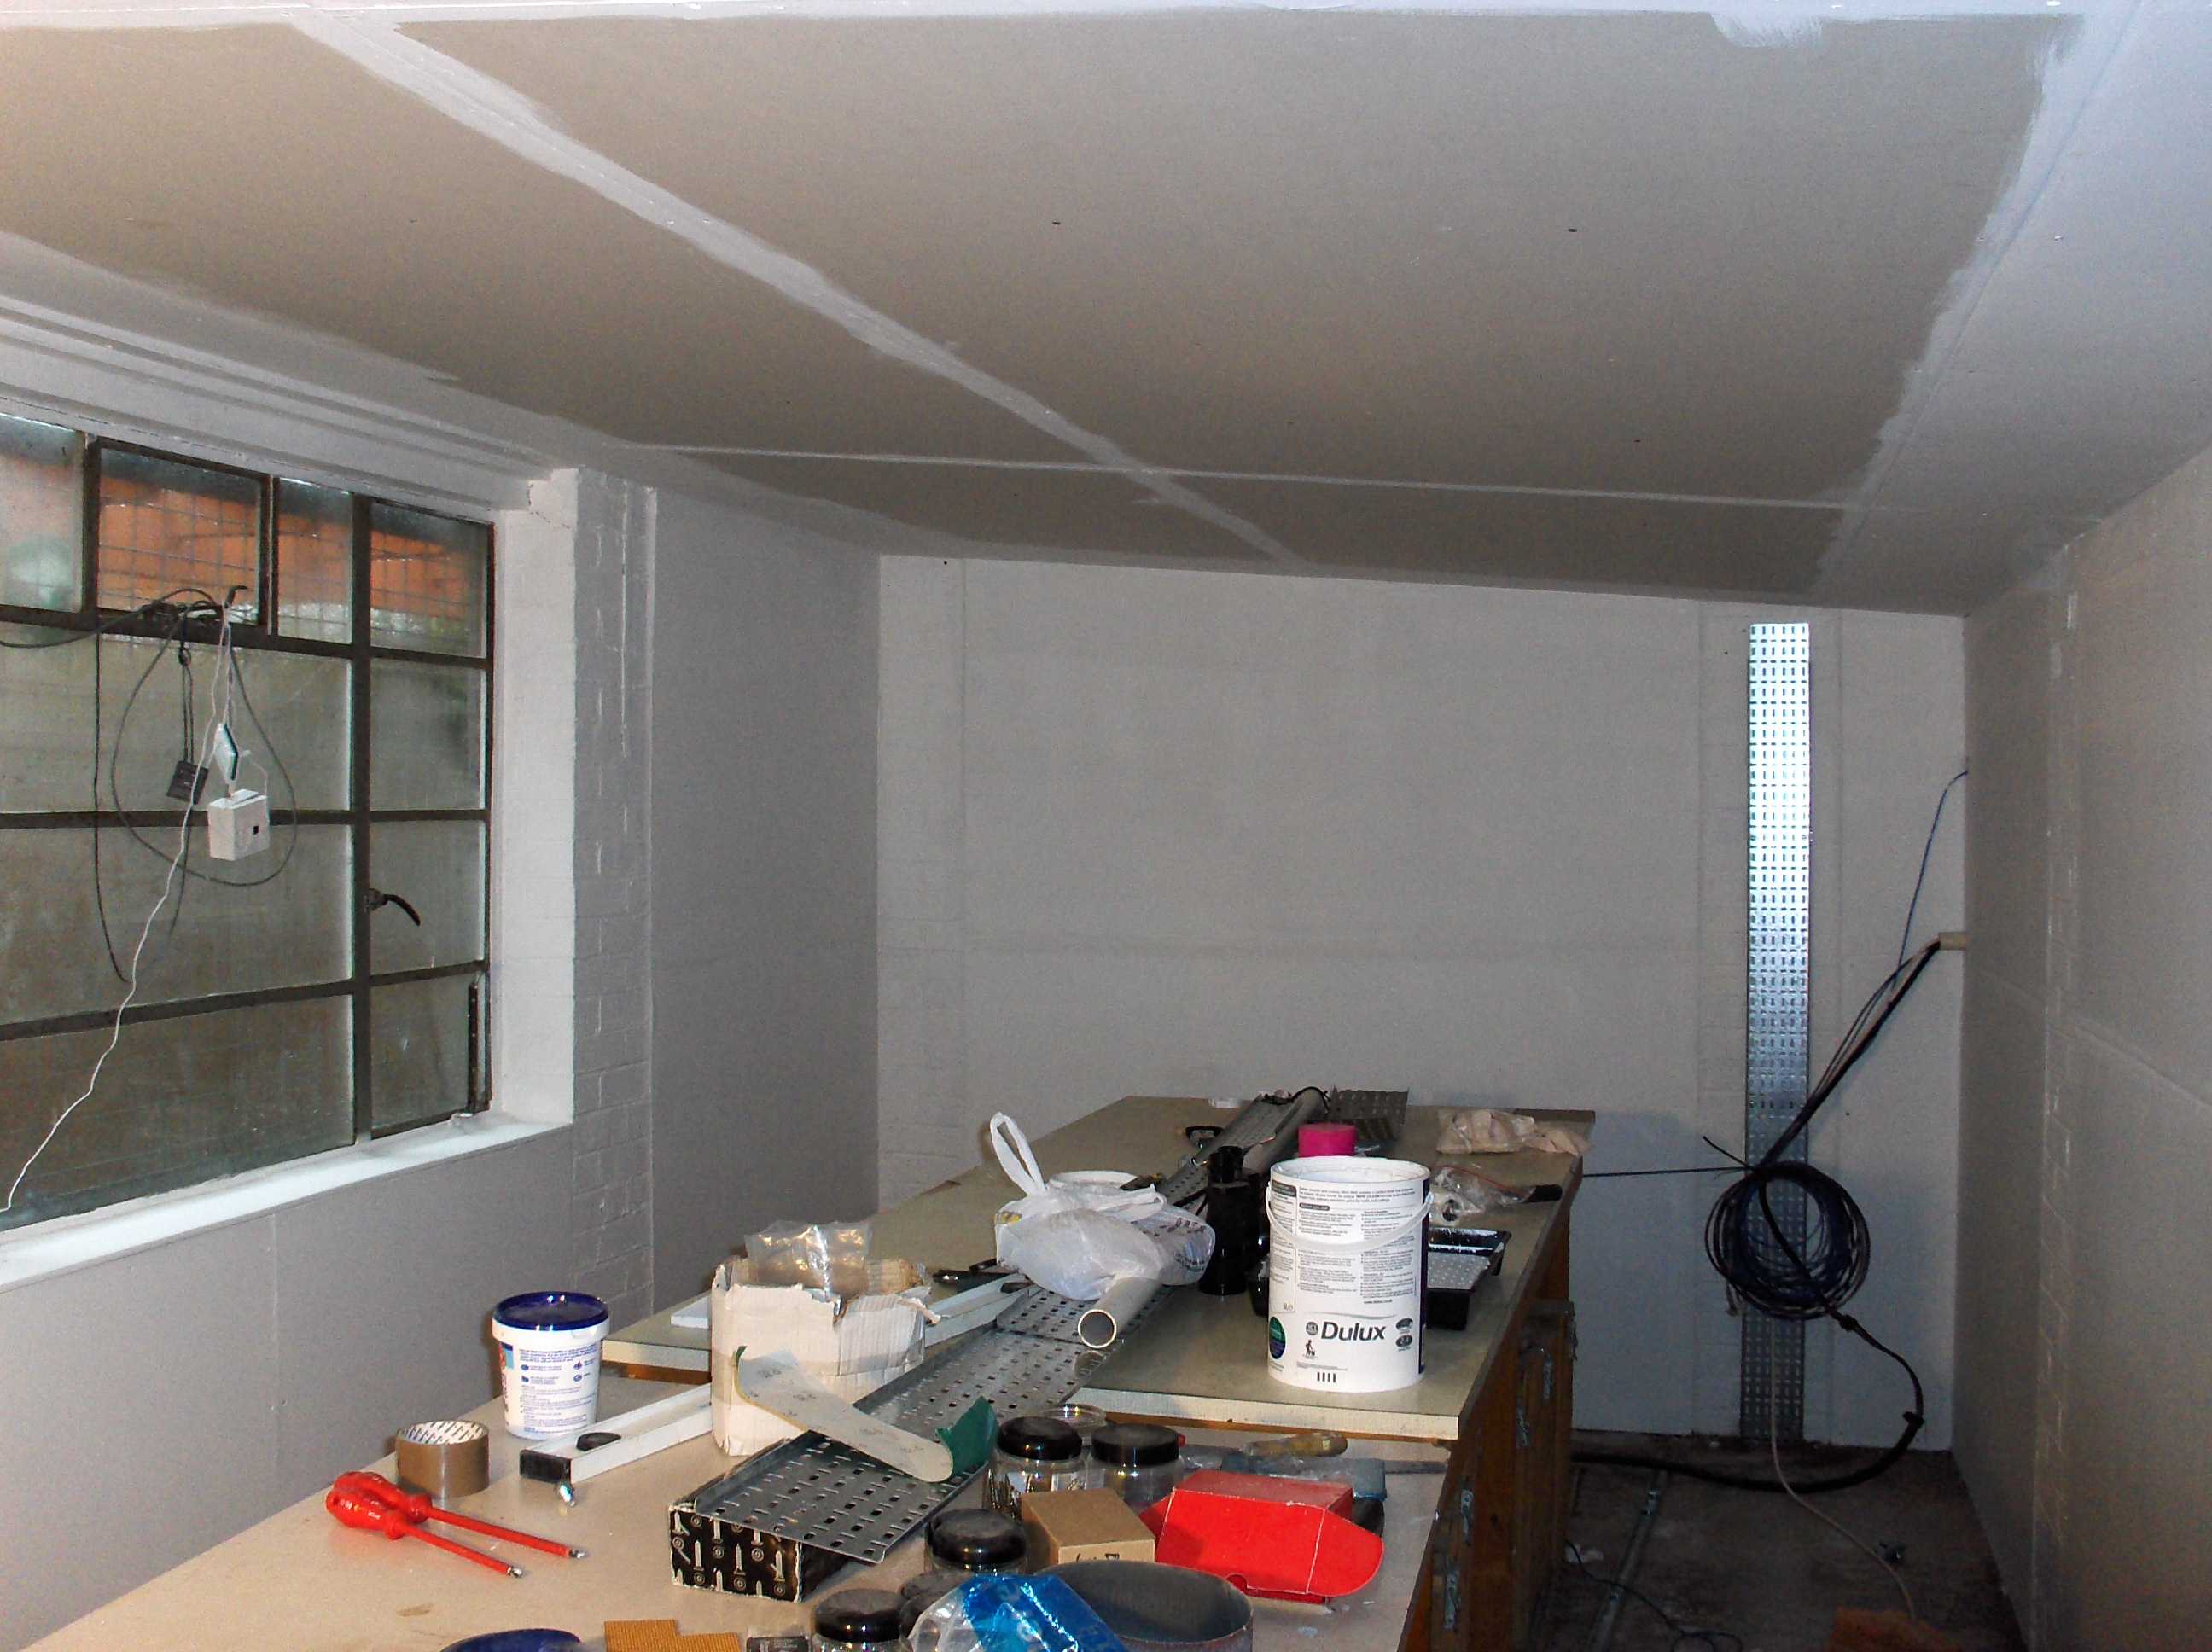
This is the workshop as it first was. That is Susie in the chair keeping me company. Note the false ceiling brick wall and generally grubby appearance (It's a workshop) Anyway this job statred out as a rewire. But I had toyed with the idea of dry lining the walls as it gets damn cold in the winter and cost a fortune to keep warm. After putting some cable tray up I decided if i was going to do the dry lineing NOW was time. So I had better get on with it.
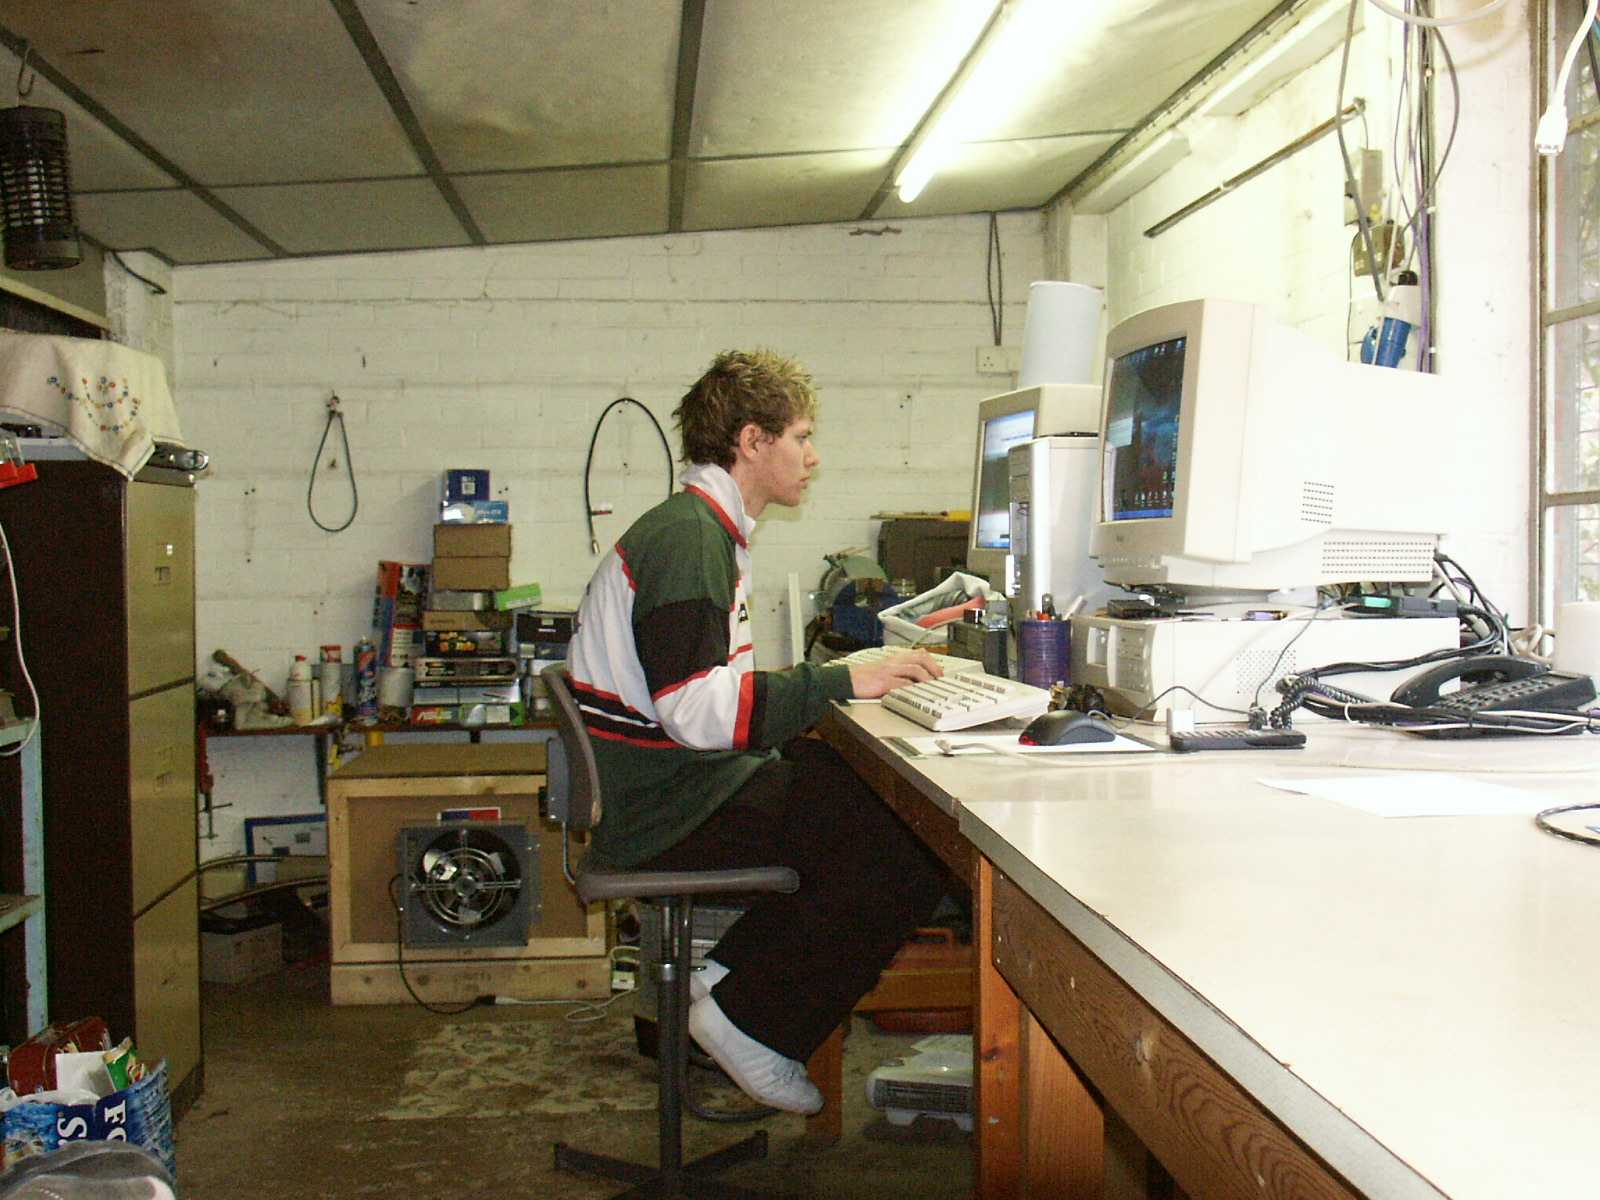
This is the other end of the workshop (with rob looking very studious) note there is no door to the freezer room.
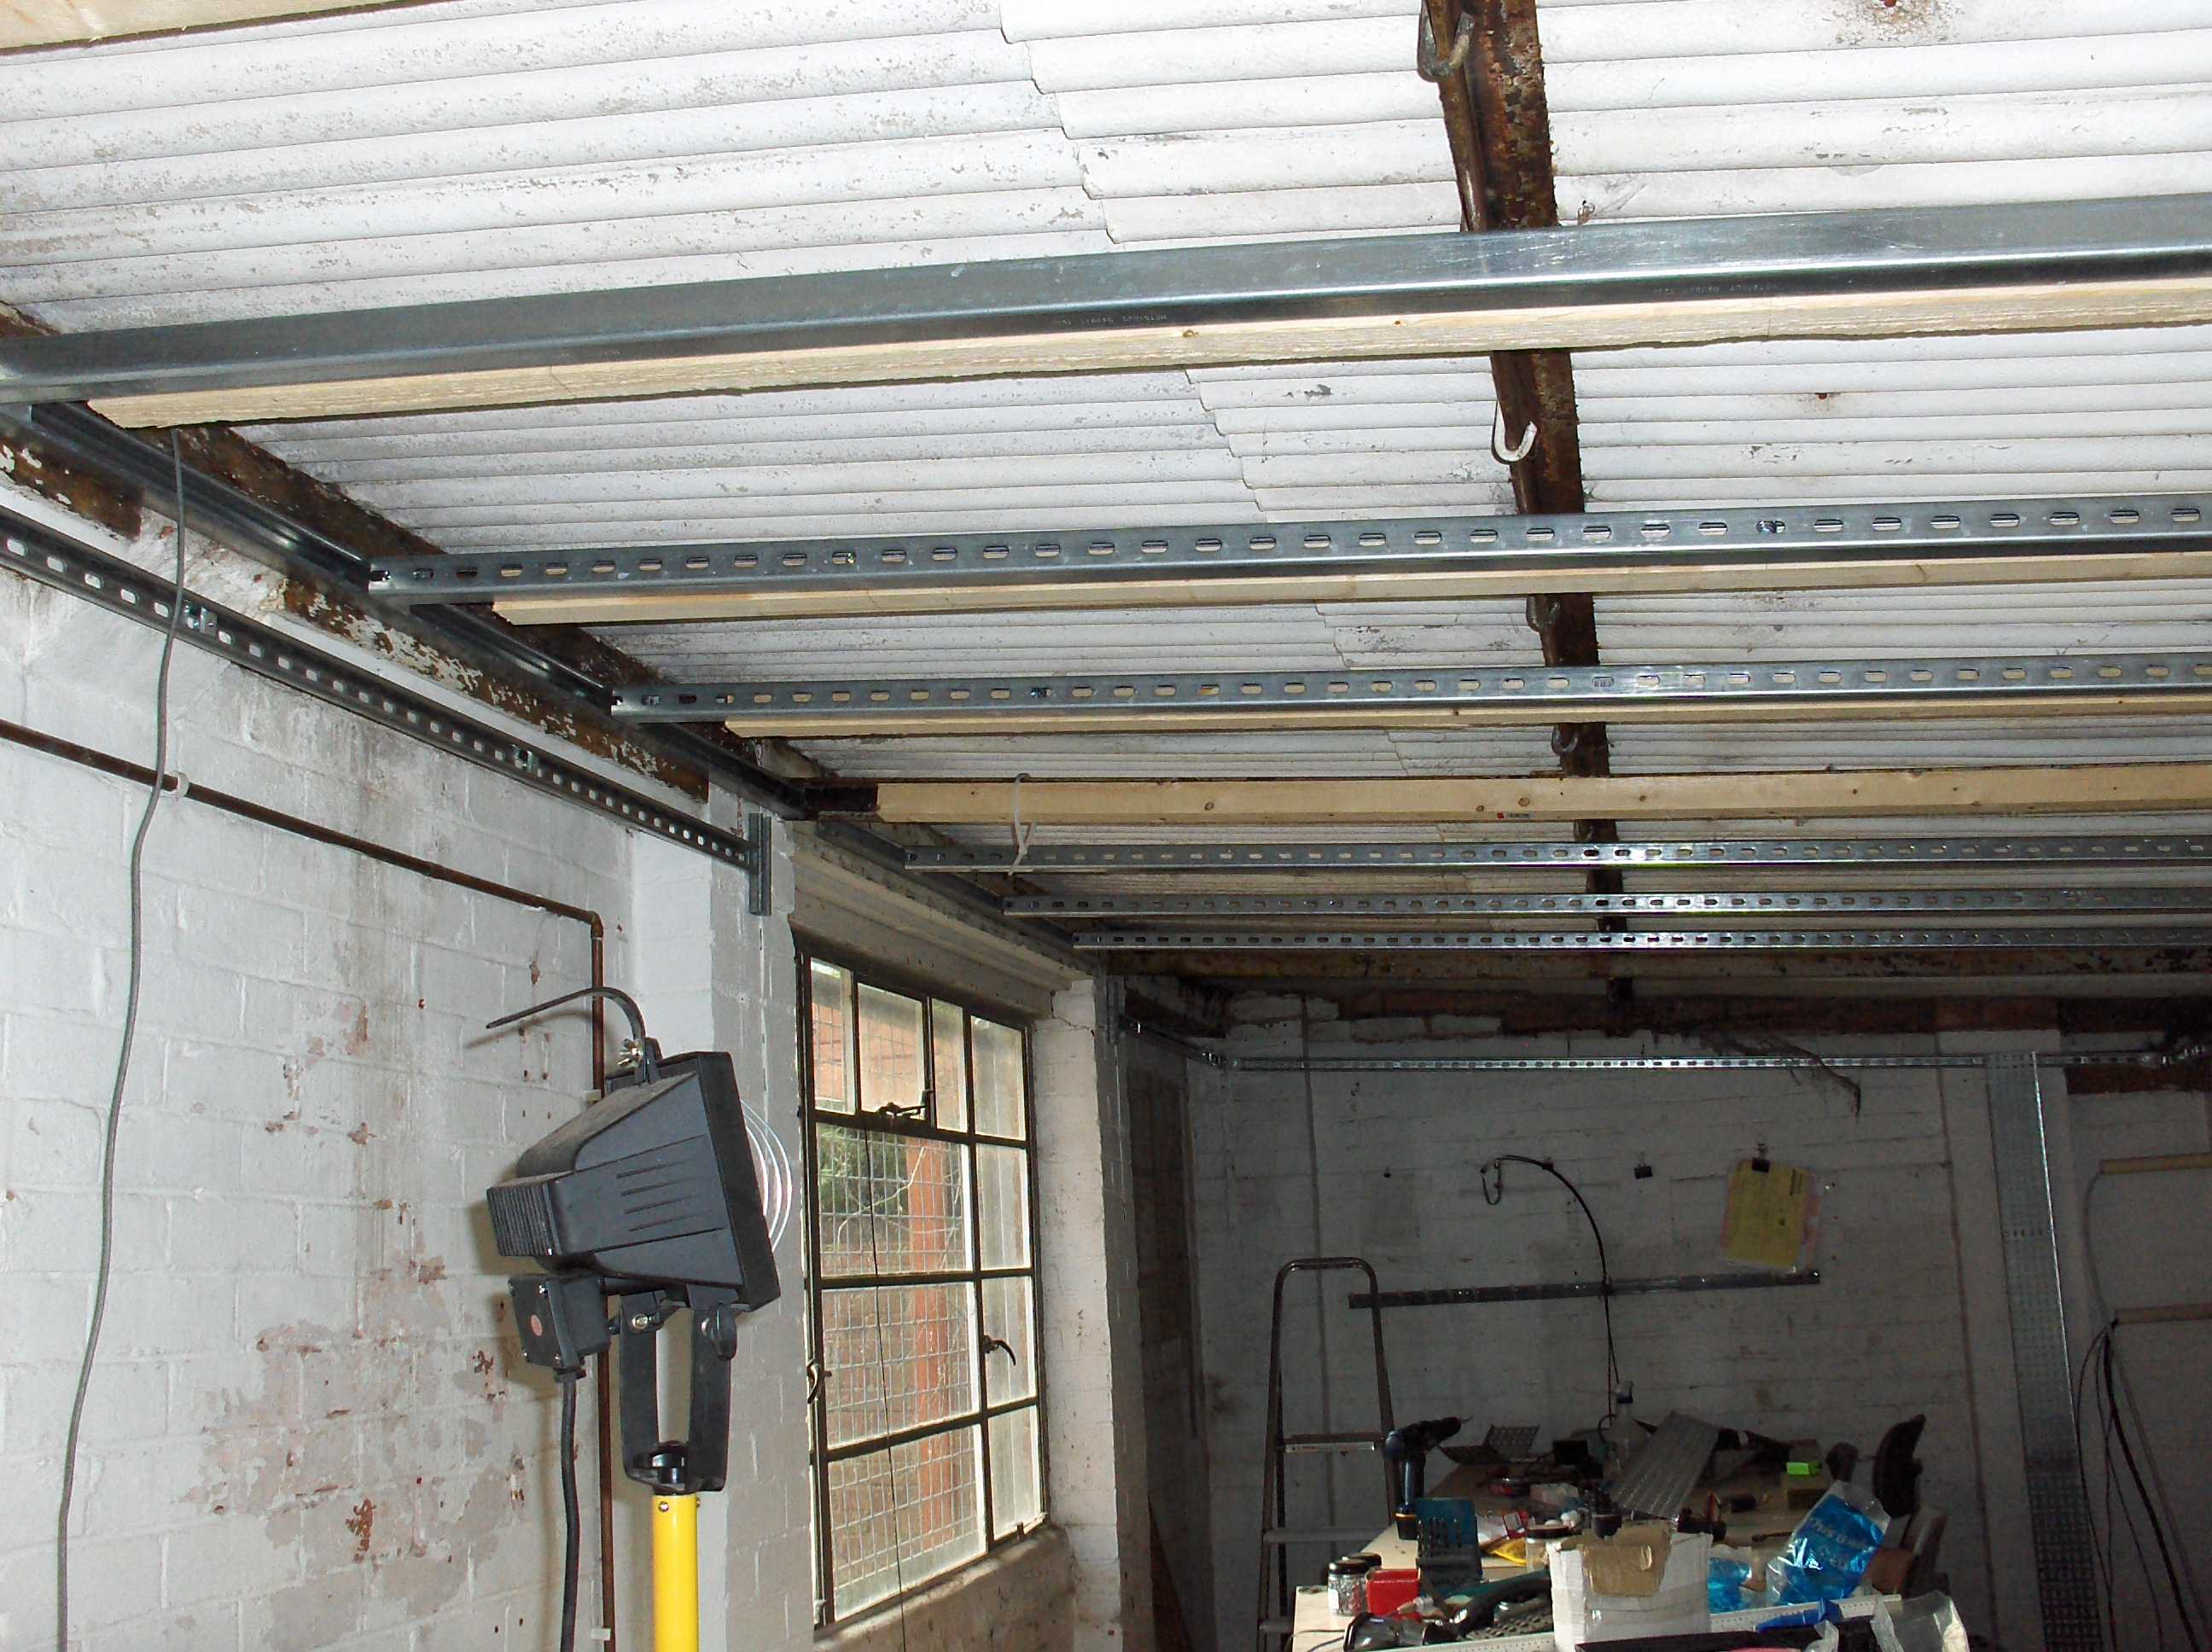
I wanted a plasterboard ceiling they are clean tidy and strong, but alass they are heavy and need a good supporting structure. The roof is not very high and the space available is very limited.. i.e. not room enough to put up some 4x2 and fix the plasterboard to it. So I had to give the supporting structure some thought as to How i was going to privide the strength and keep the size down. I decided on Unitstrut and 2x2 as you can see in this picture. Why Unistrut? i have used it many times and it is strong and VERY easy to work with.
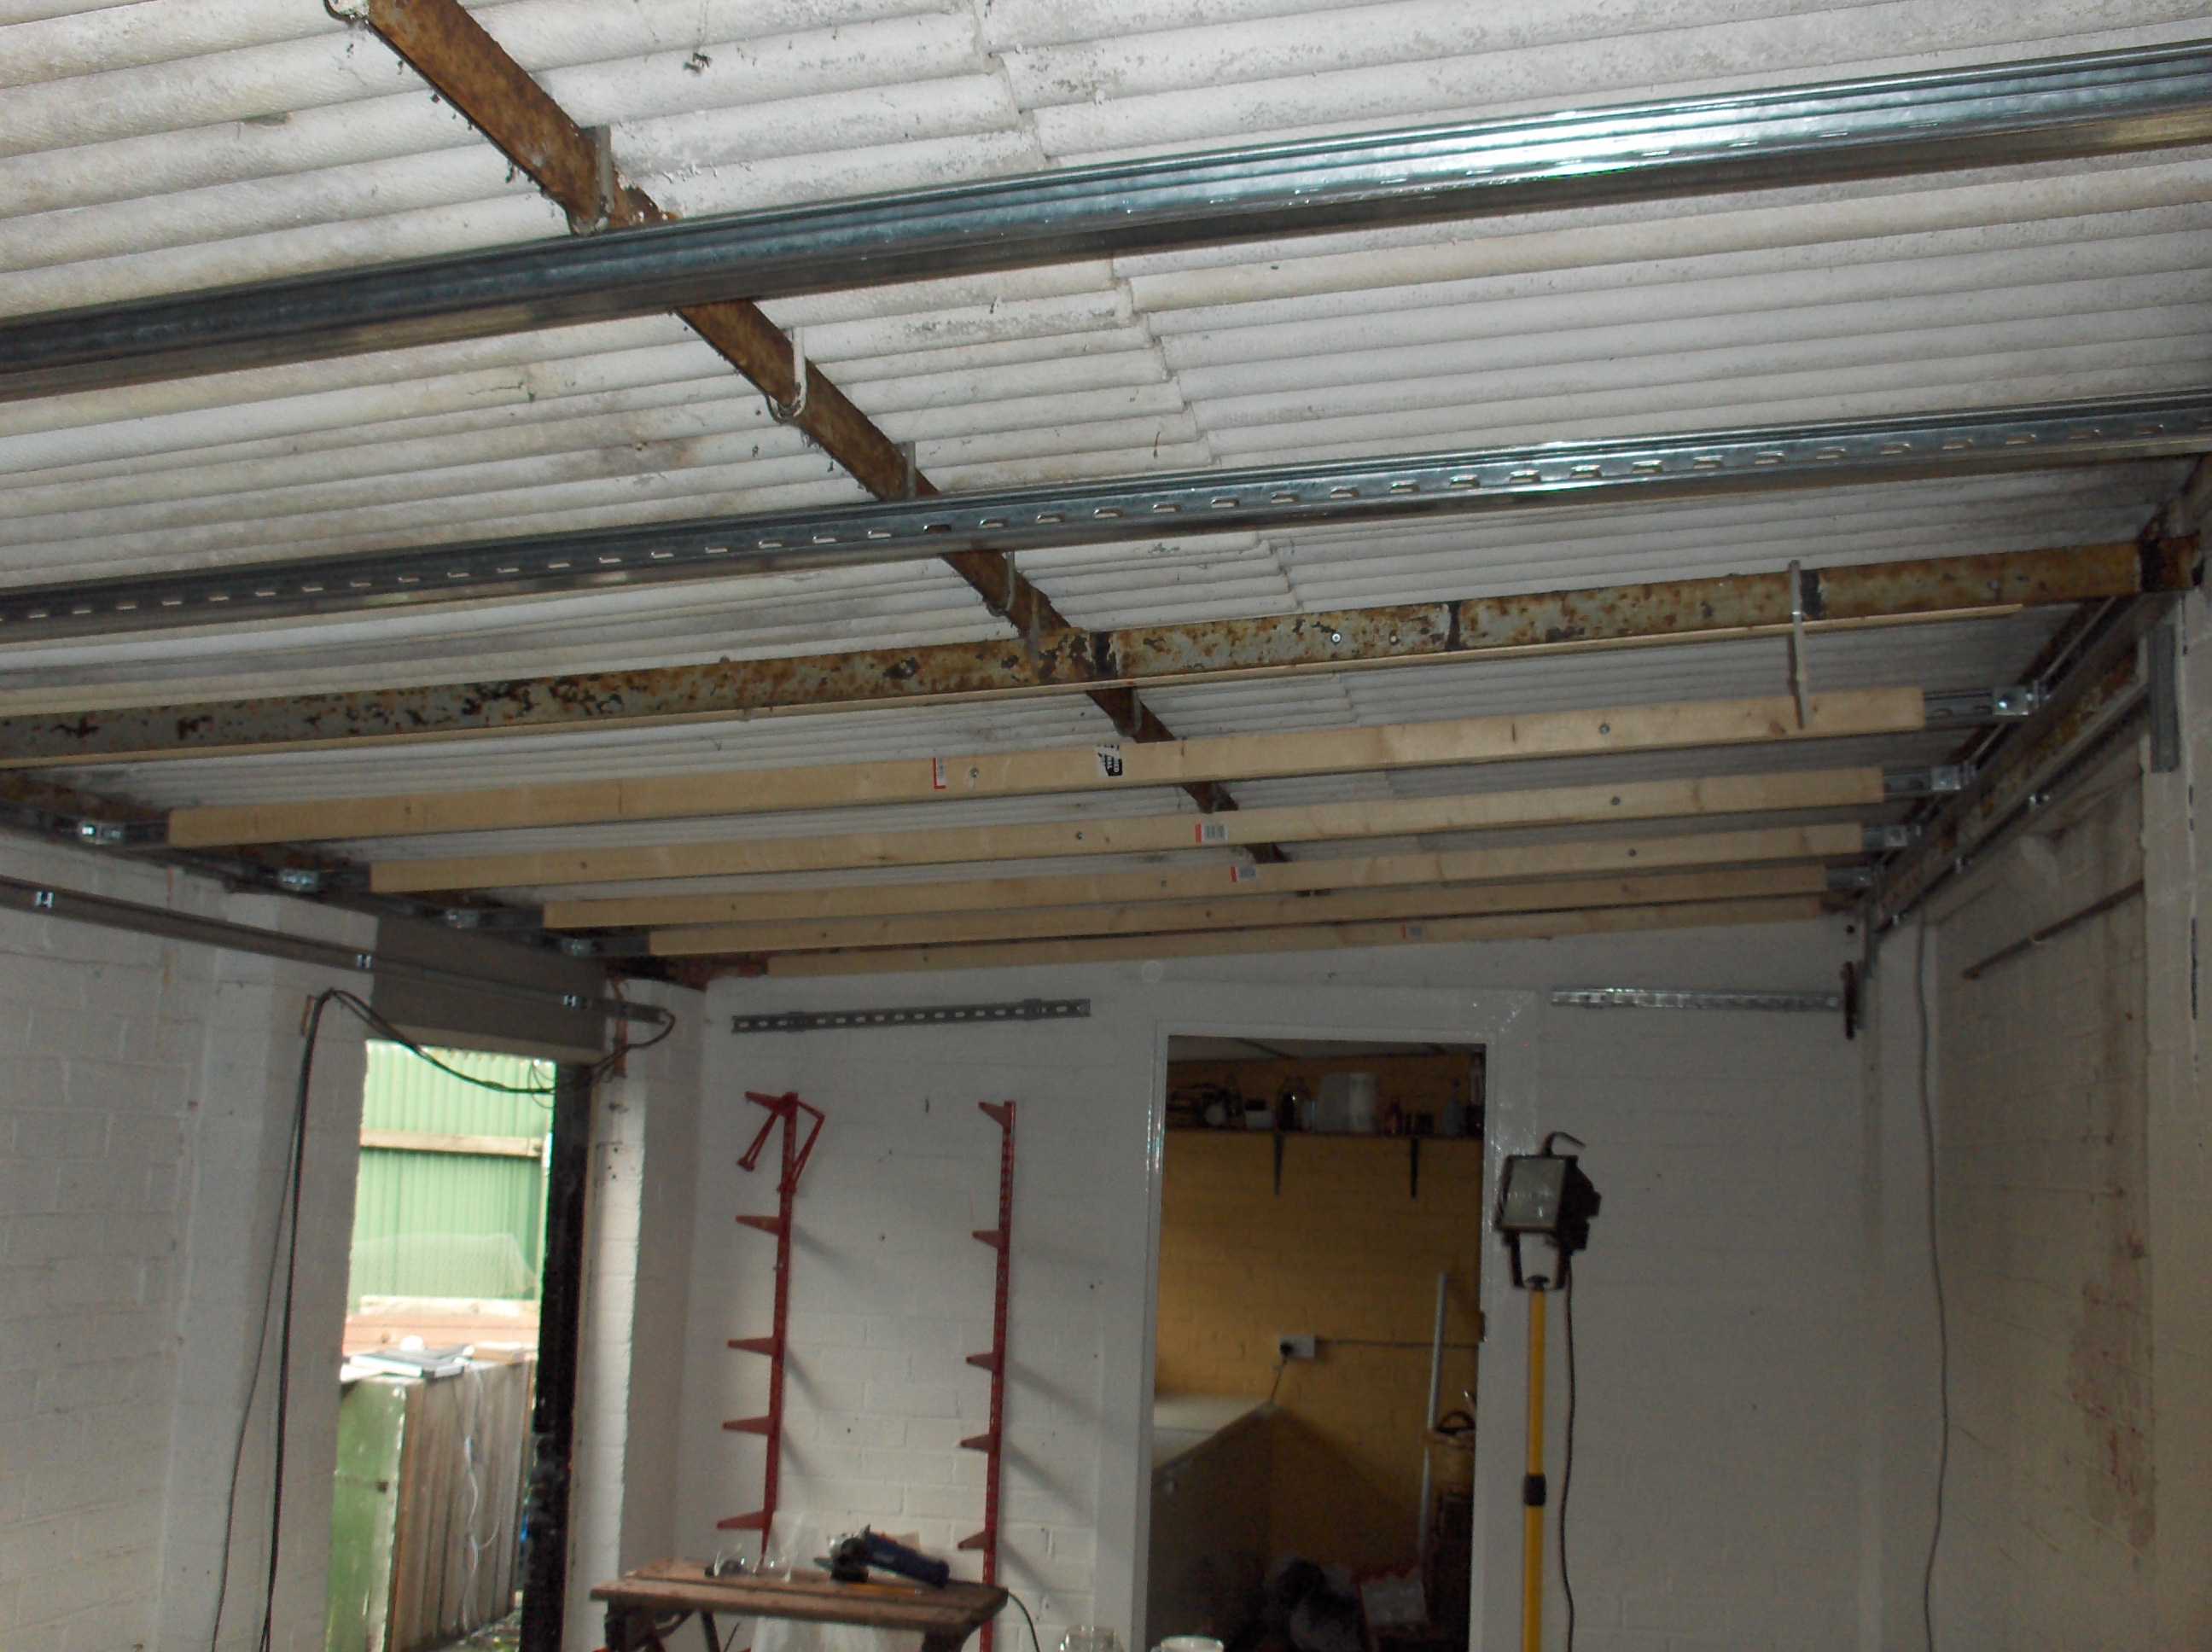
You can see in this one the unistrut up and i am placeing the 2x2 timbers on it to screw the plasterboard to it. You can also see the new door into the freezer room.
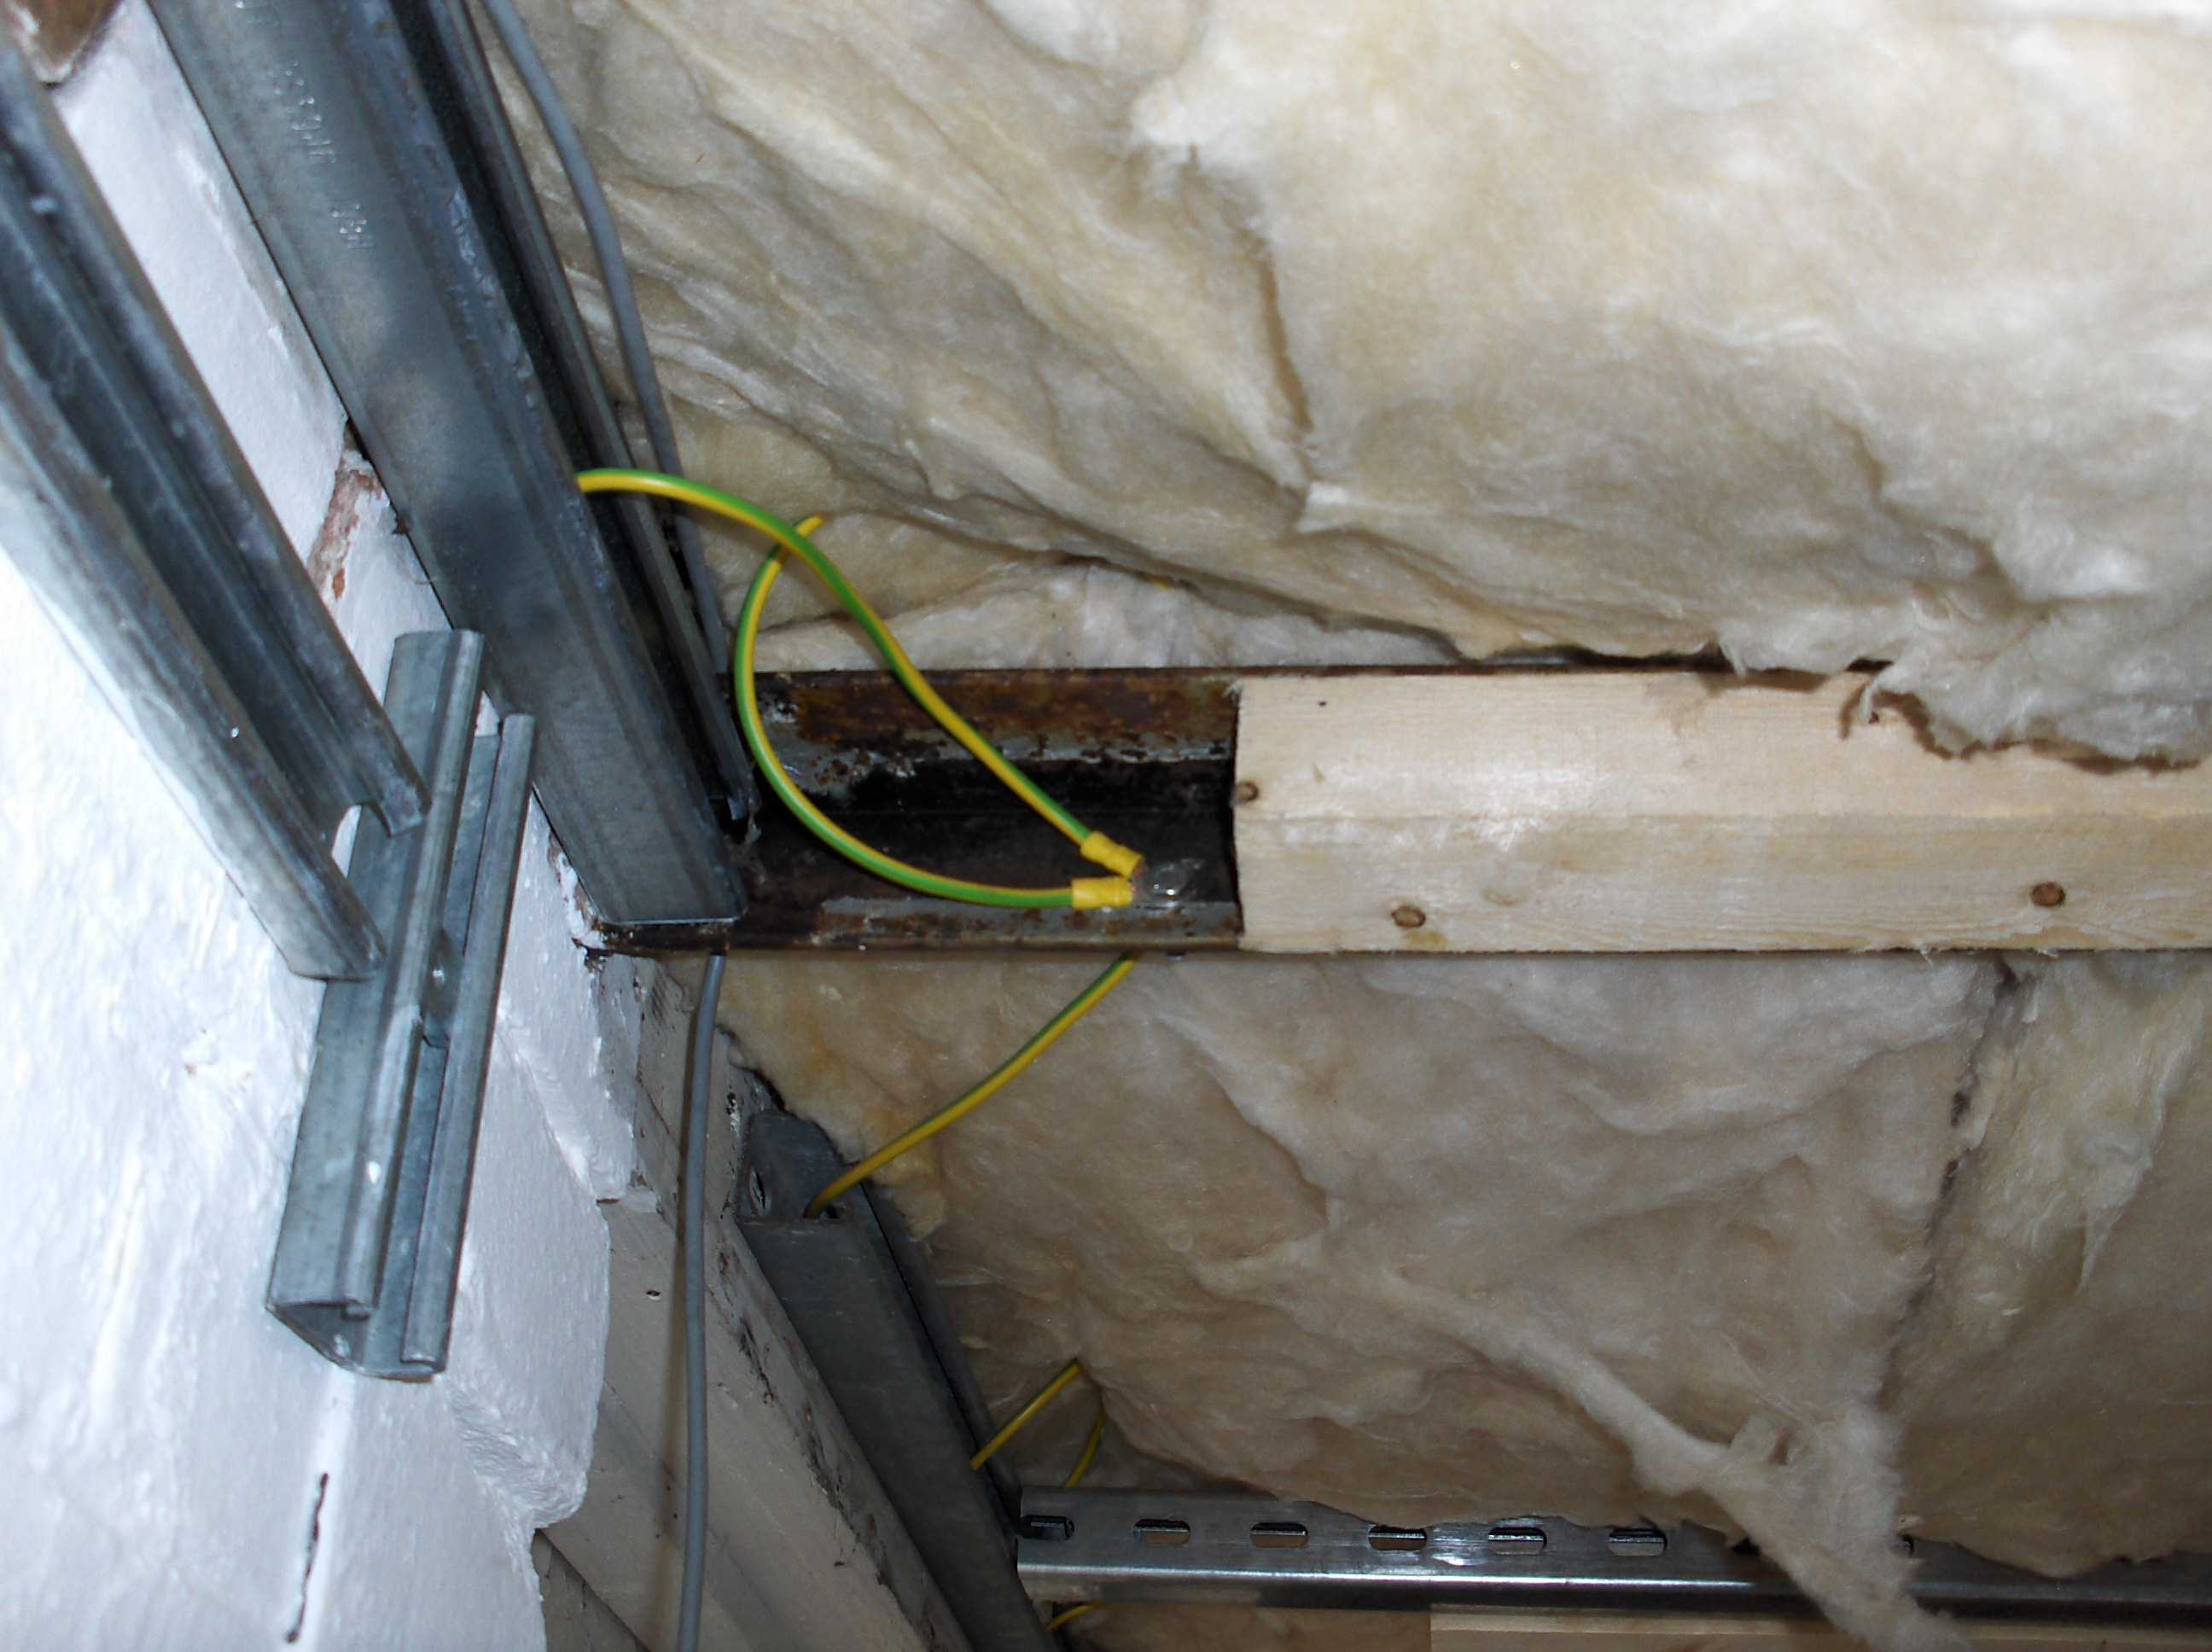
All the steel work was bonded including the old rood supports
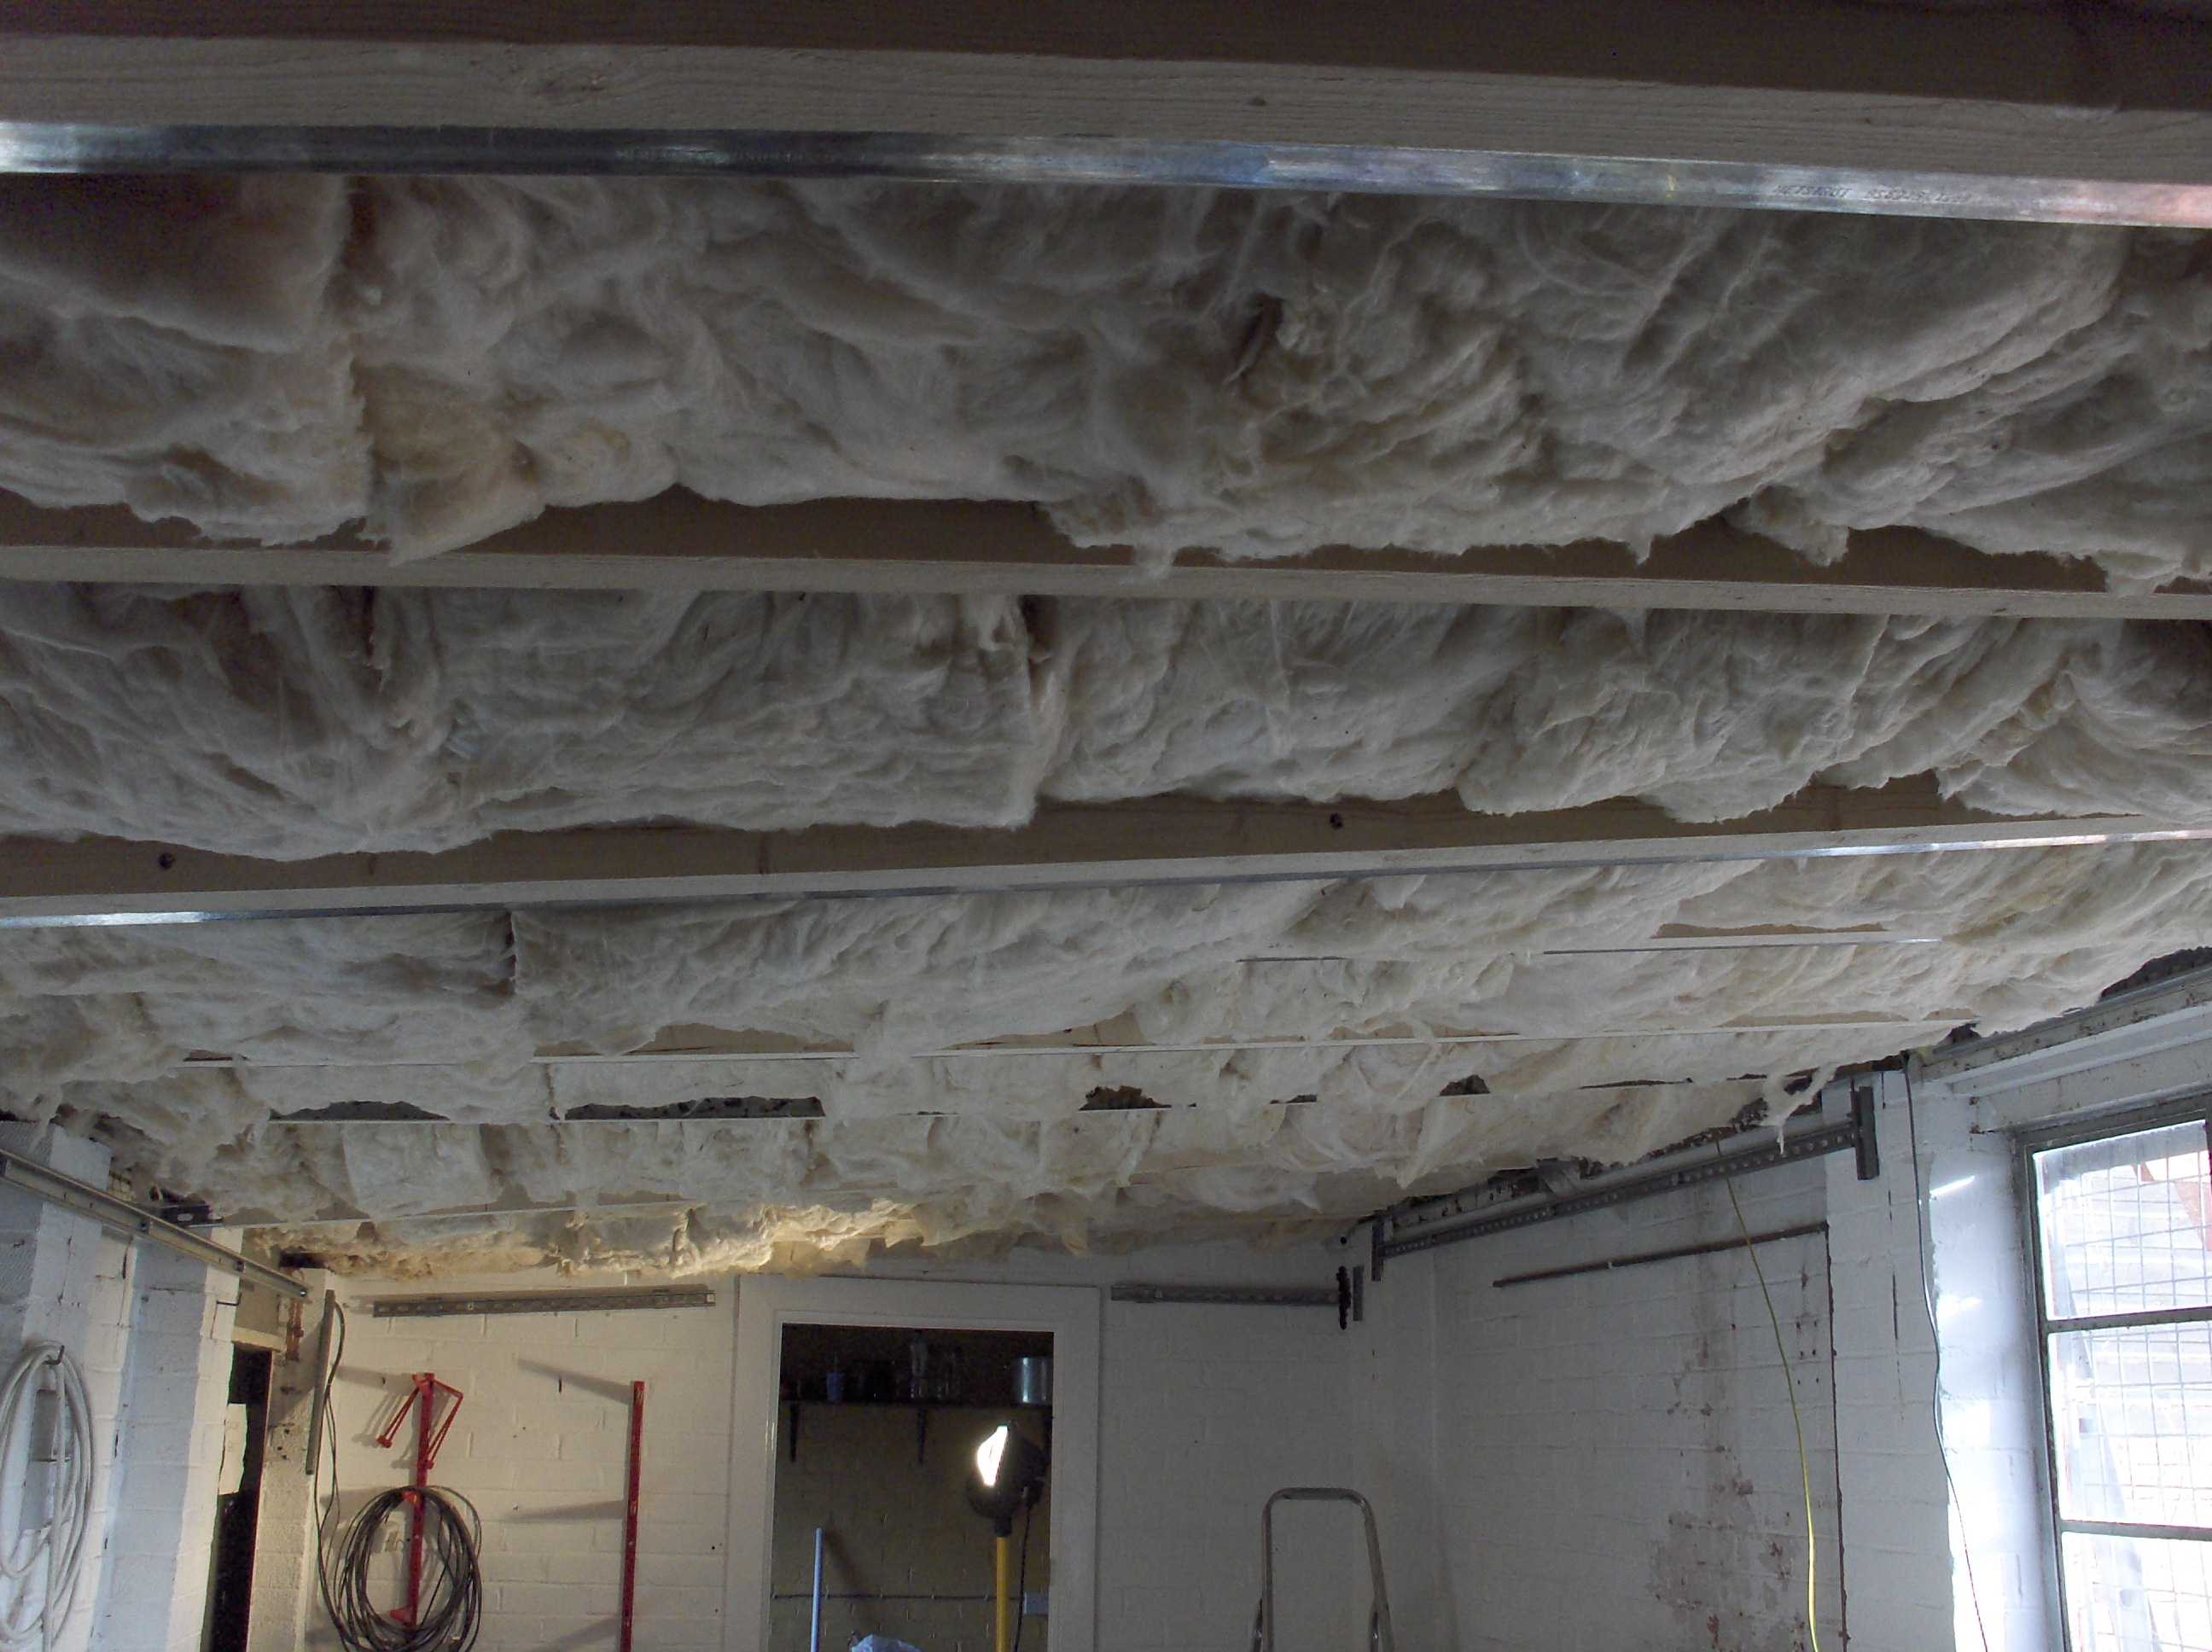
Although the roof was sound I was a bit worried about it leaking onto the insulation once rockwool is wet in situ it never dries. So to be sure I put a menbrane up between the roof and insulation and then the vapour barrier between the insulation.
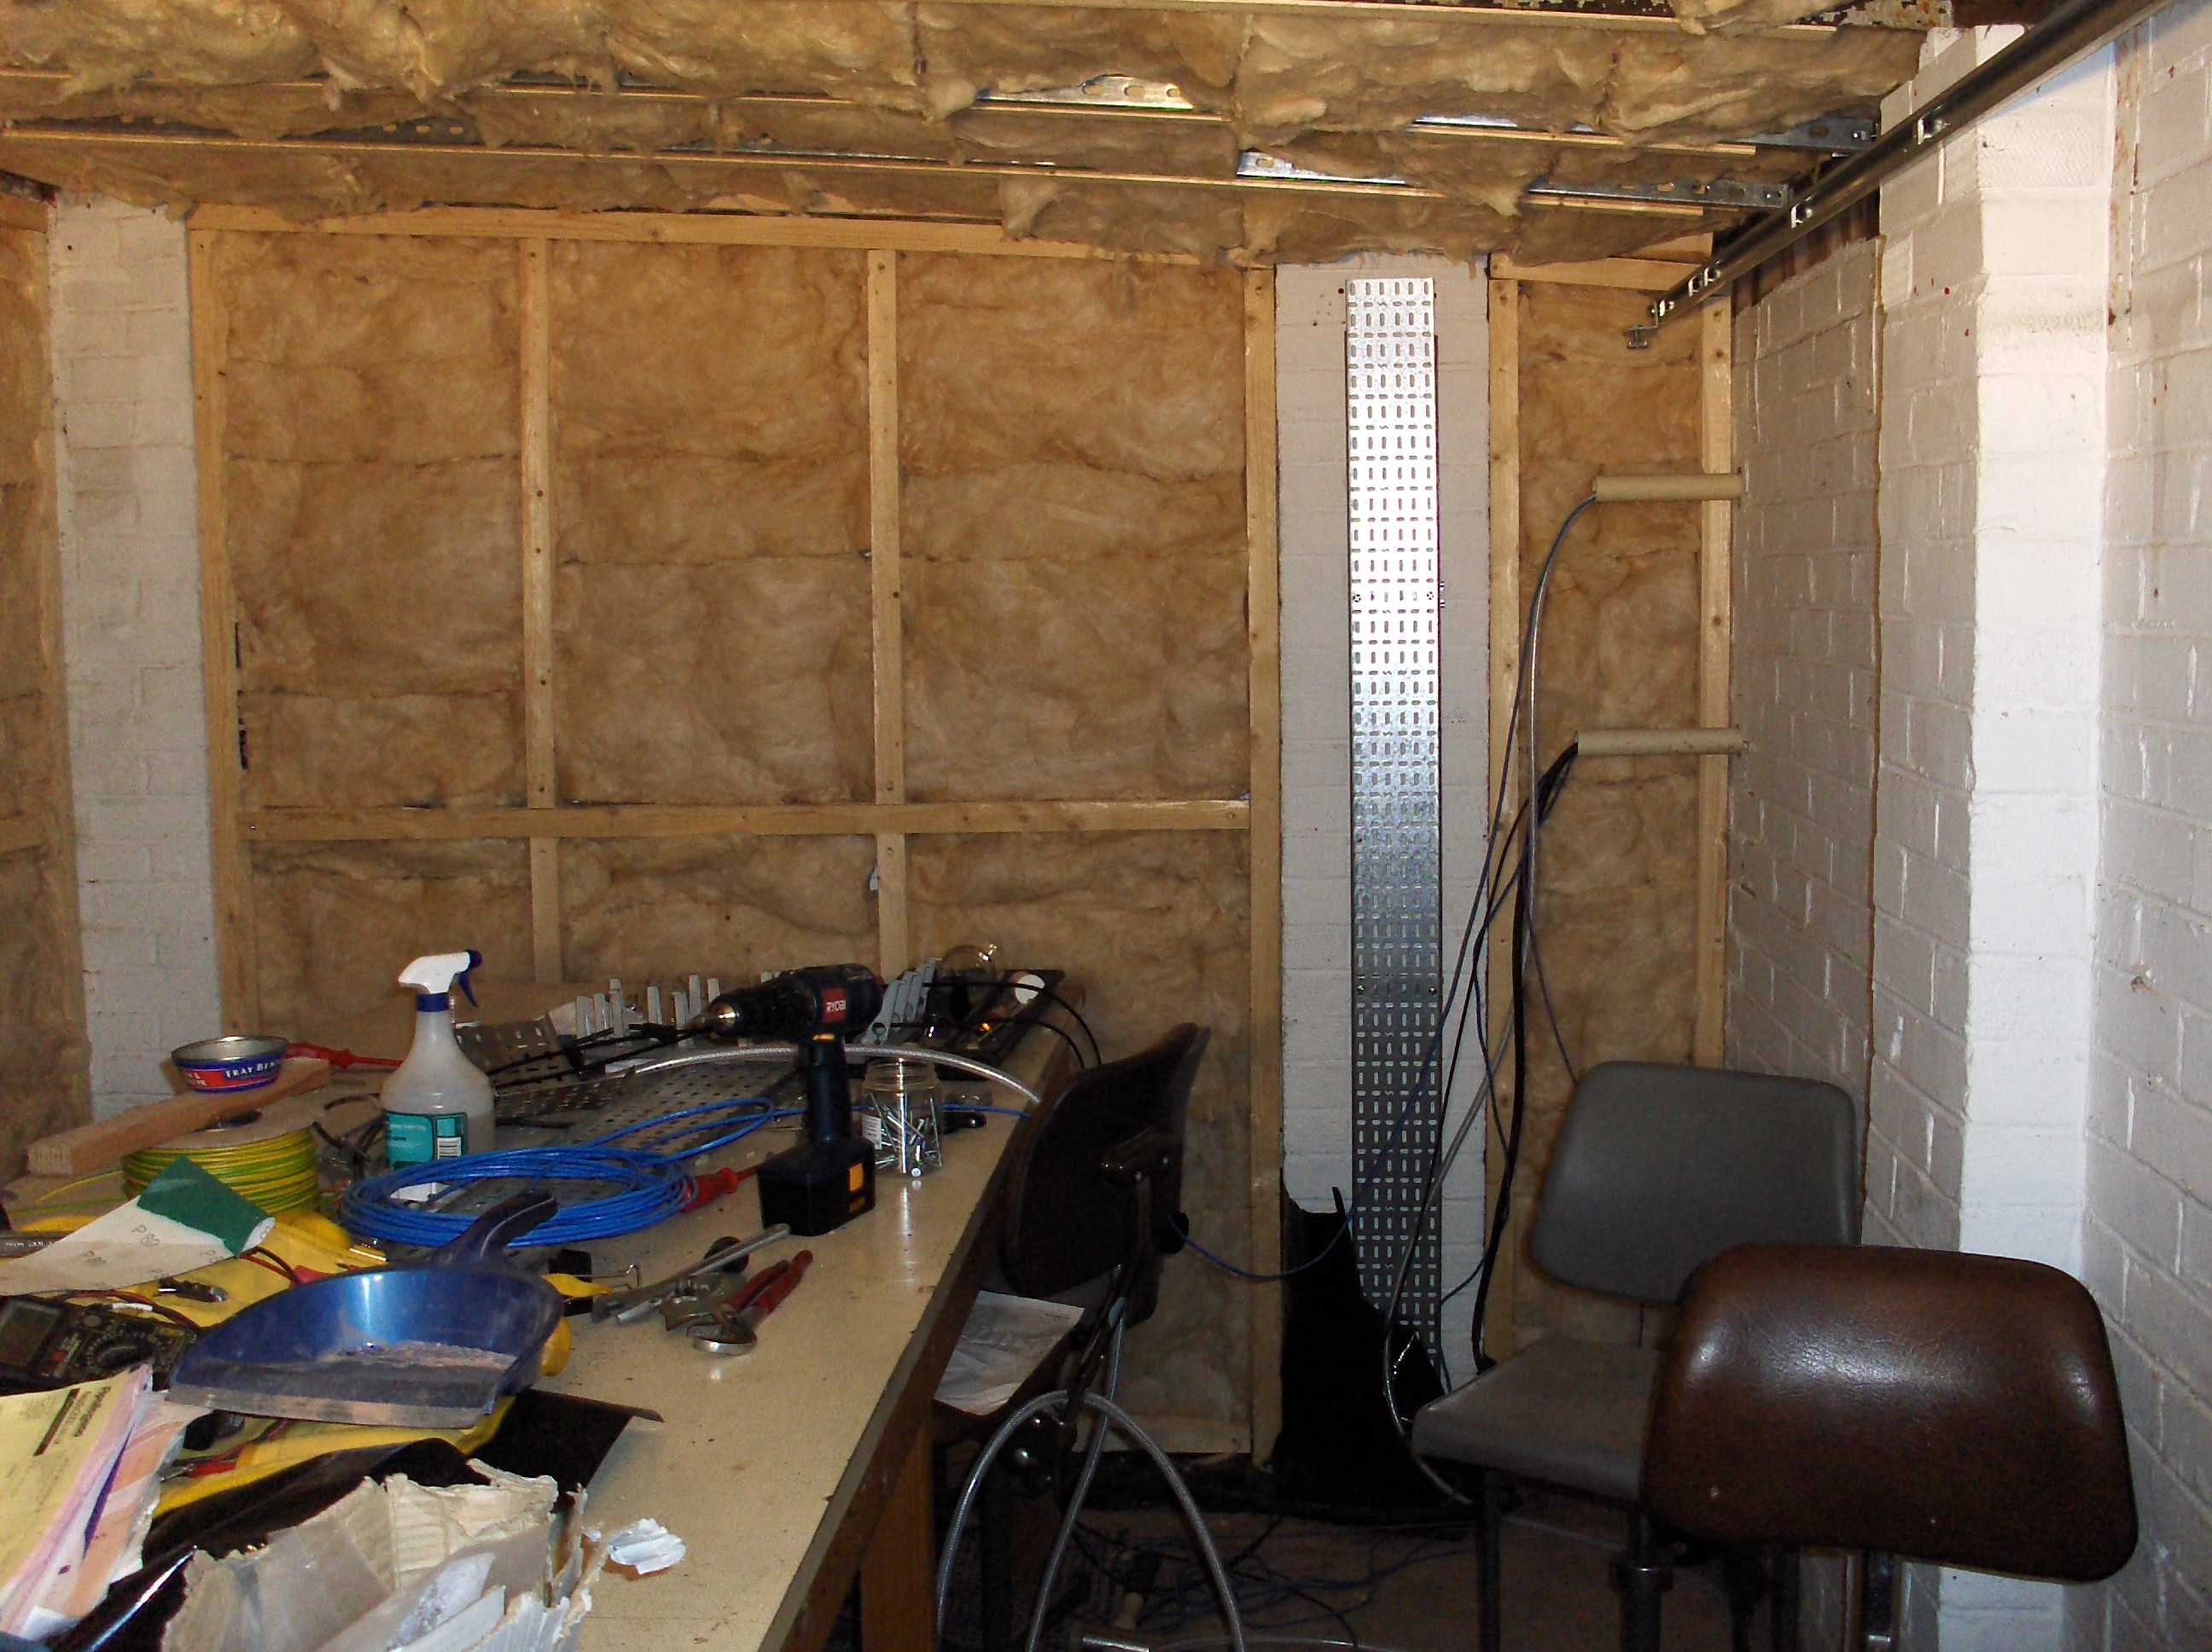
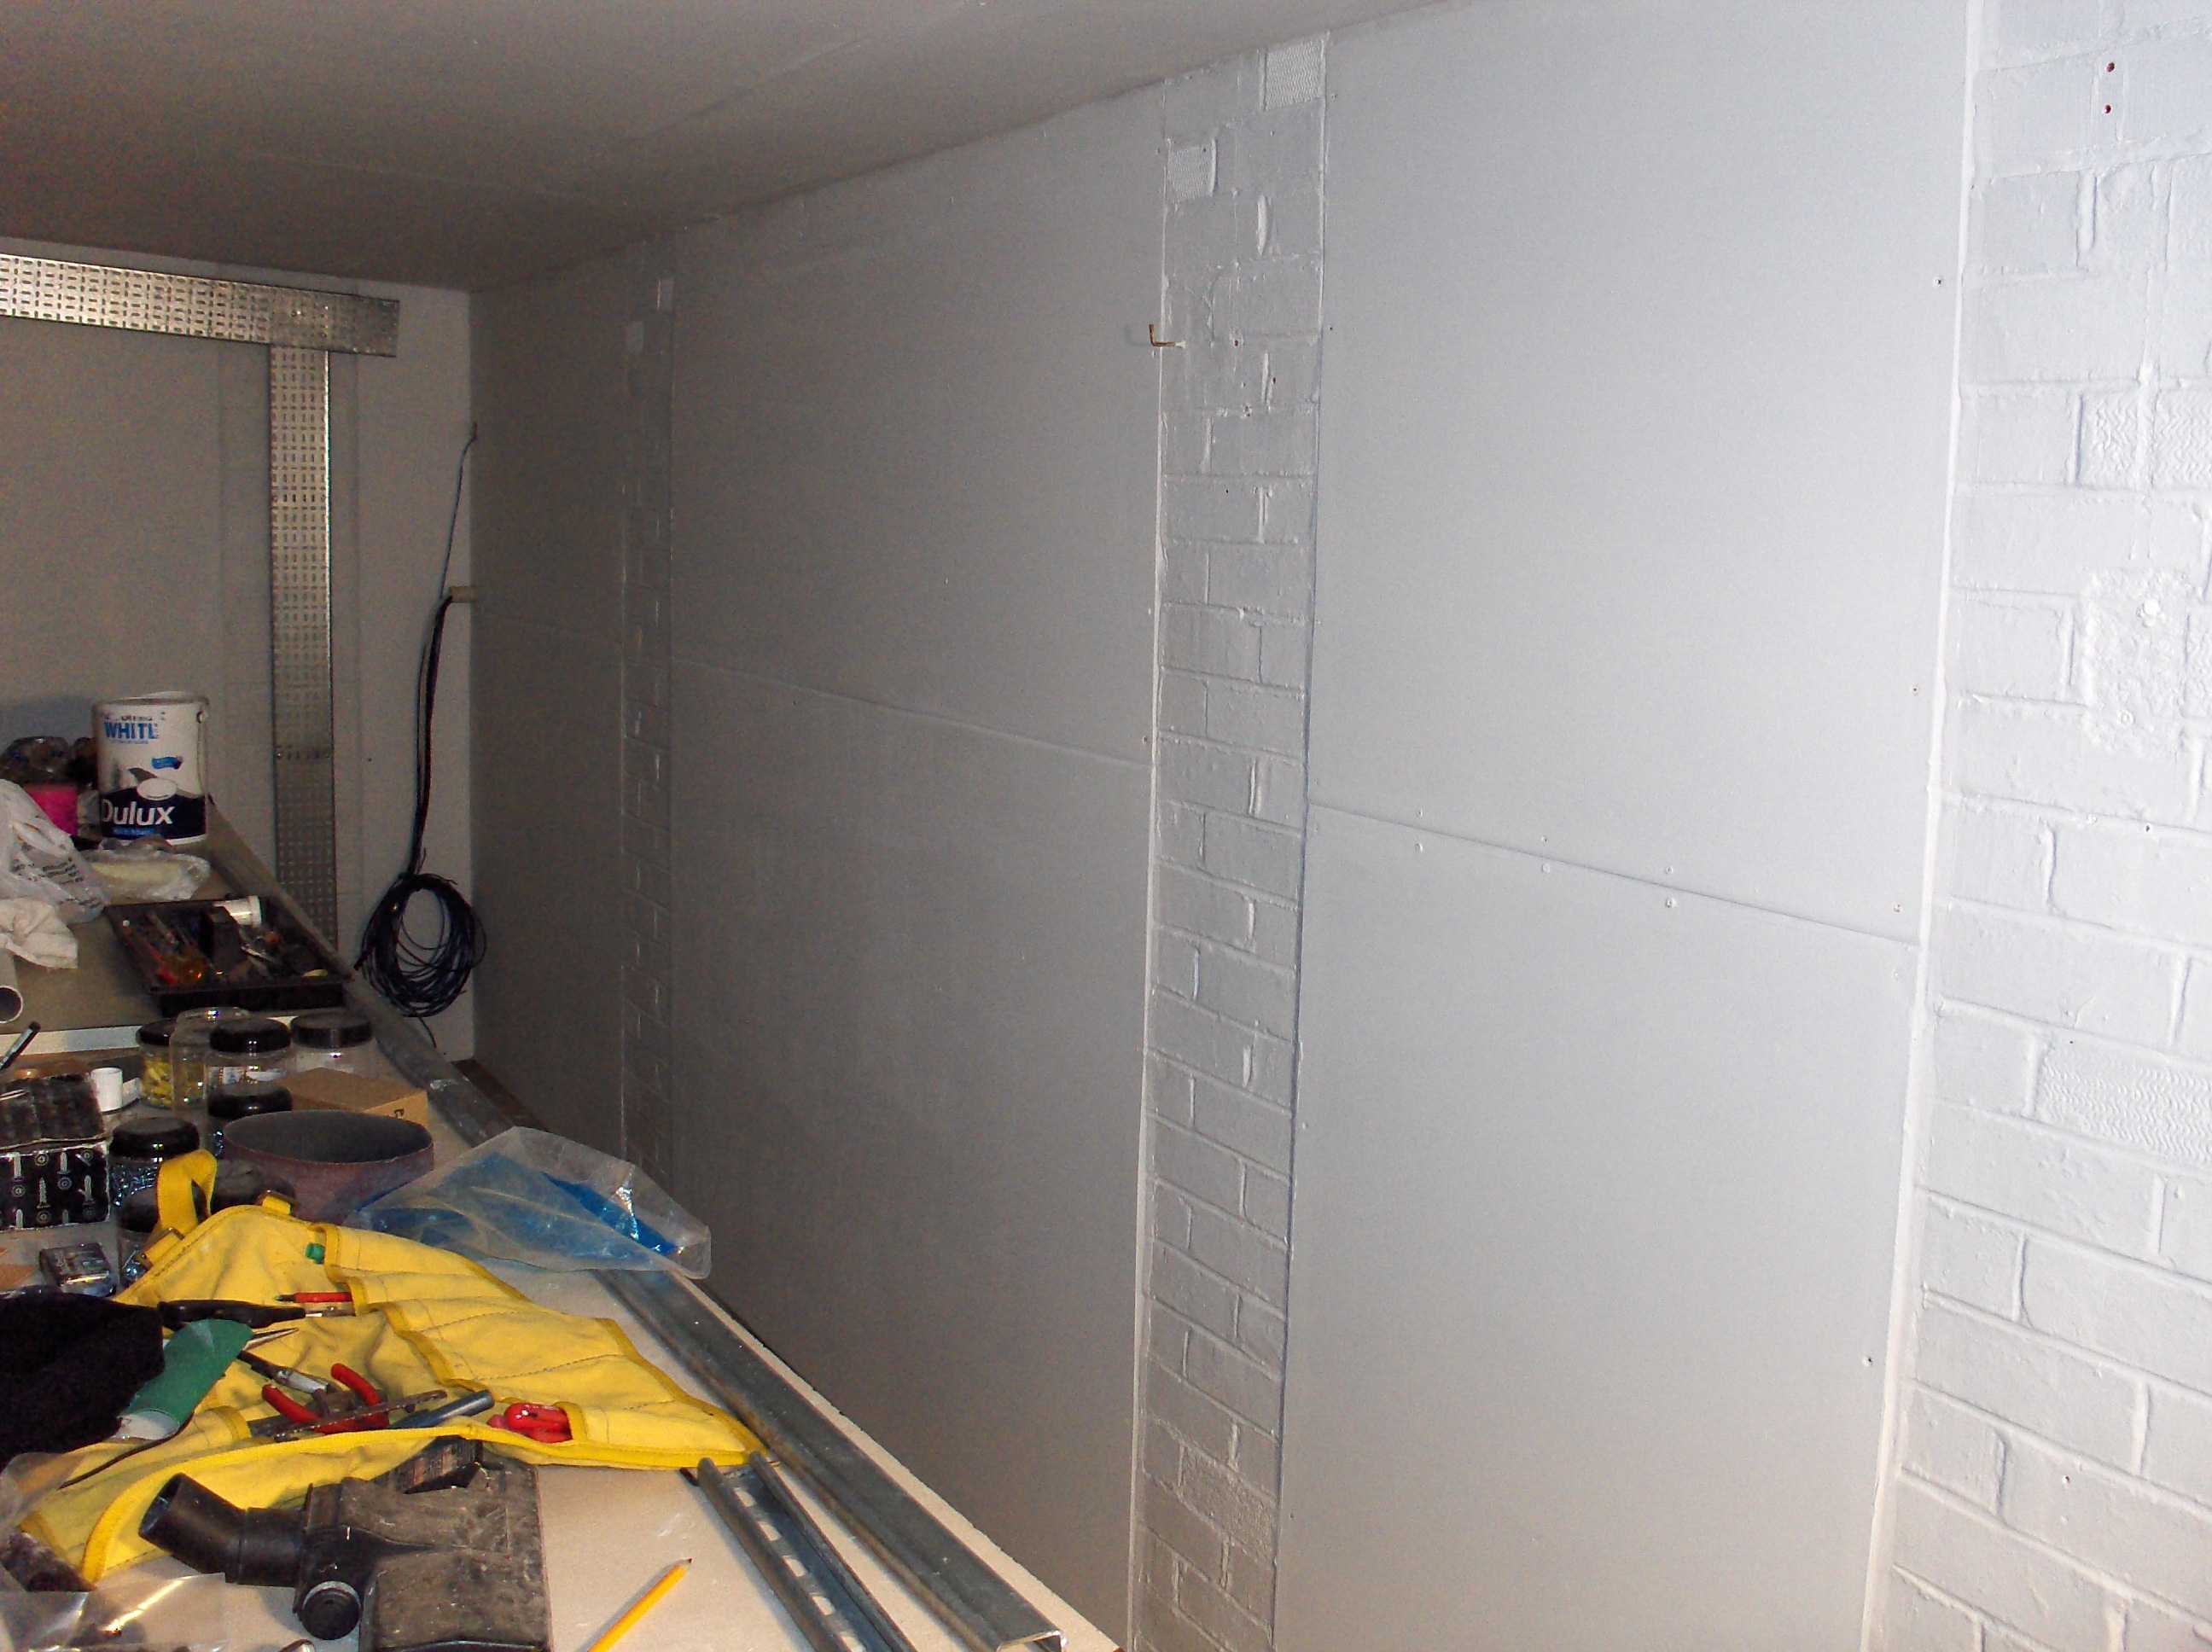
After puting the insulation on the ceiling and before putting the vapour barrier up I then dry lined the walls.
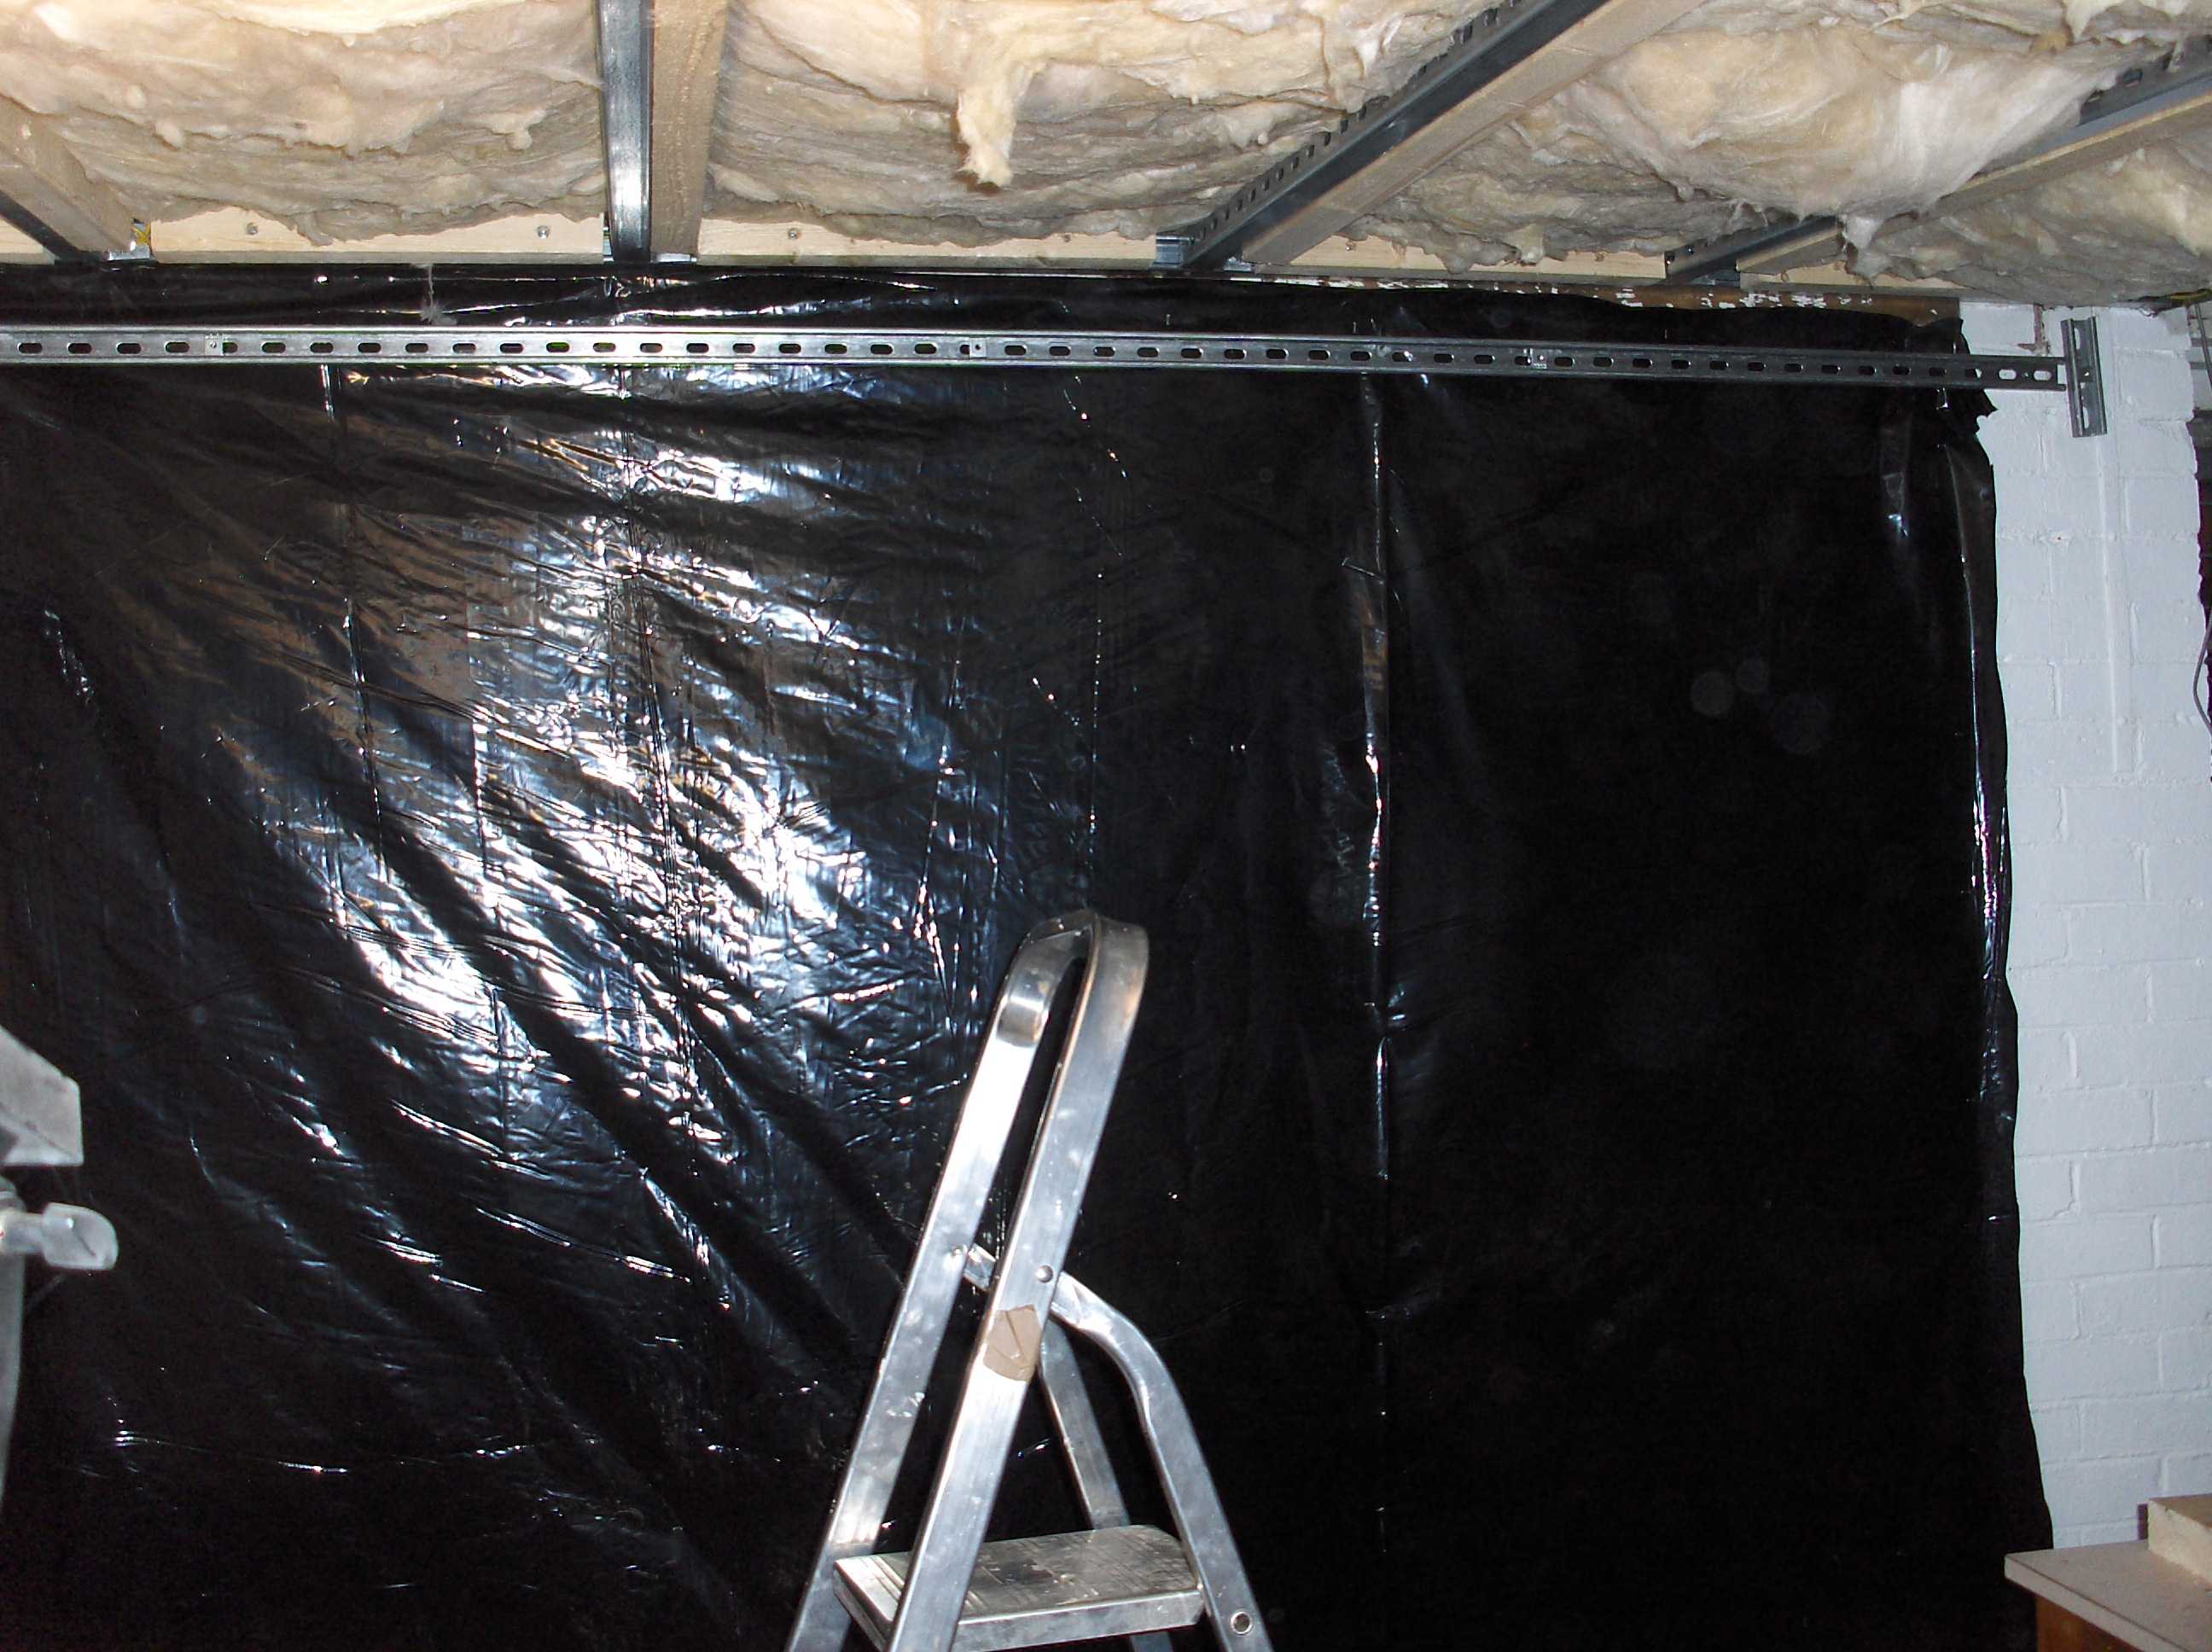
Then I put the vapour barrier on the walls and the ceiling

Then put the plastboard up.
and painted it 50 square meter twice... I hate painting
then the cable tray went up.
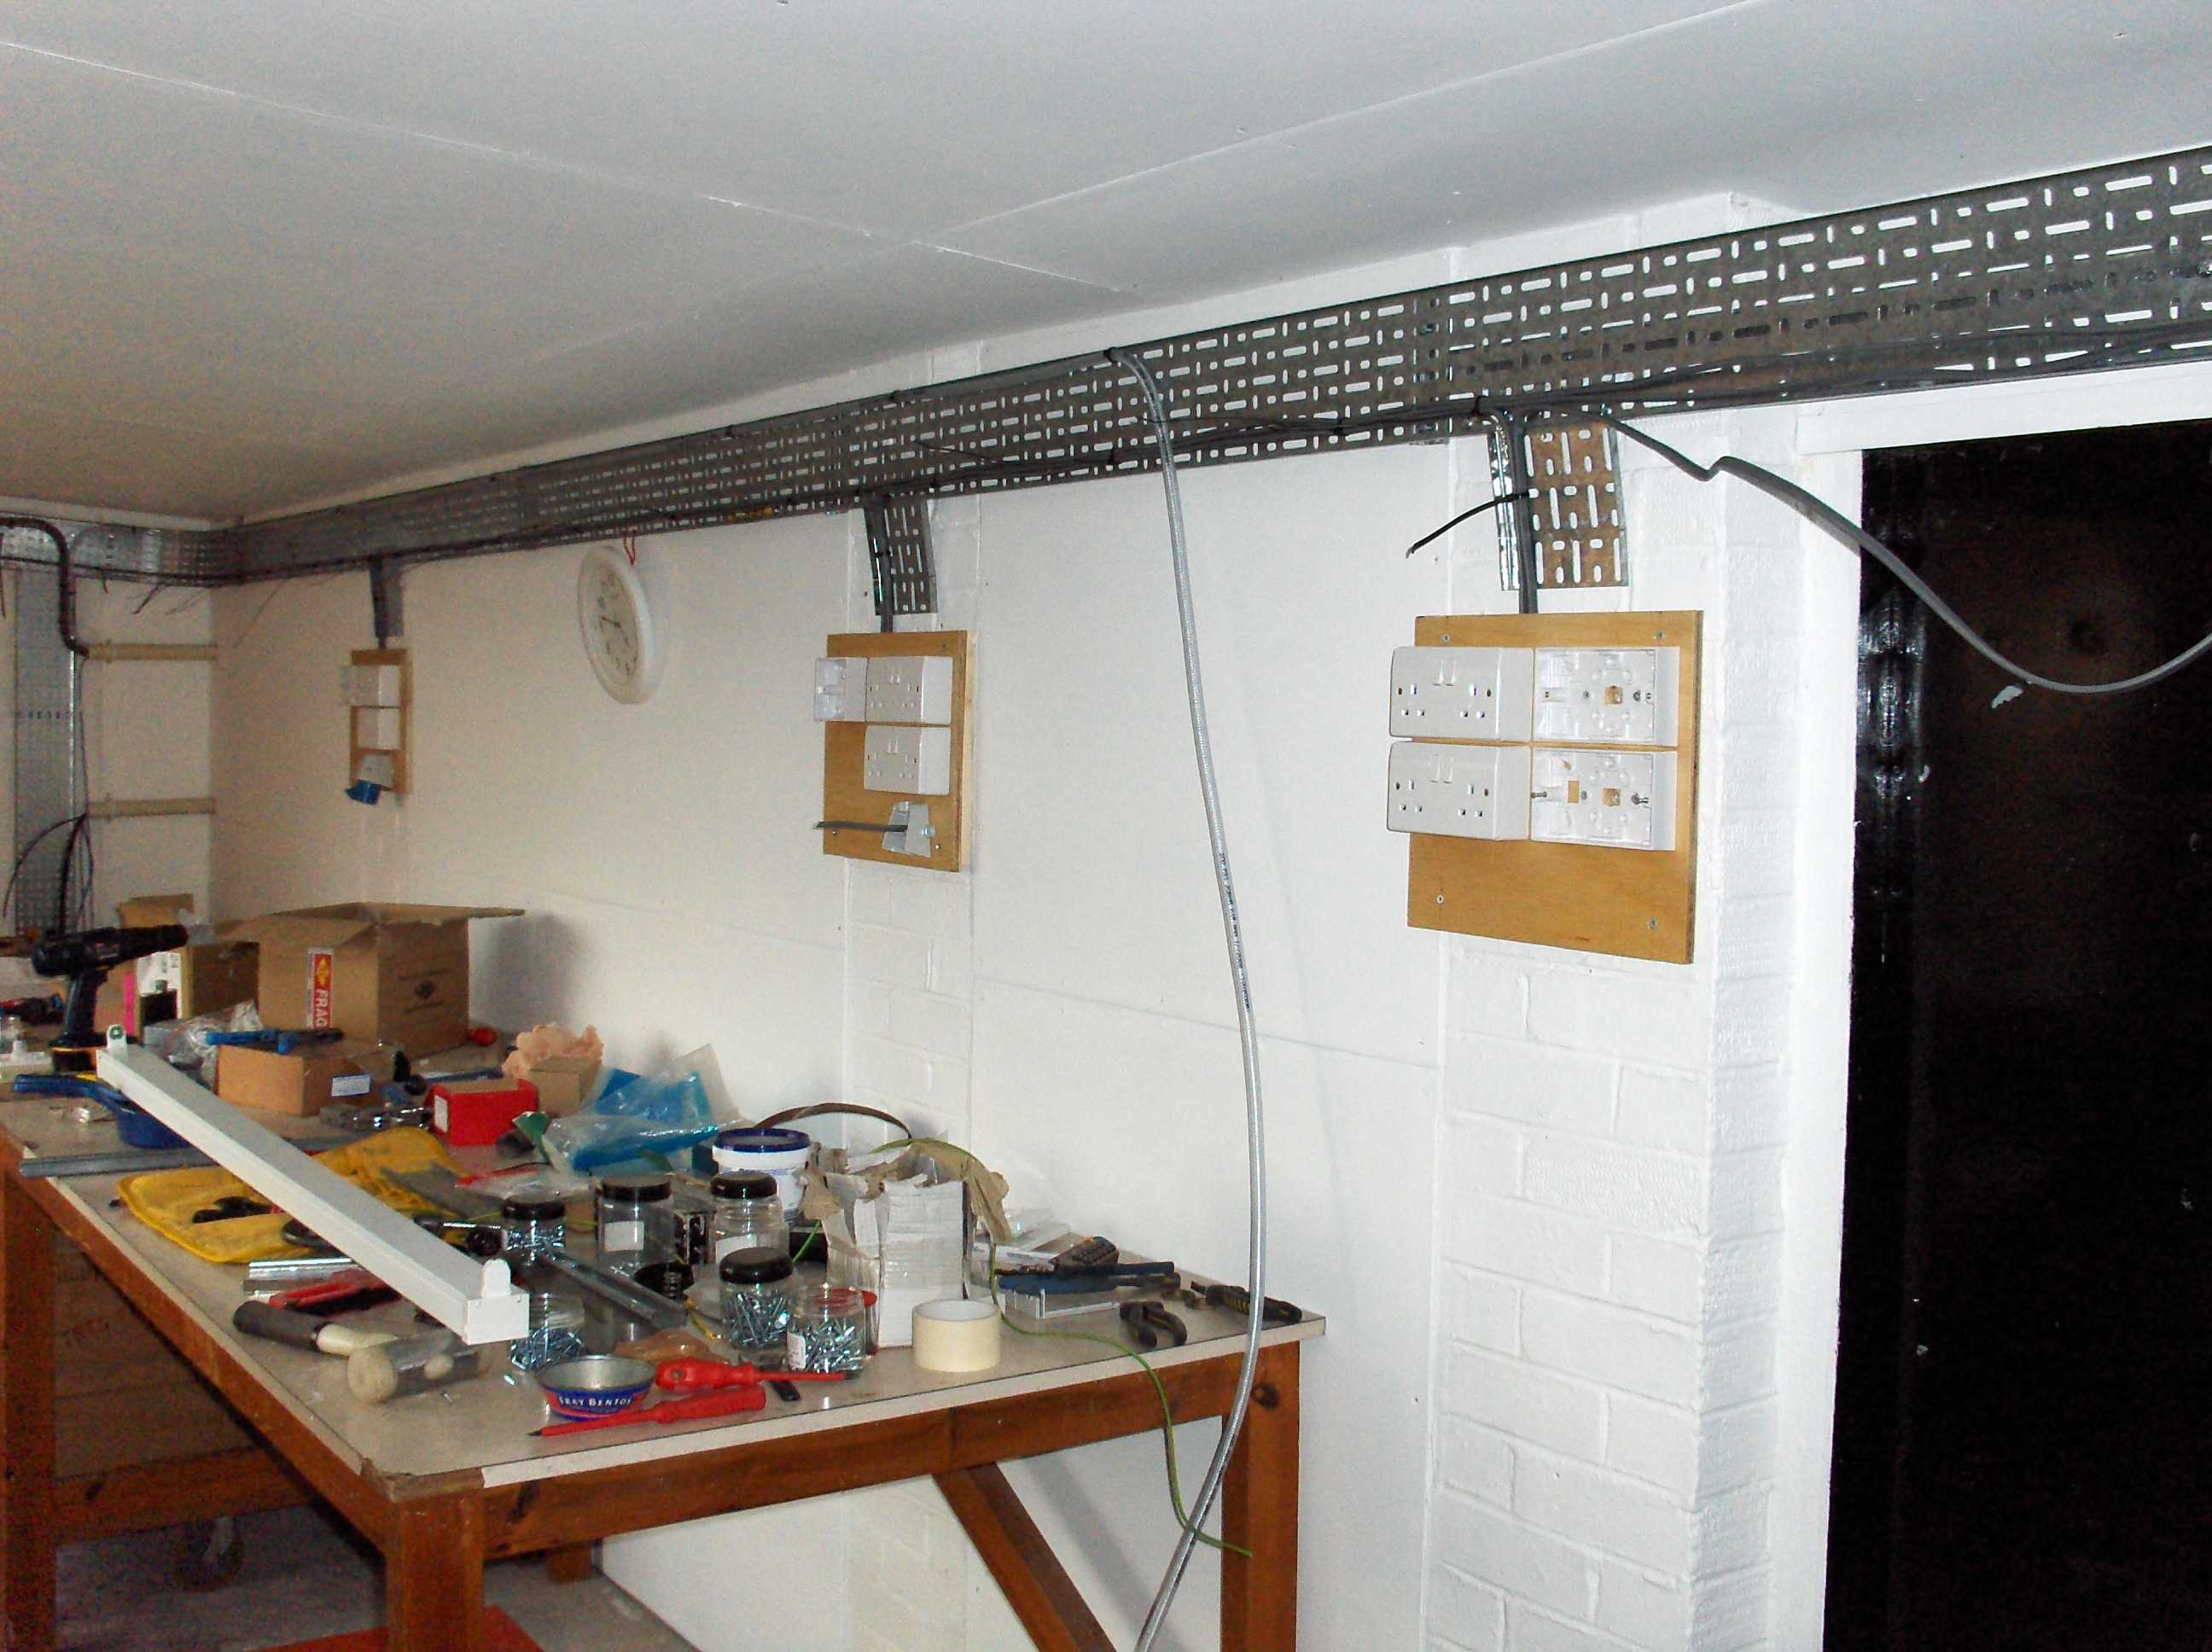
Then the power boards and the cableing.
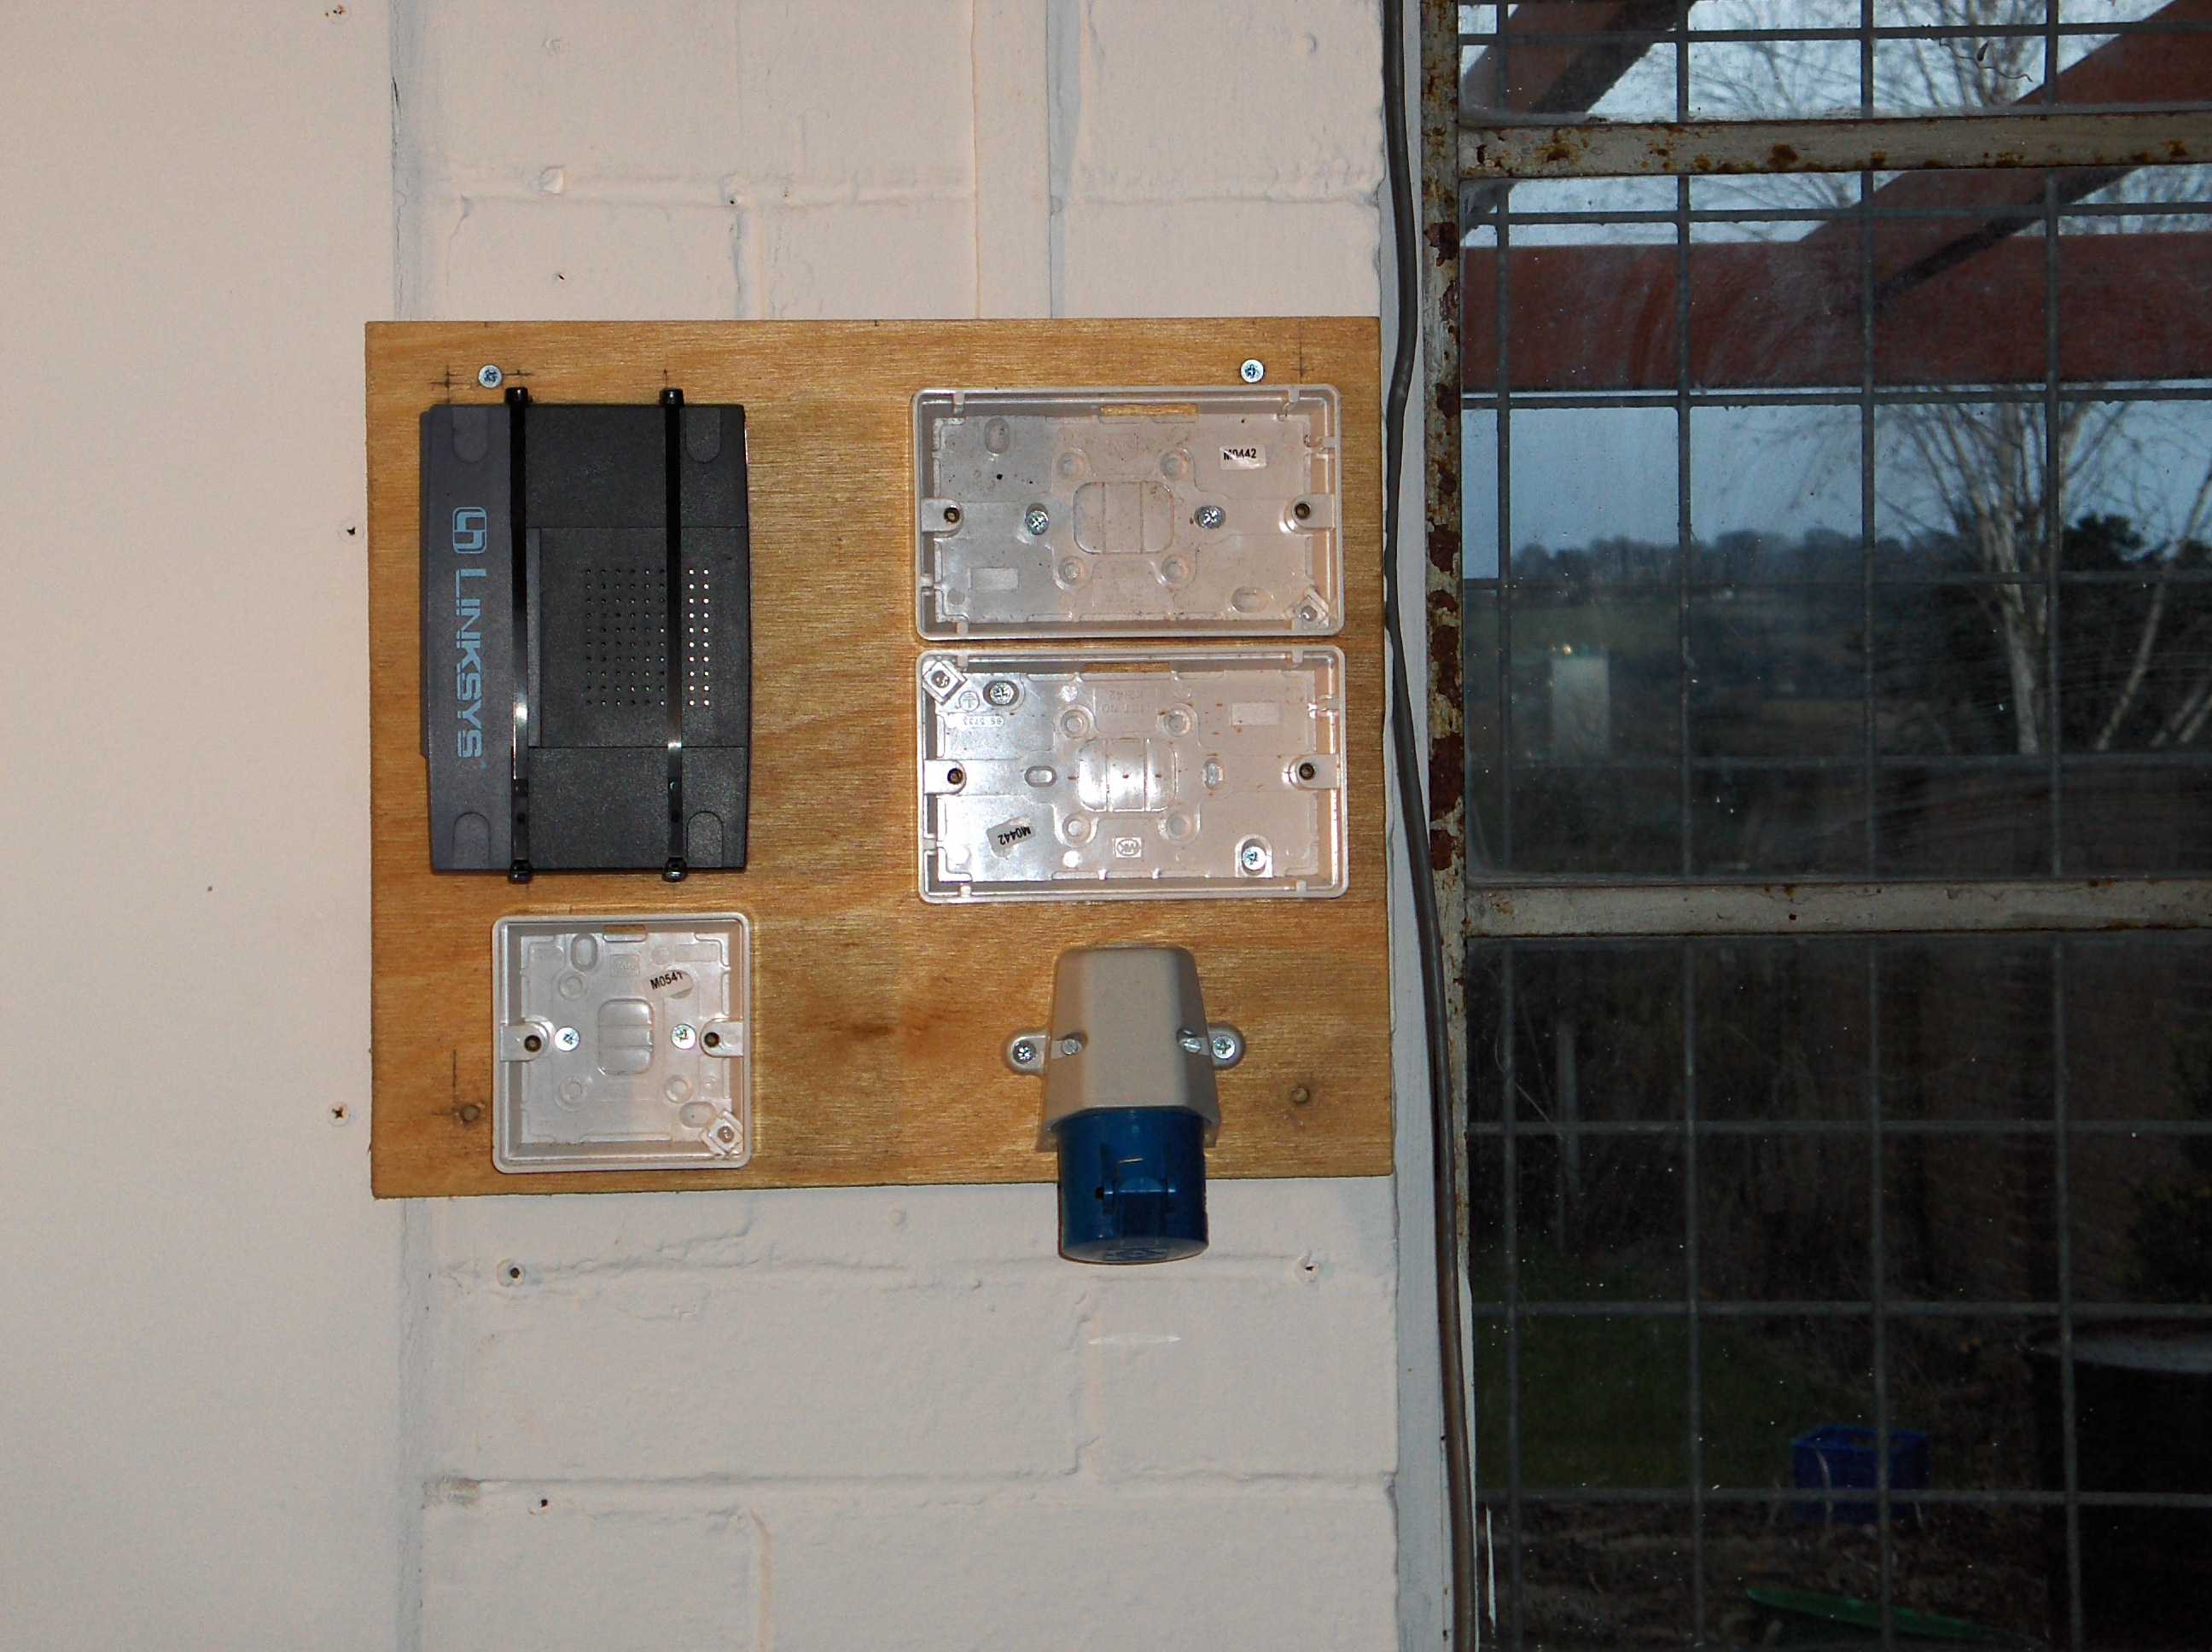
I have signal as well as power to distrute round the workshop and they are required to be kept separate you can see the 9port Ethernet switch mounted on the board.
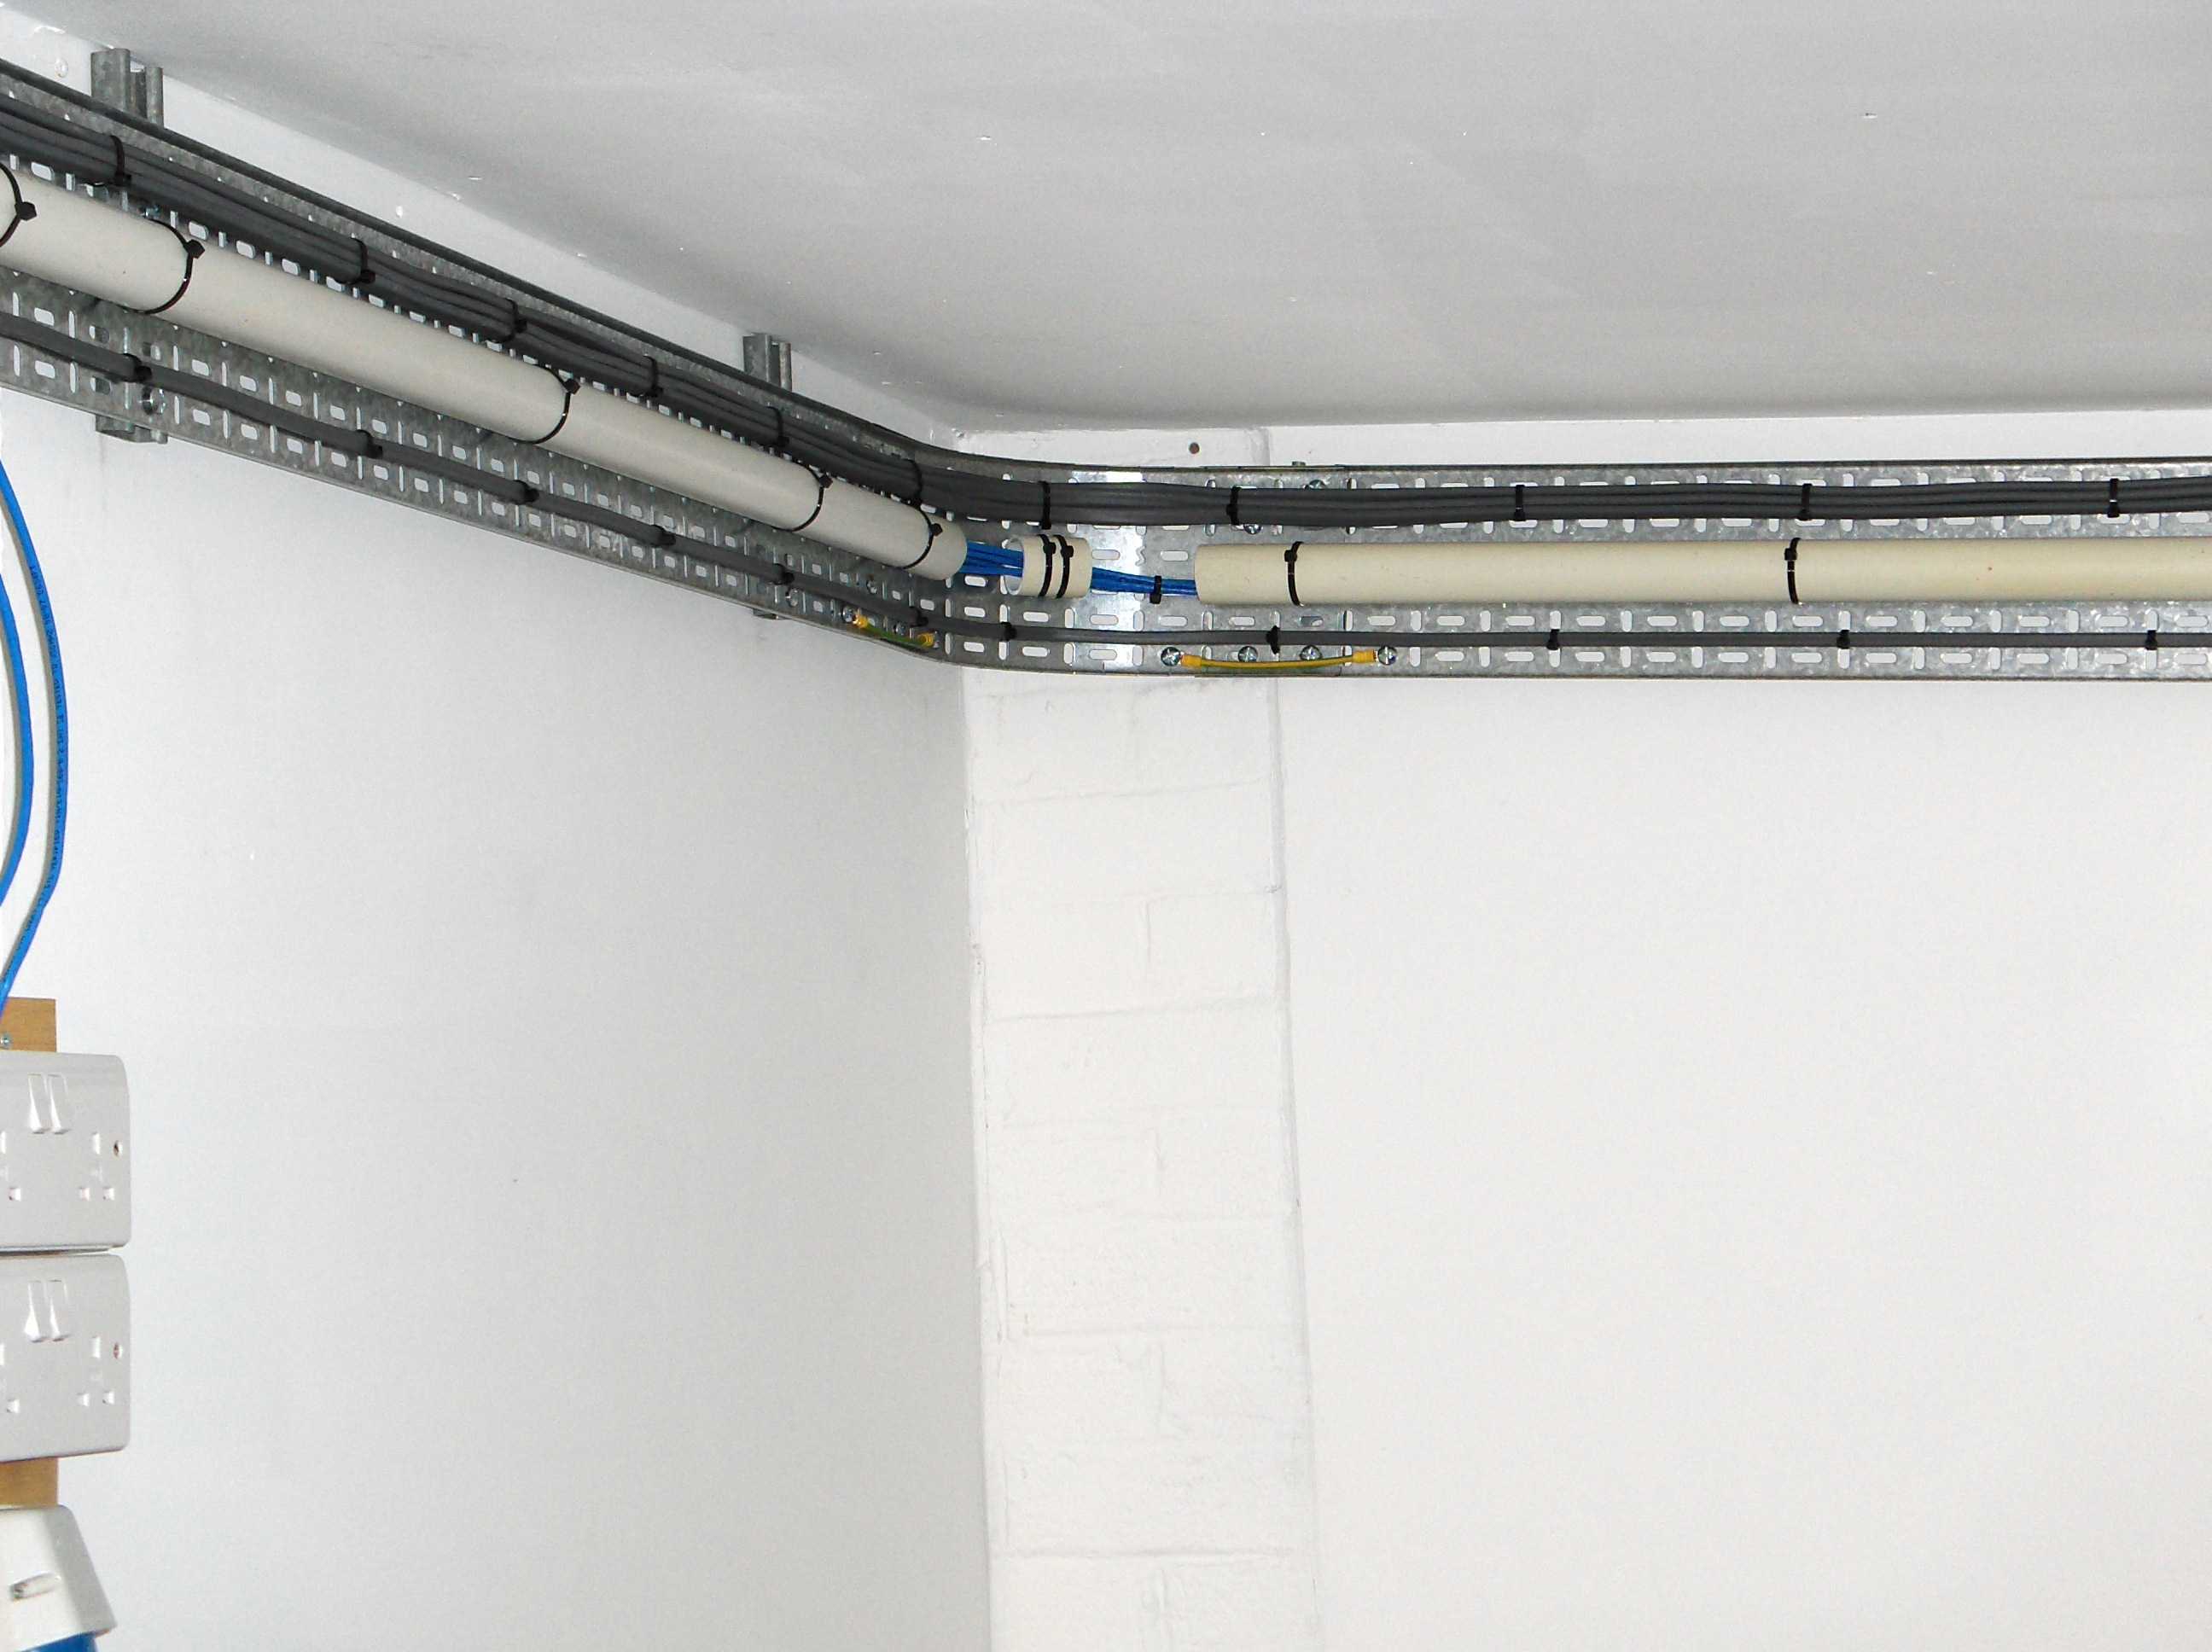
I kept these cable separate by running plastic pipe up the centre of the cable tray and running the signal cable in that. this has the added advantage that i can add to the easily.
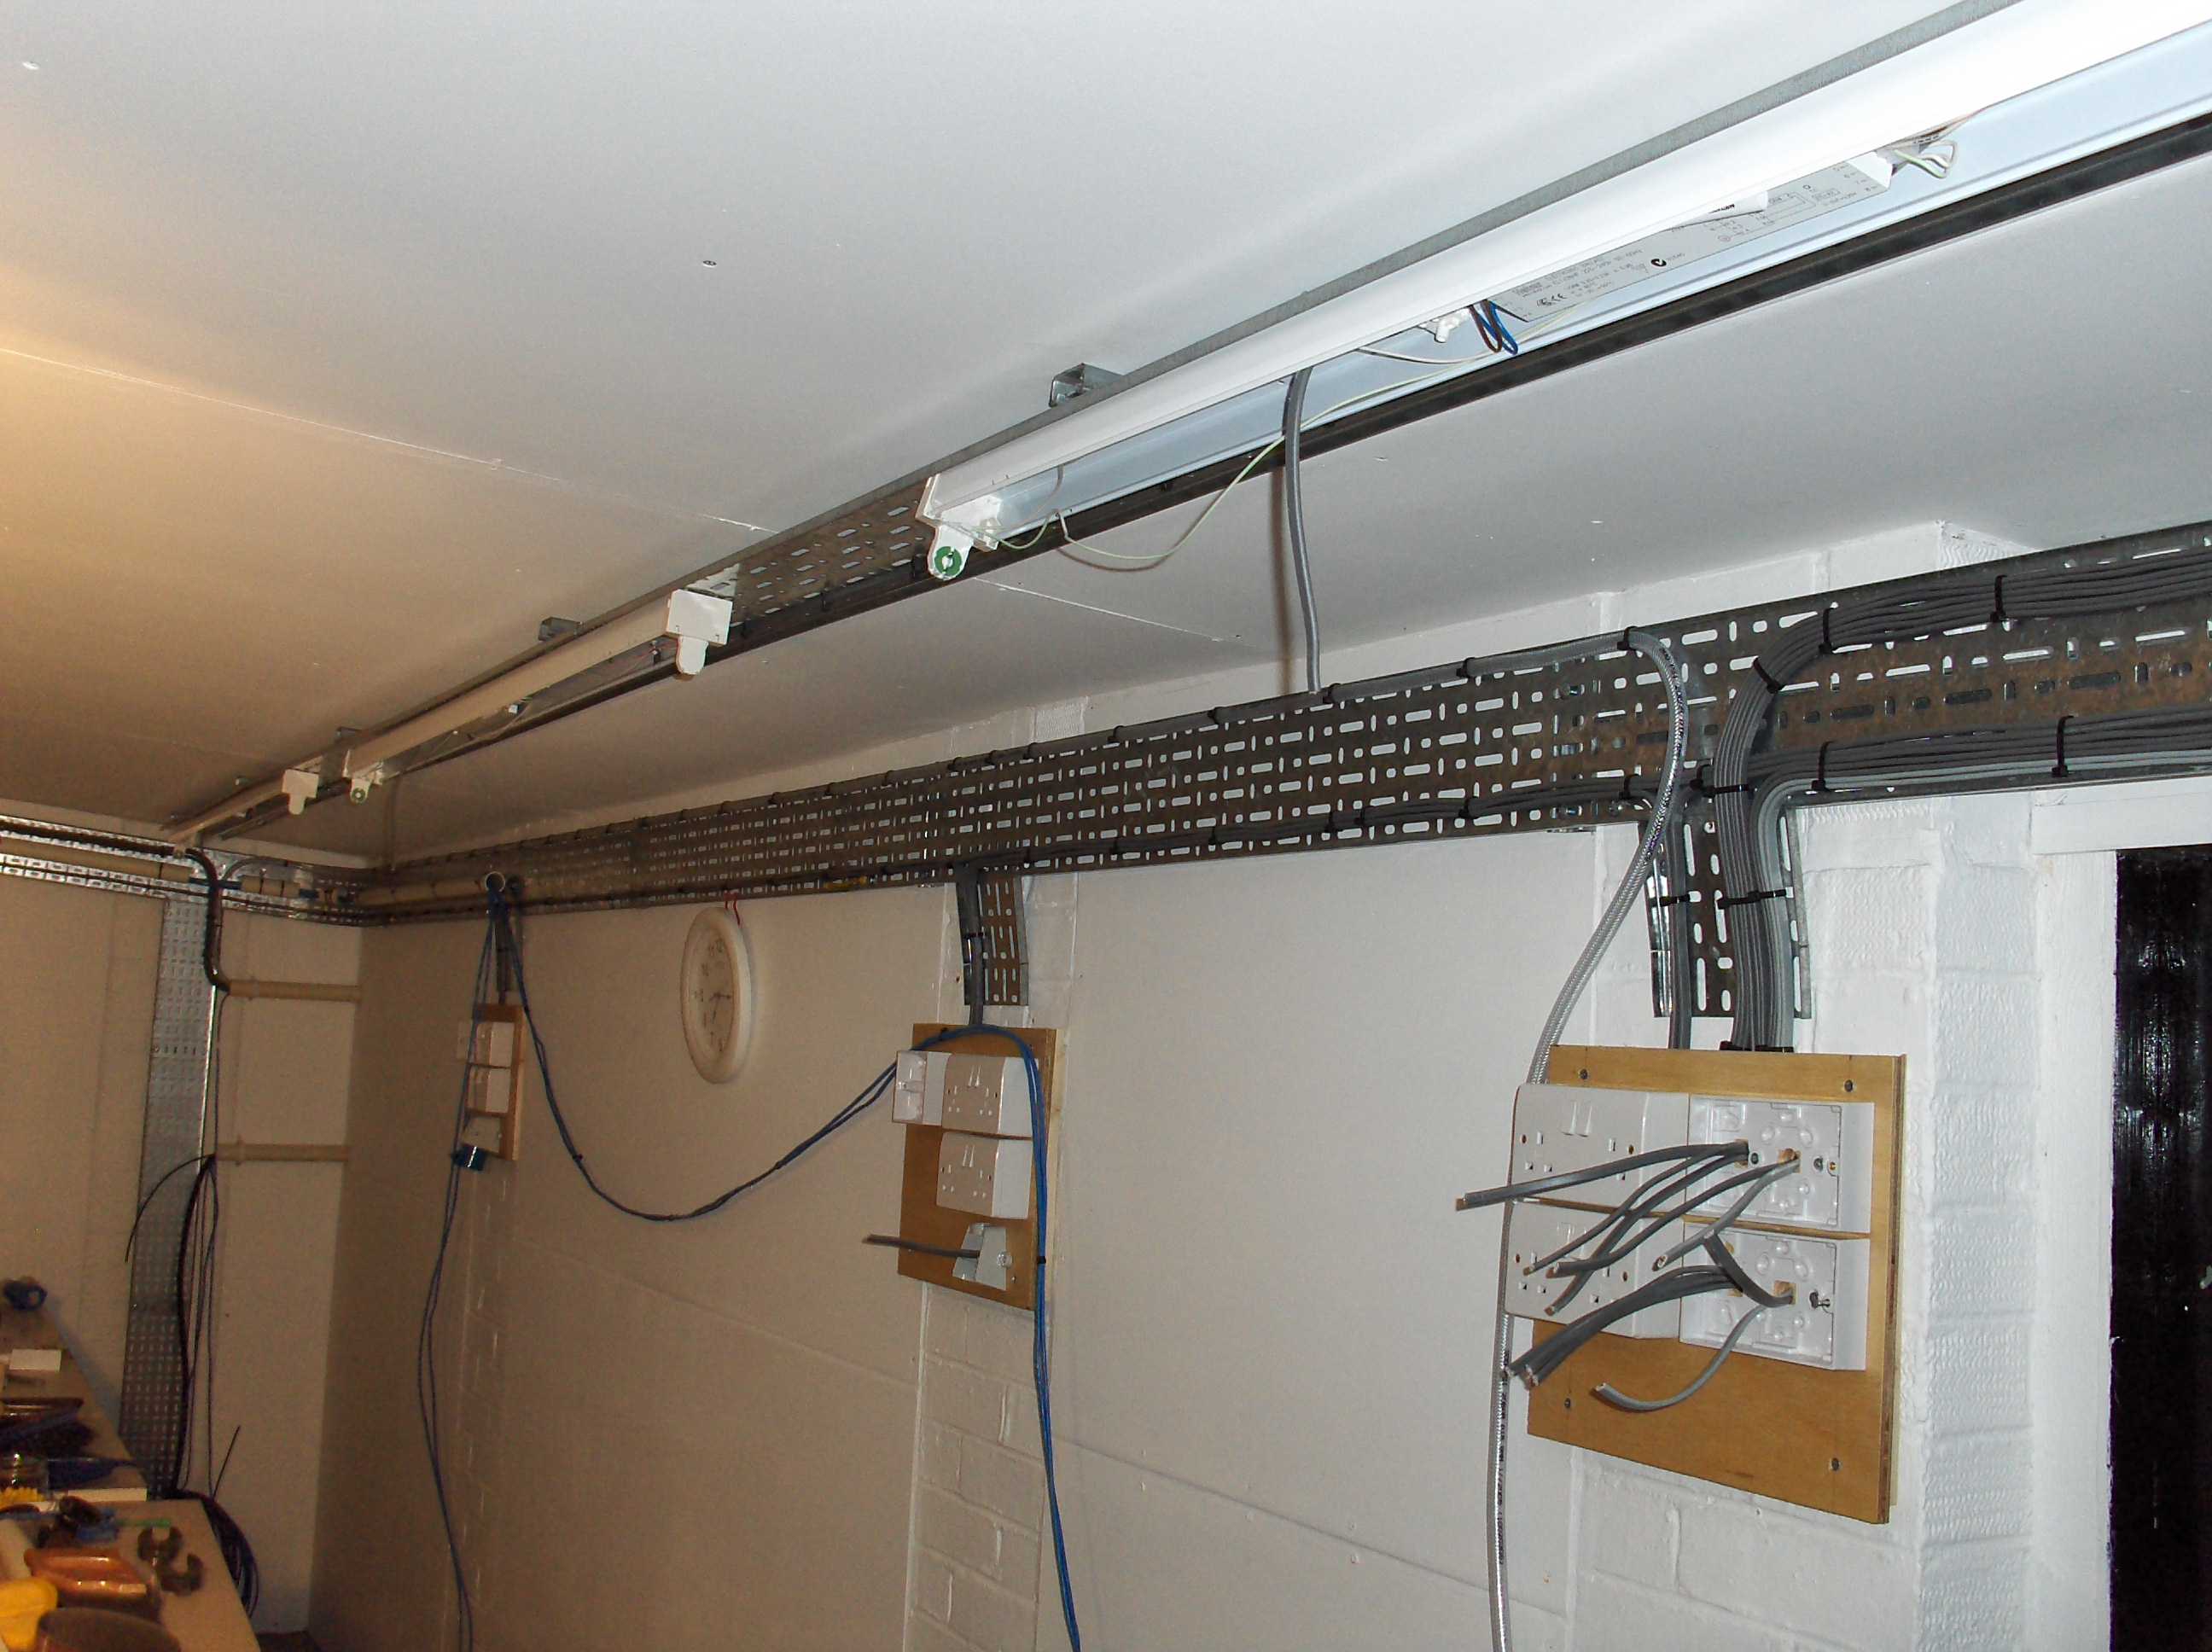
More wiring up and termnating. The light i had to think about too. I chose lower energy high frequency fluecents. not cheap but i hope worth the trouble. i have them individually switched too so i can have just one on and reduce the power consumption even more...
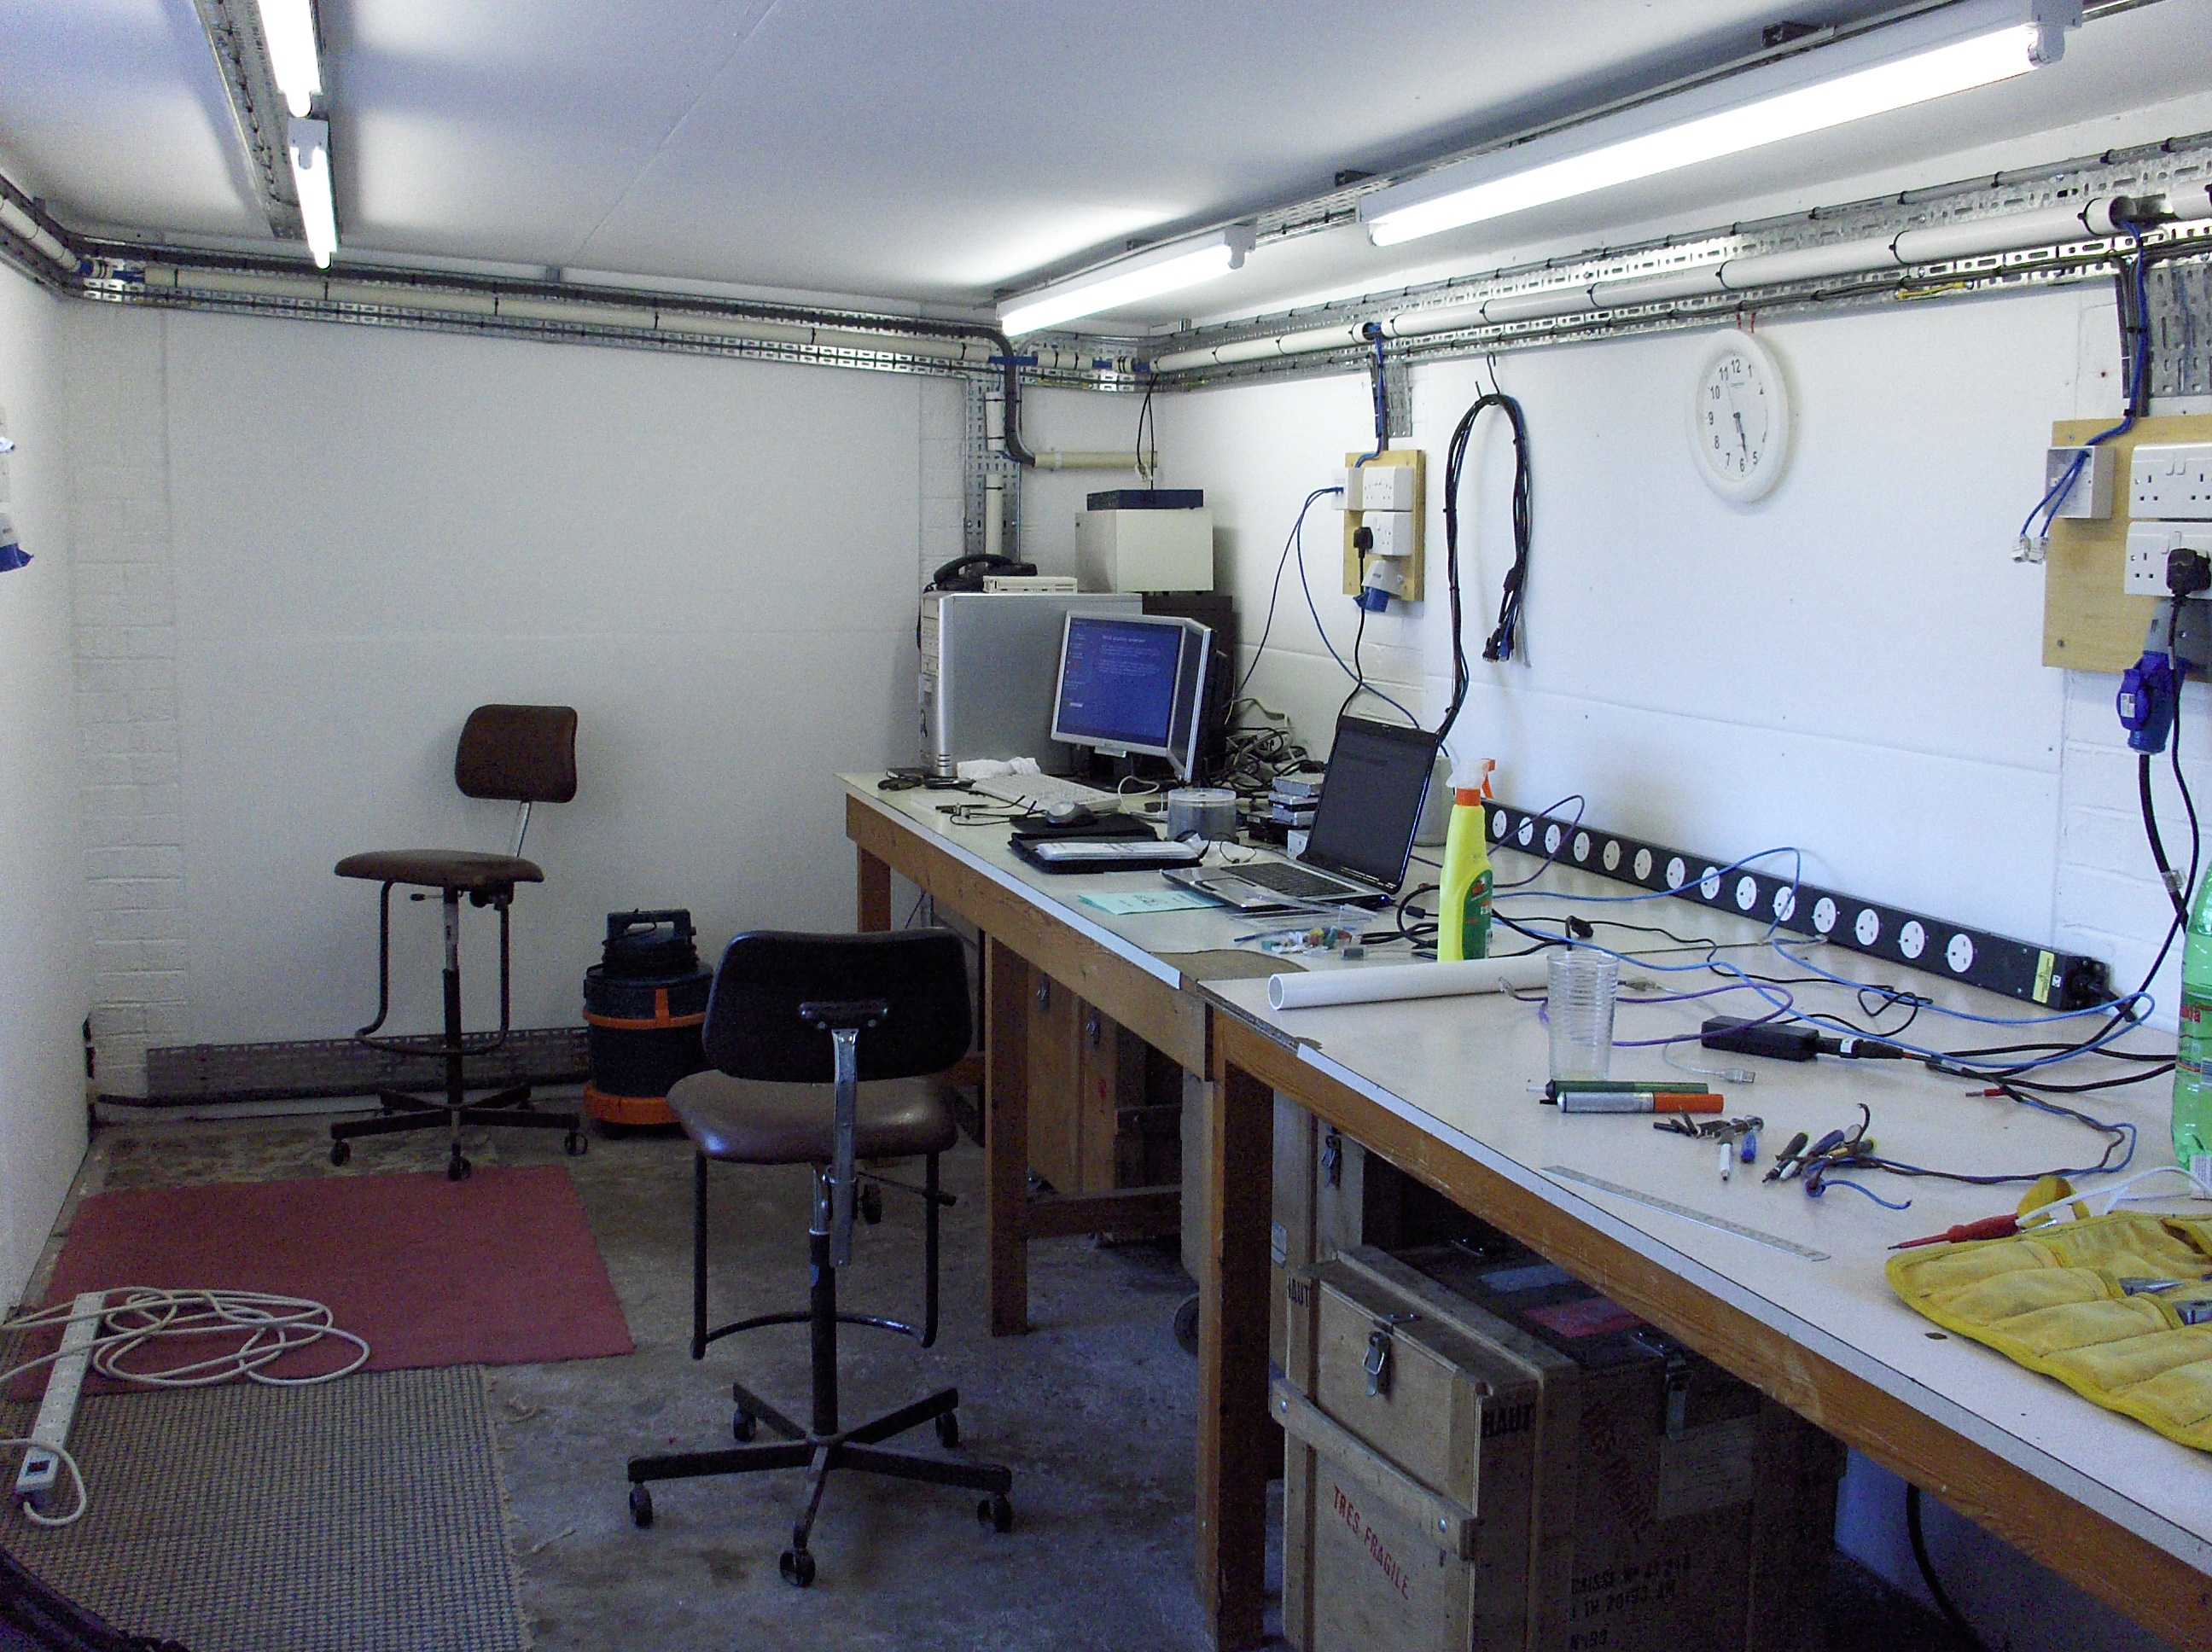
Wiring nearly complete benches in place no carpet (yet) and i have moved the computer back in.
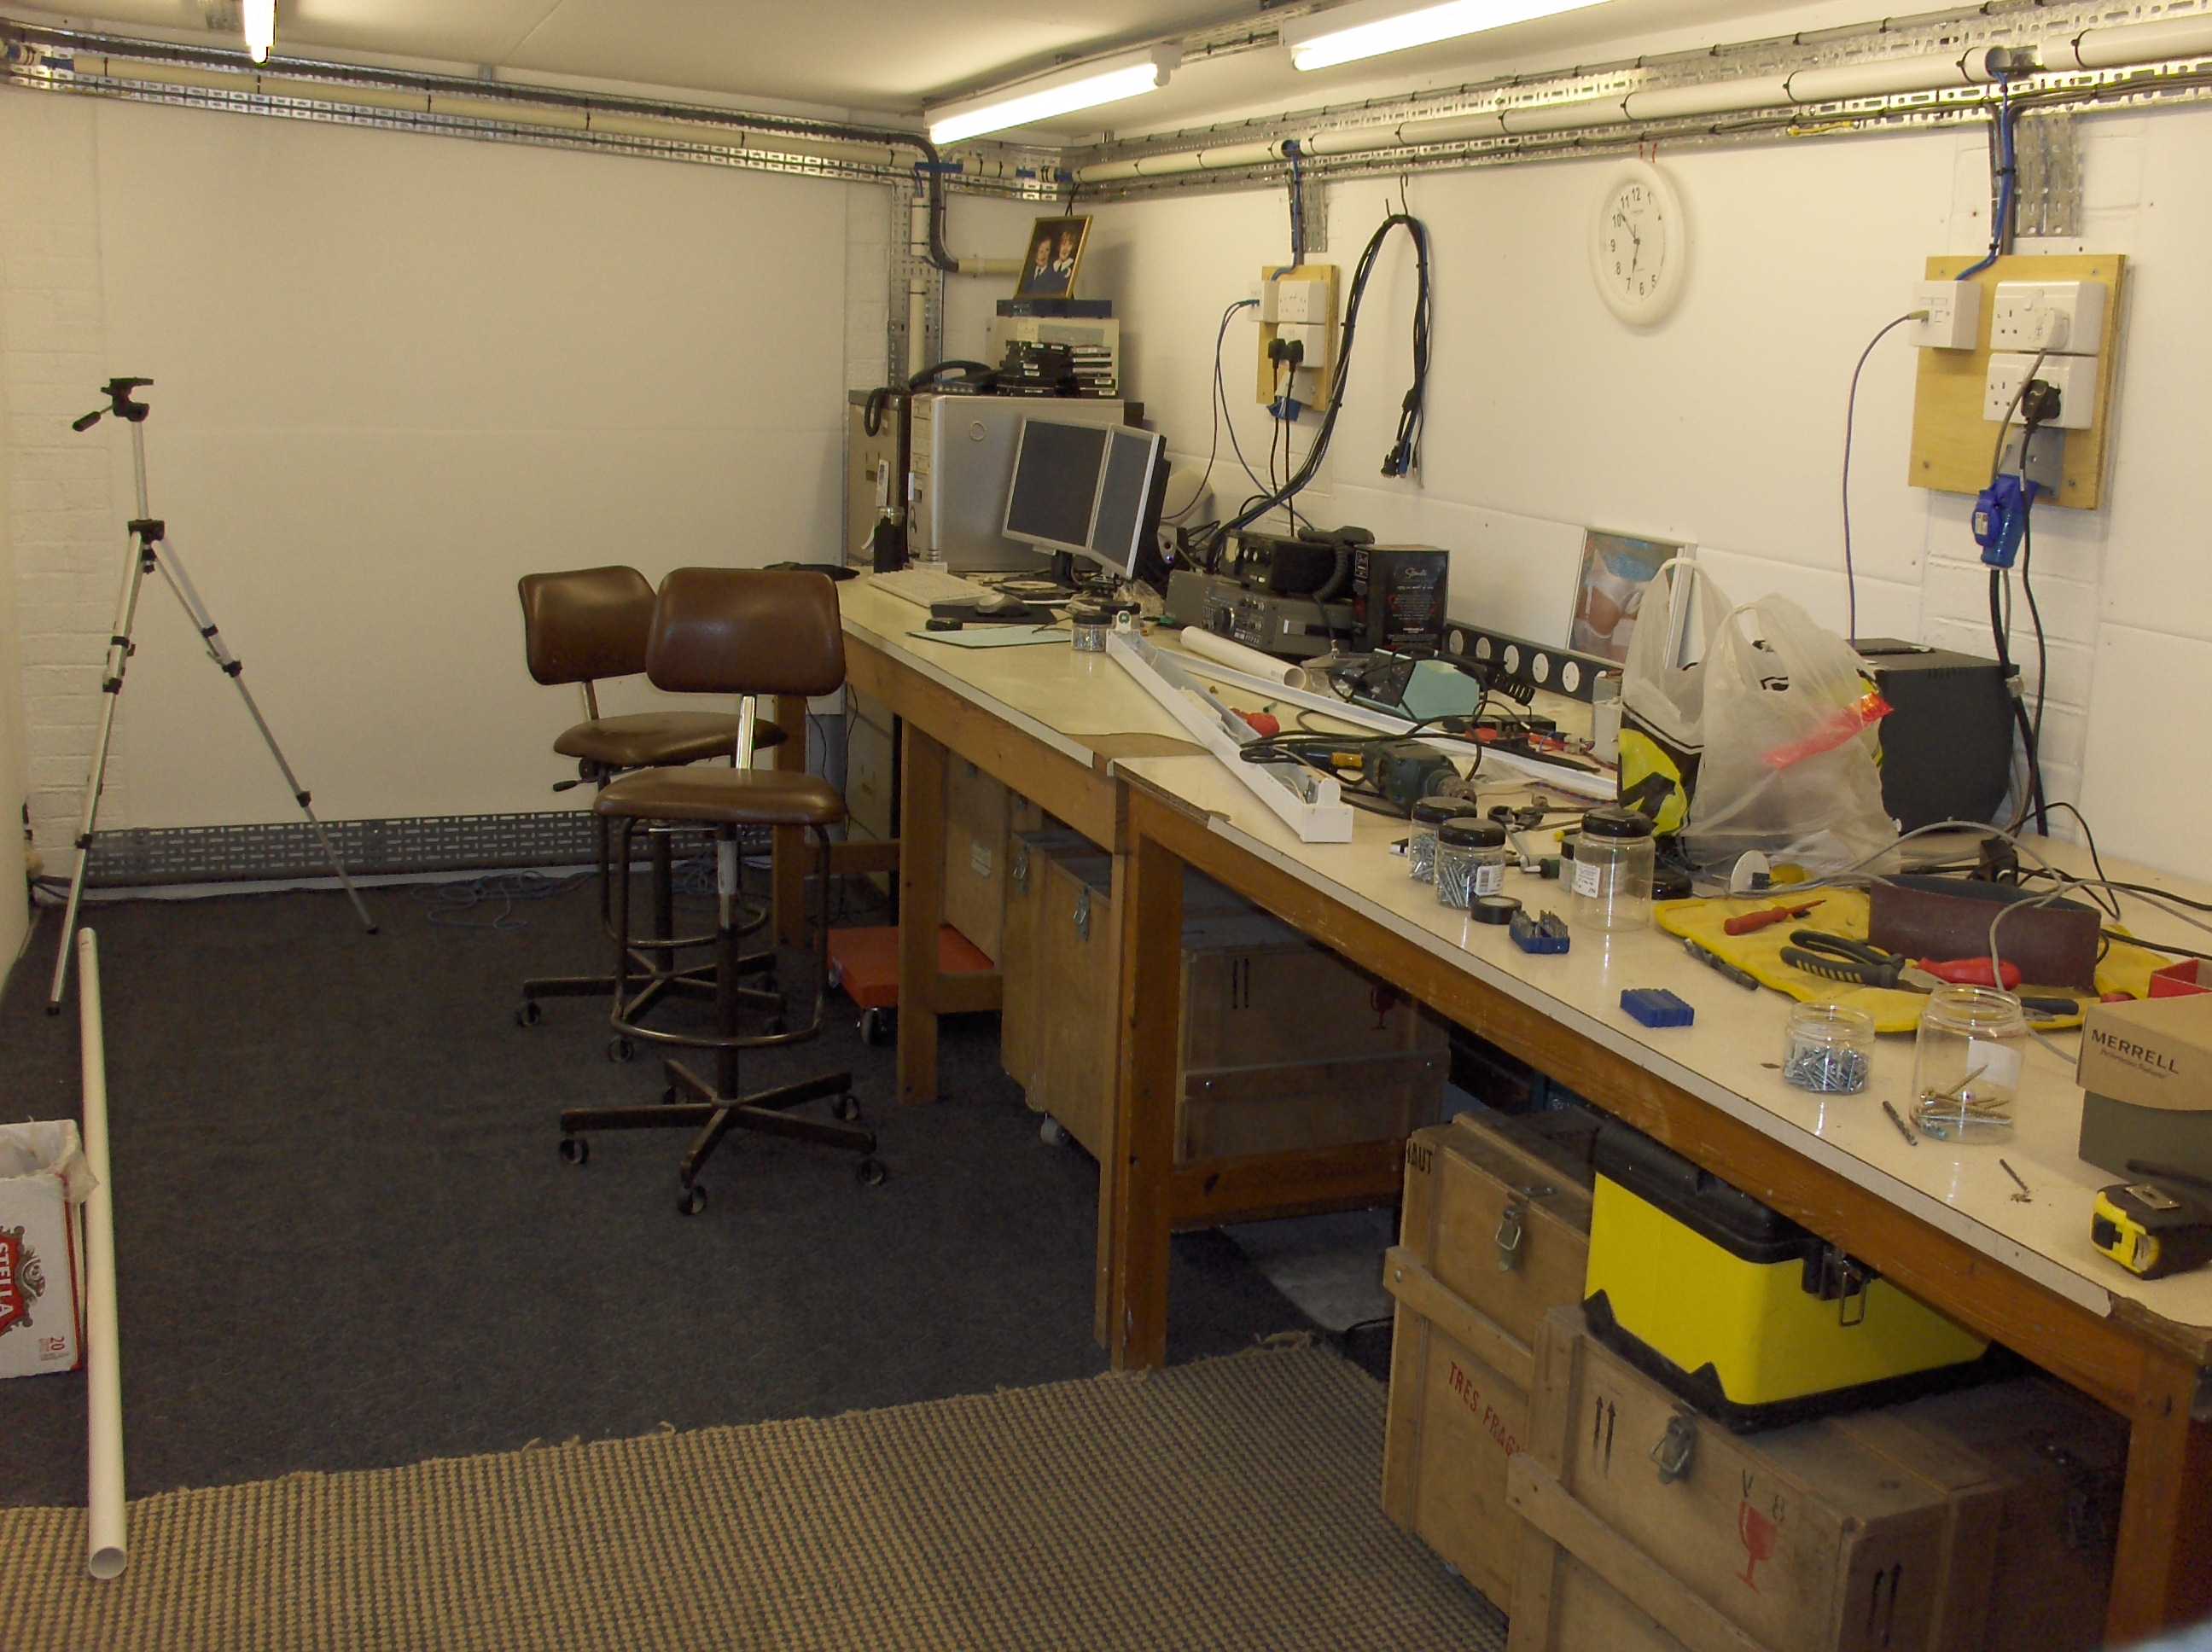
carpeted and nearly fully moved in. There is however one last touch...