New Canopy
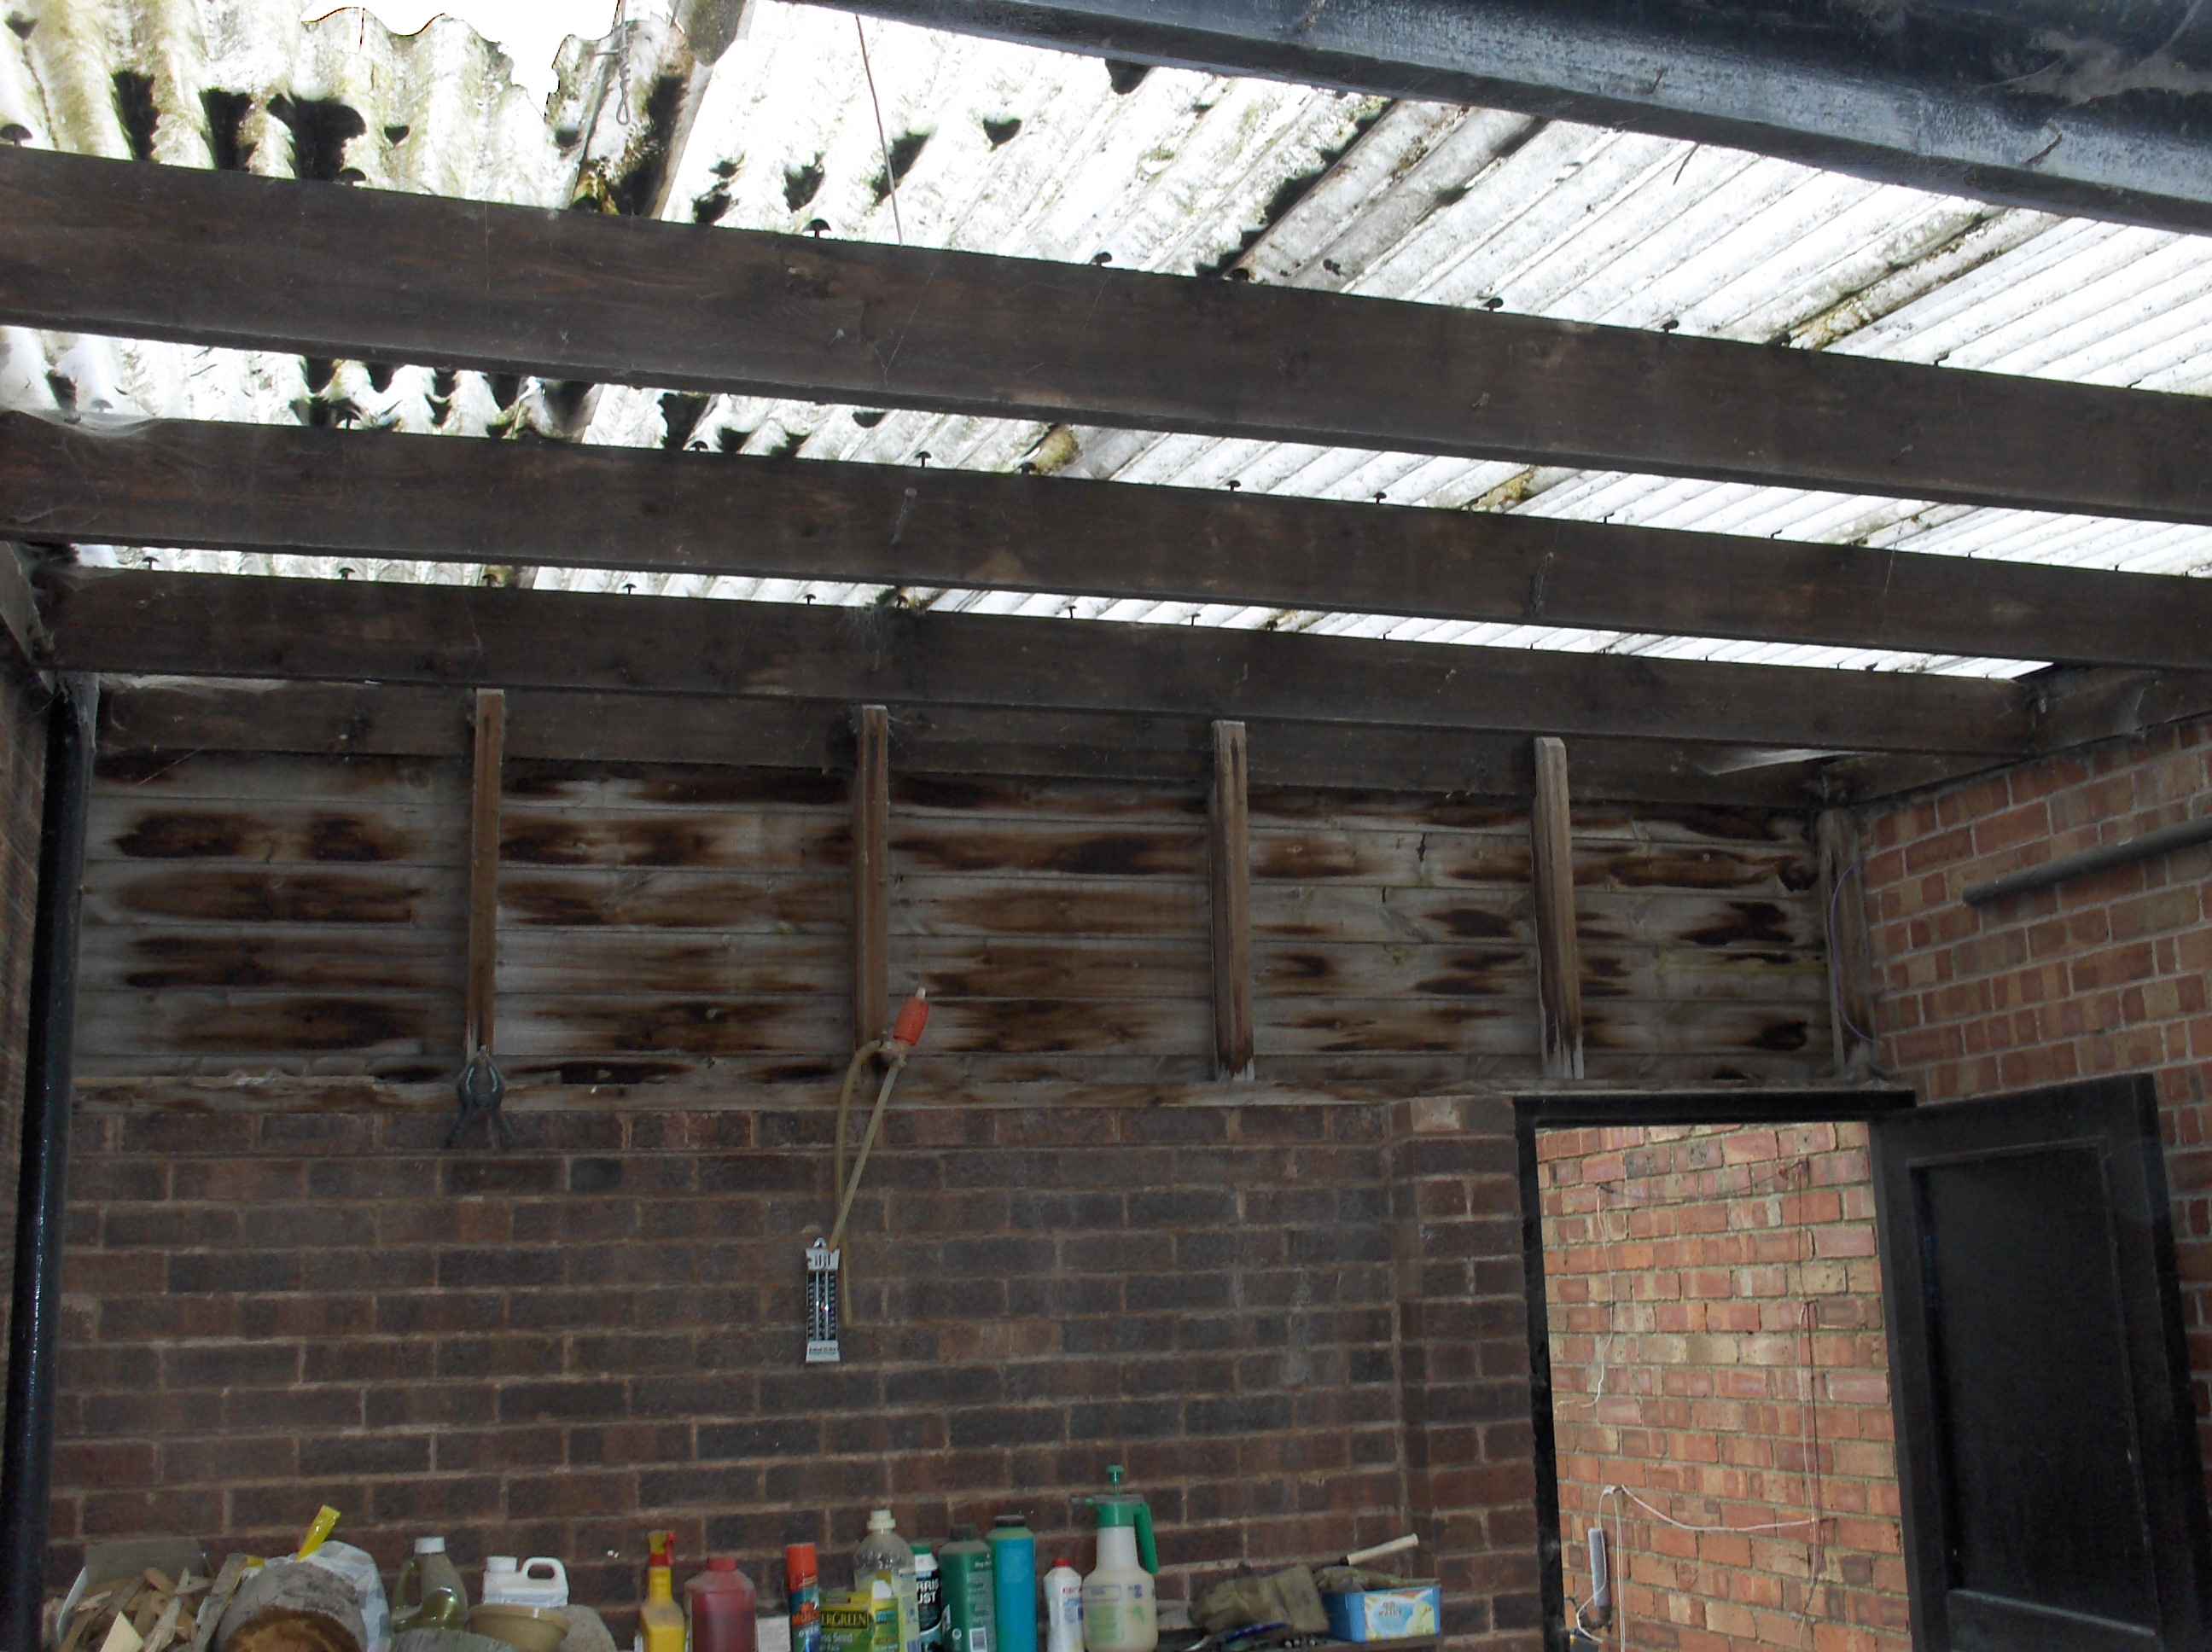
The old one was there when we moved in. It was broken in places the wood was rotten and in danger of falling down. Further it did not cover much and barely kept you dry when going from house to workshop. Something i do a LOT.

I ripped the old one down. I started undoing screws and doing a tidy job. God knows why. After an hour of that and making little progress. Took my ladder shoved it through the old plastic and smashed it all to bits the took the chainsaw and took the wood down 30mins later it was gone and it then pissed down with rain. I thought WTF have I done.
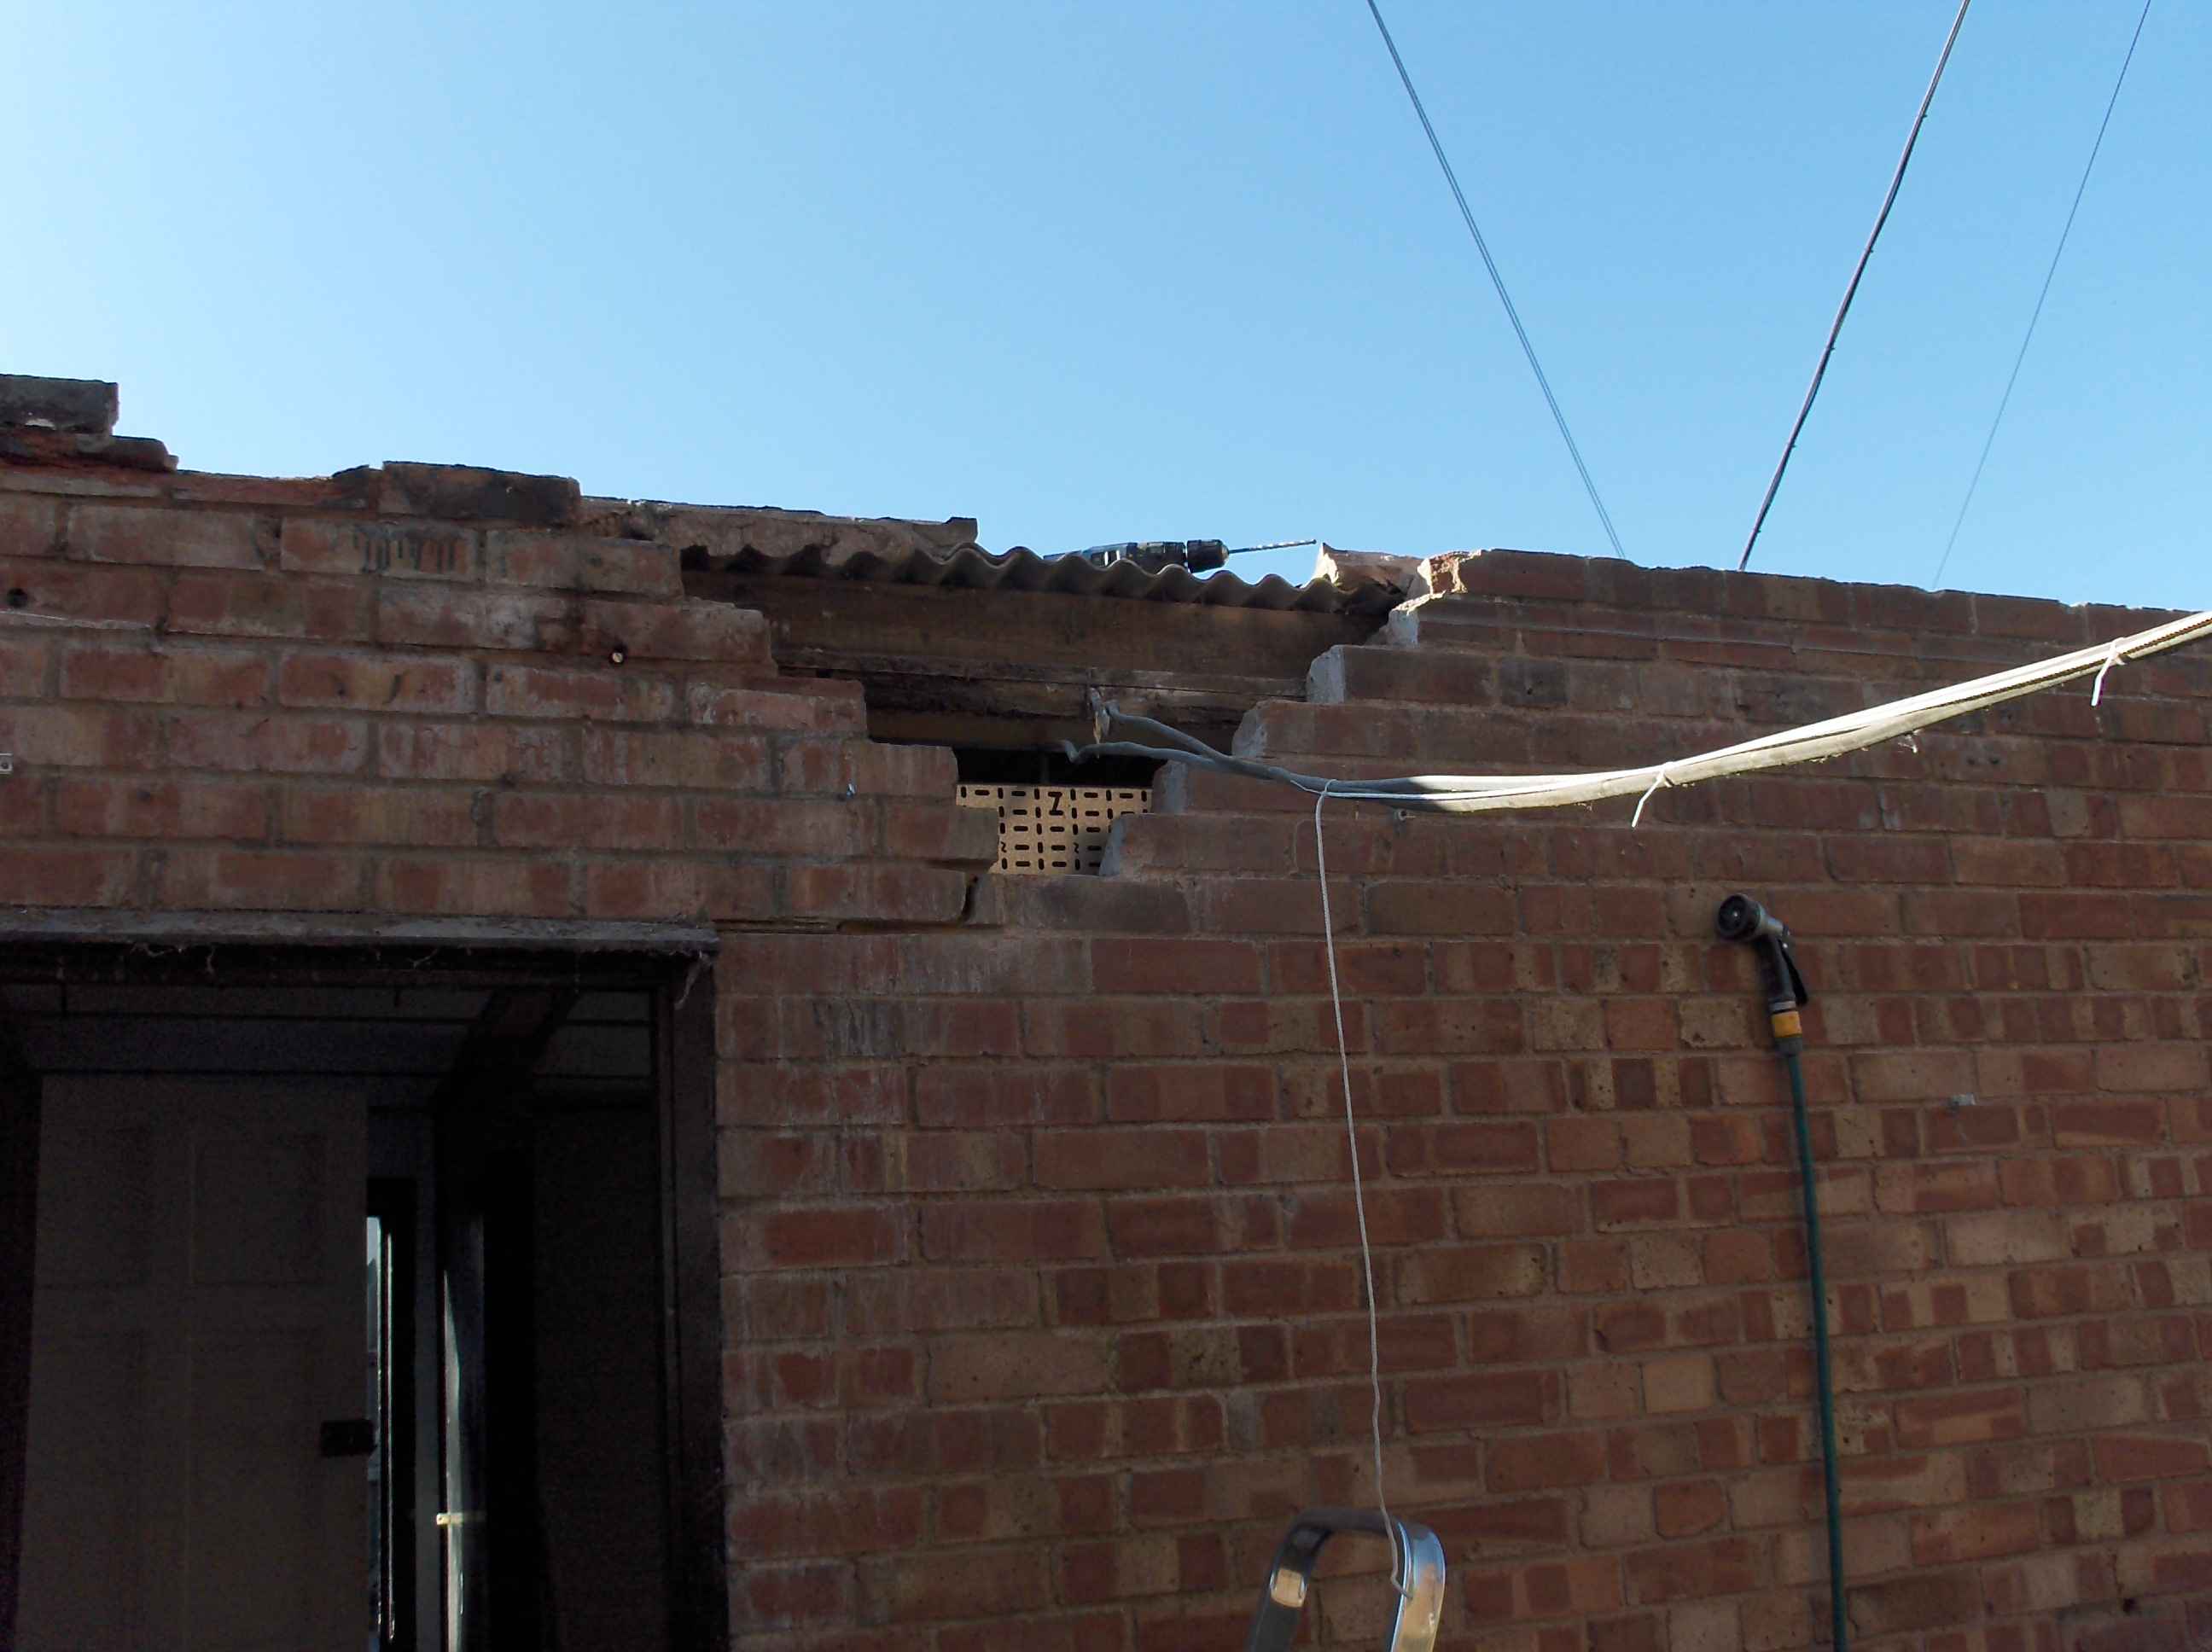
One job is never one job. There are always things you have to do before you can do the actual job. Now the canopy was gone I had first torepair the workshop/freezer-room wall as it was cracked. This had to be done first as the new canopy required a wall plate on top of the wall to support it.
Doing this job I discovered I am no bricky. I did however manage to bodge the job together and it does not look too bad. But My poor attempts at brick work did convince me not to build a wall at the end of the freezer room and extend the canopy further. This was a mistake... I ended up doing that 12 months later. I got a bricky to do the brick work though.
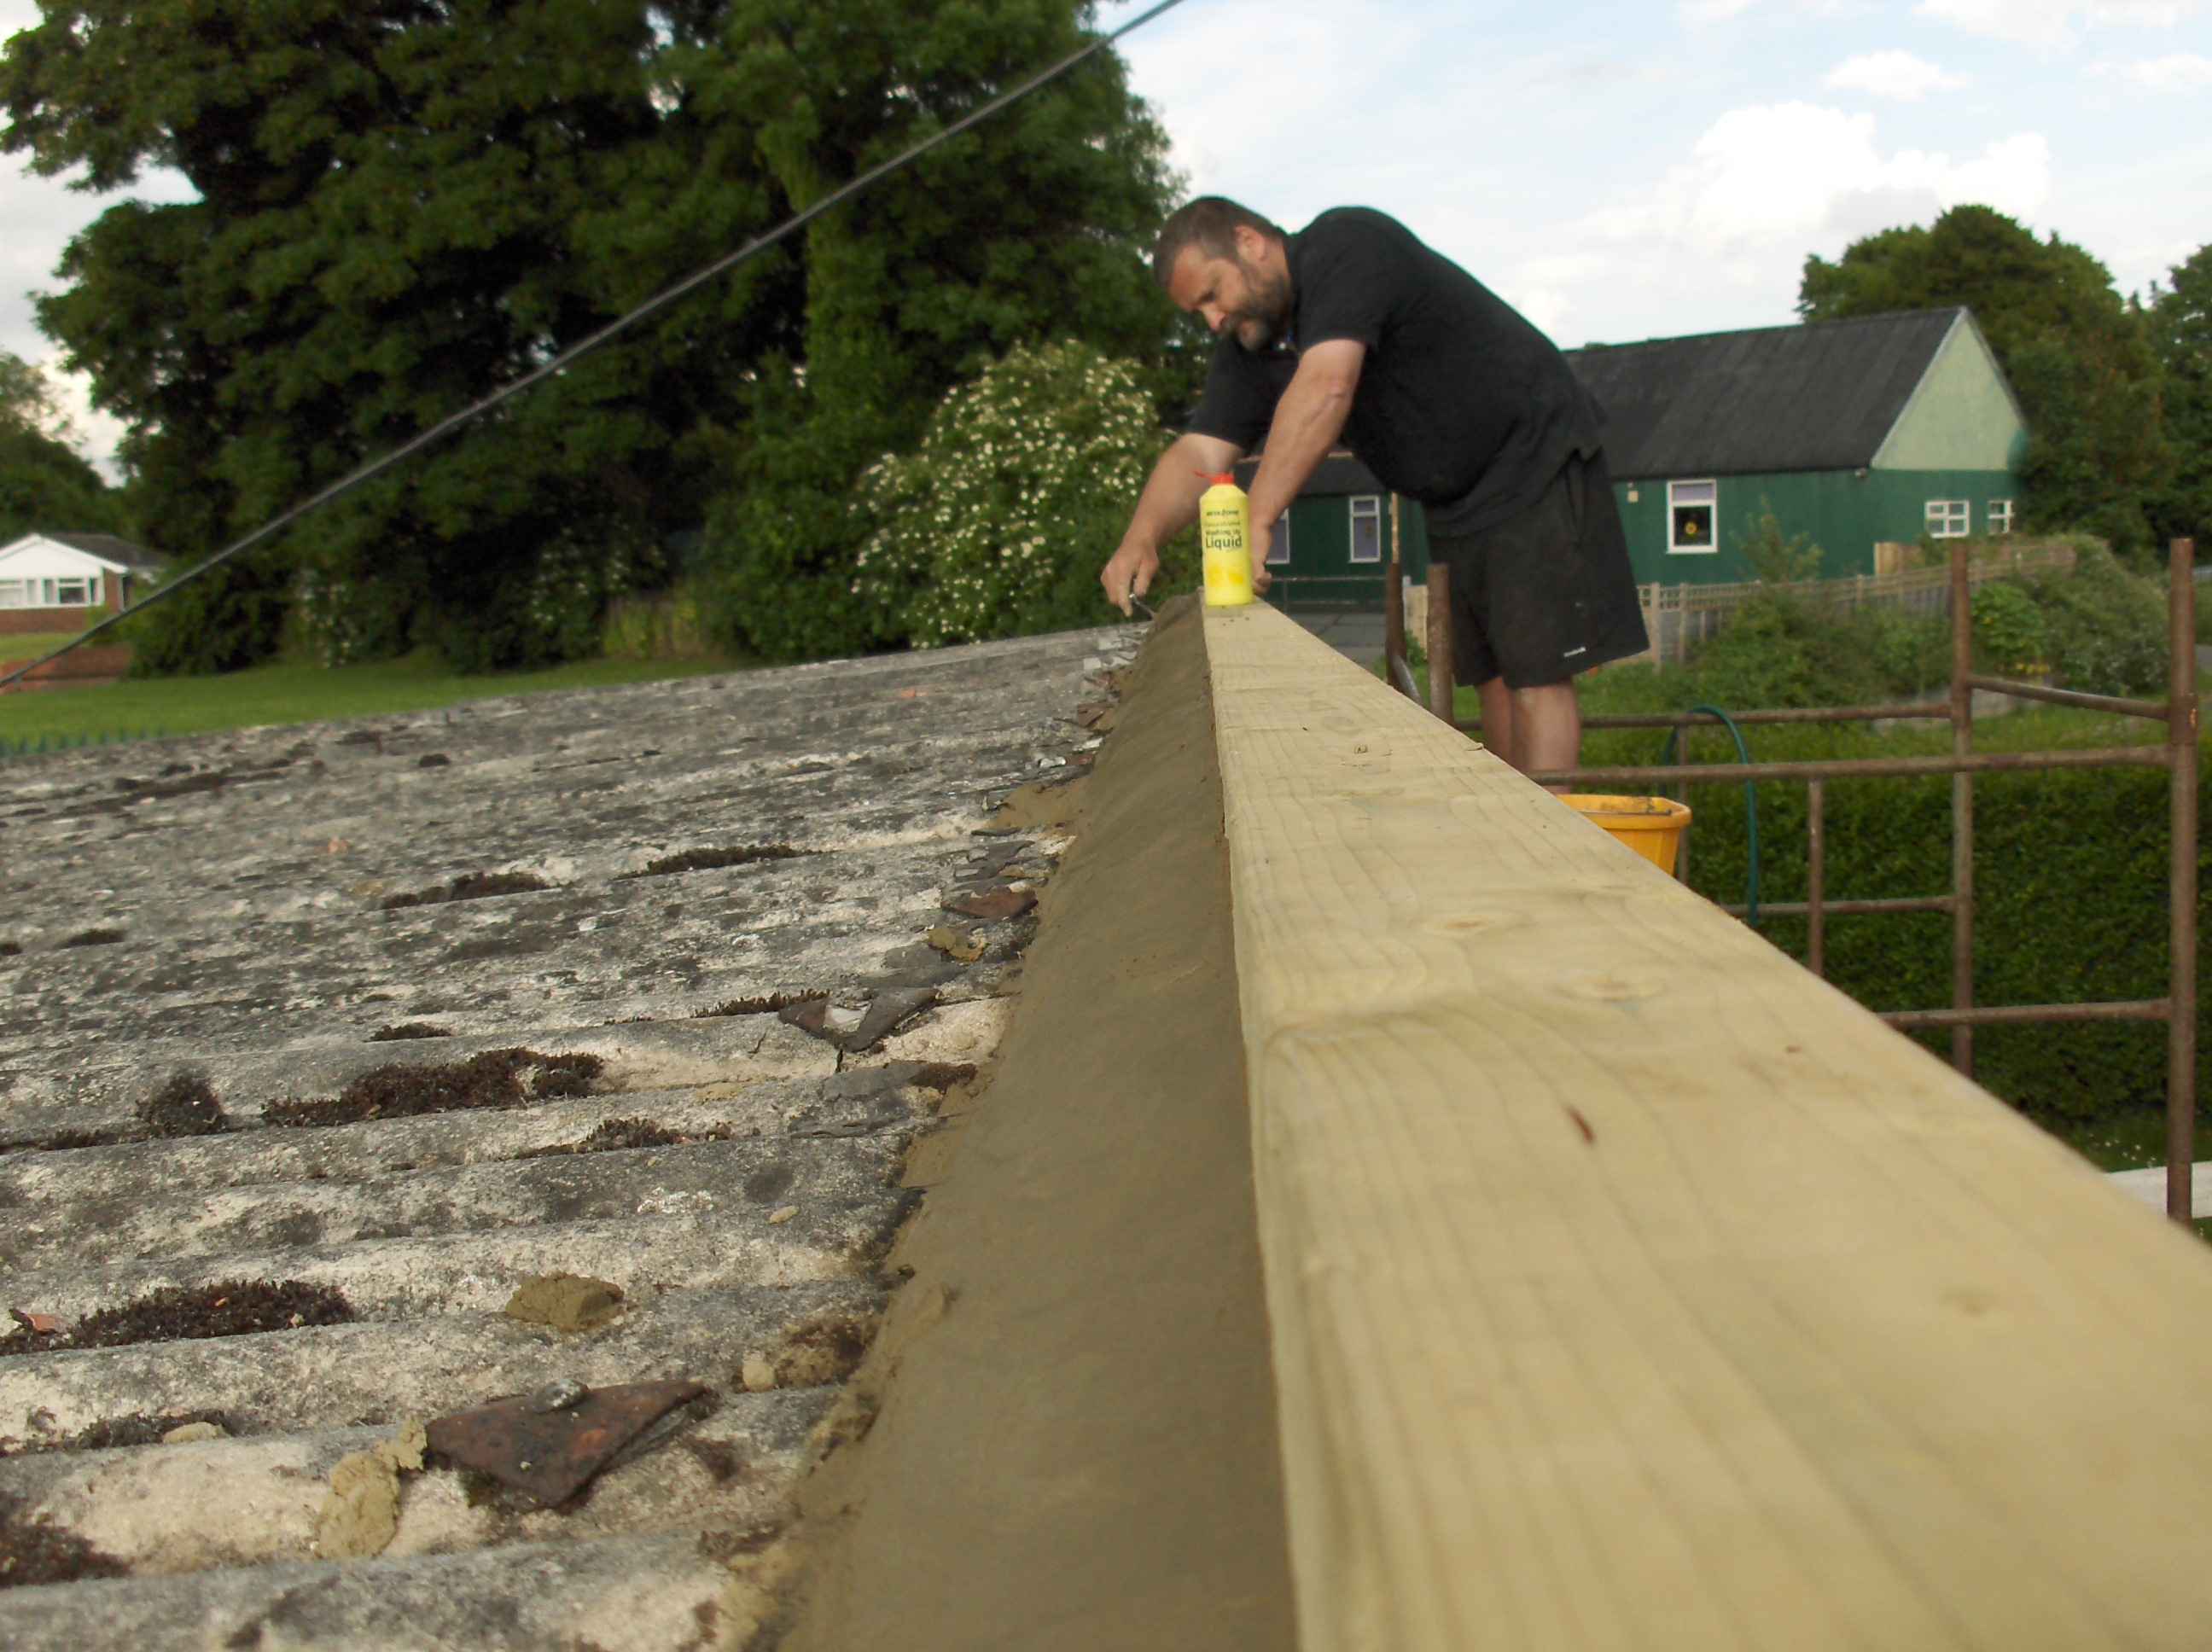
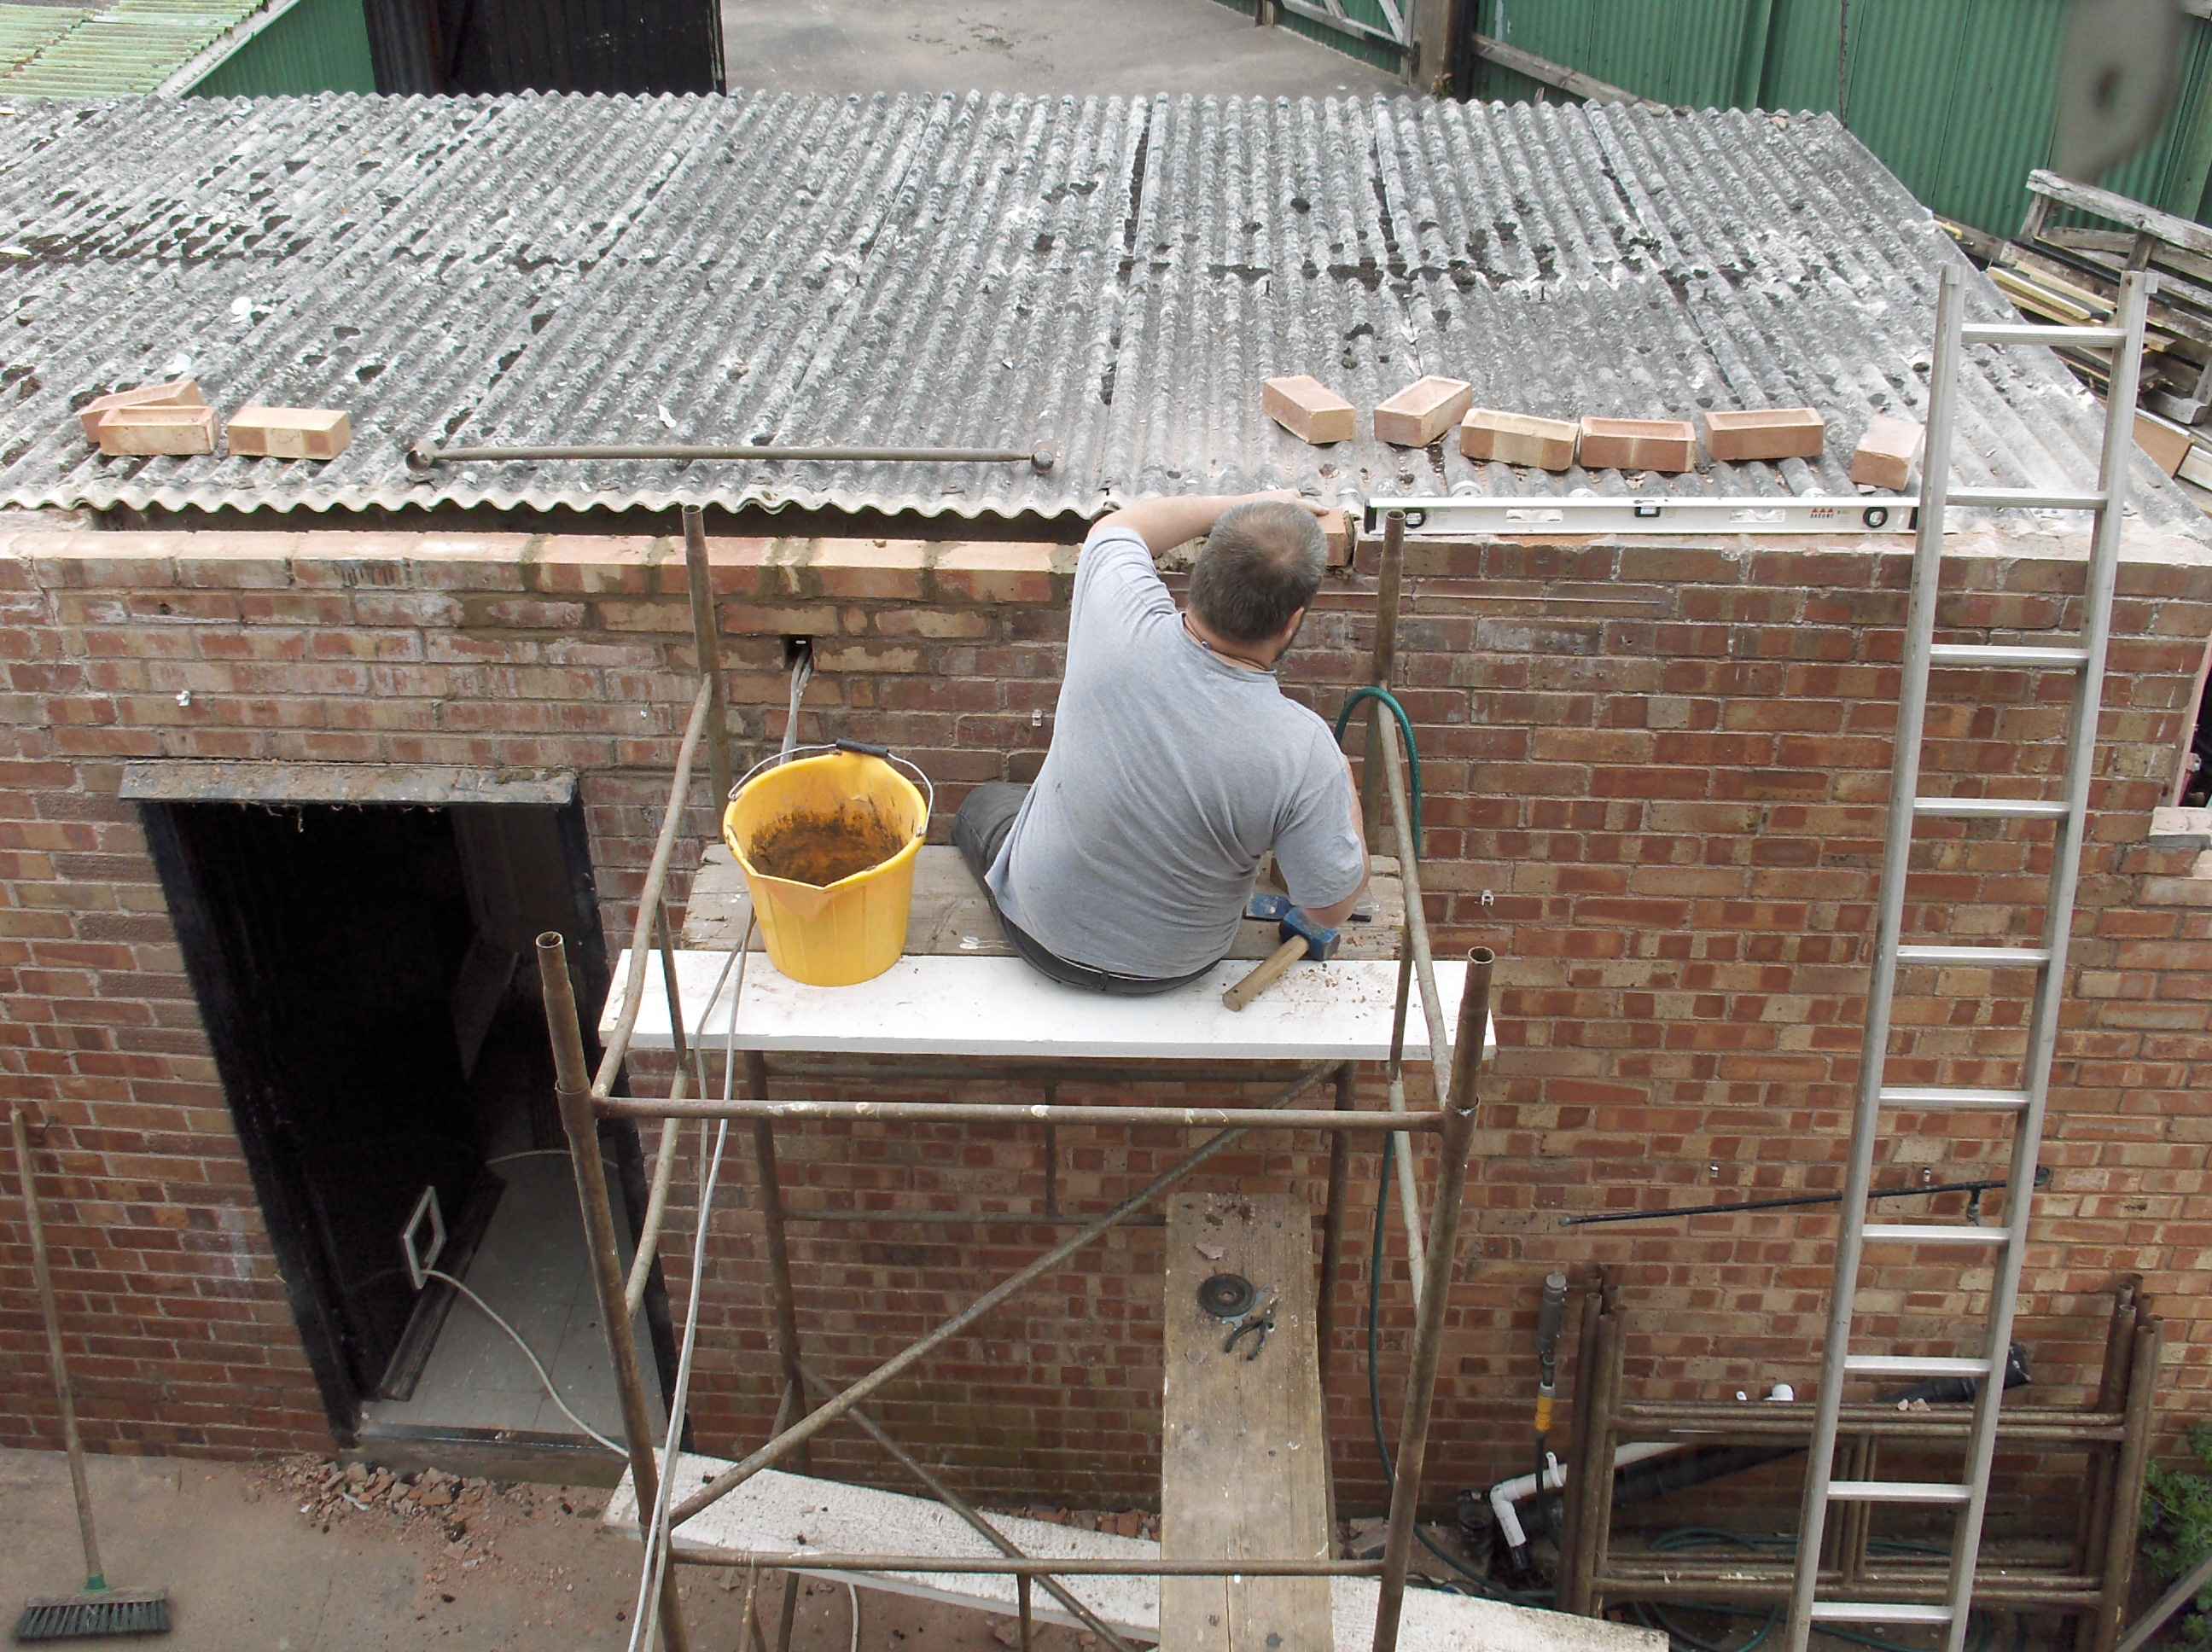
I laid the wall plate and rear mortar fillet.
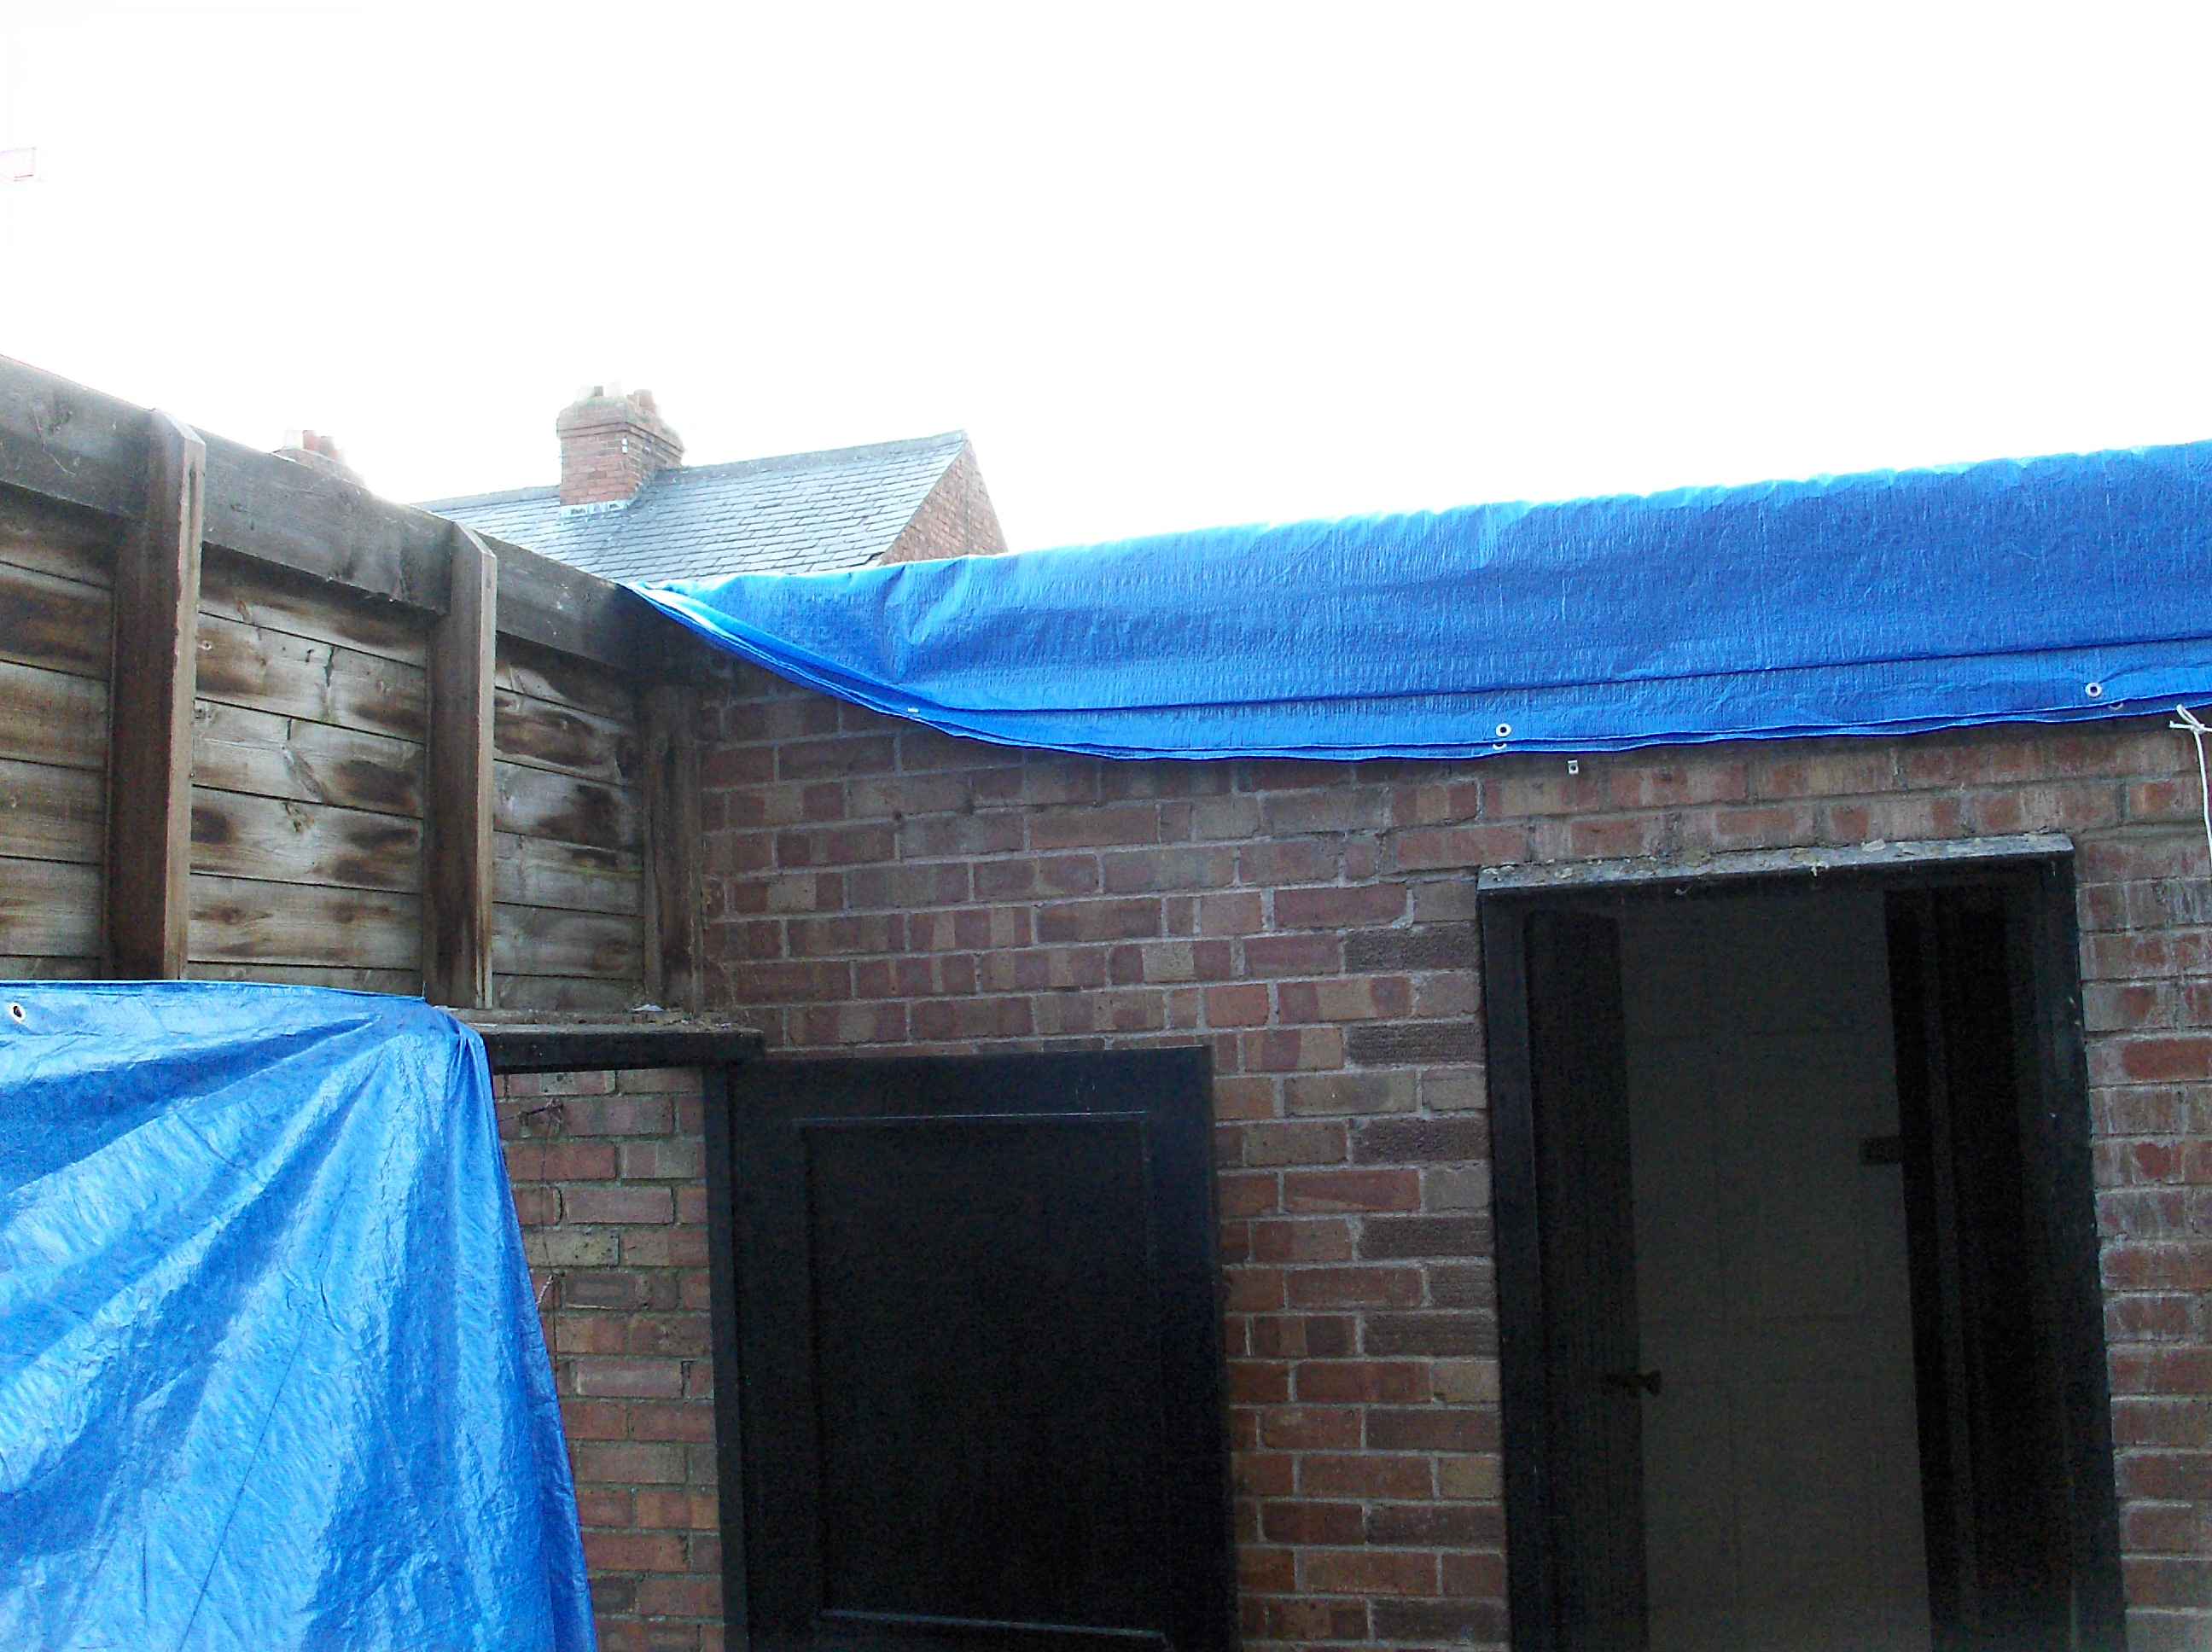
and covered it in plastic to keep the rain off while it set in place.
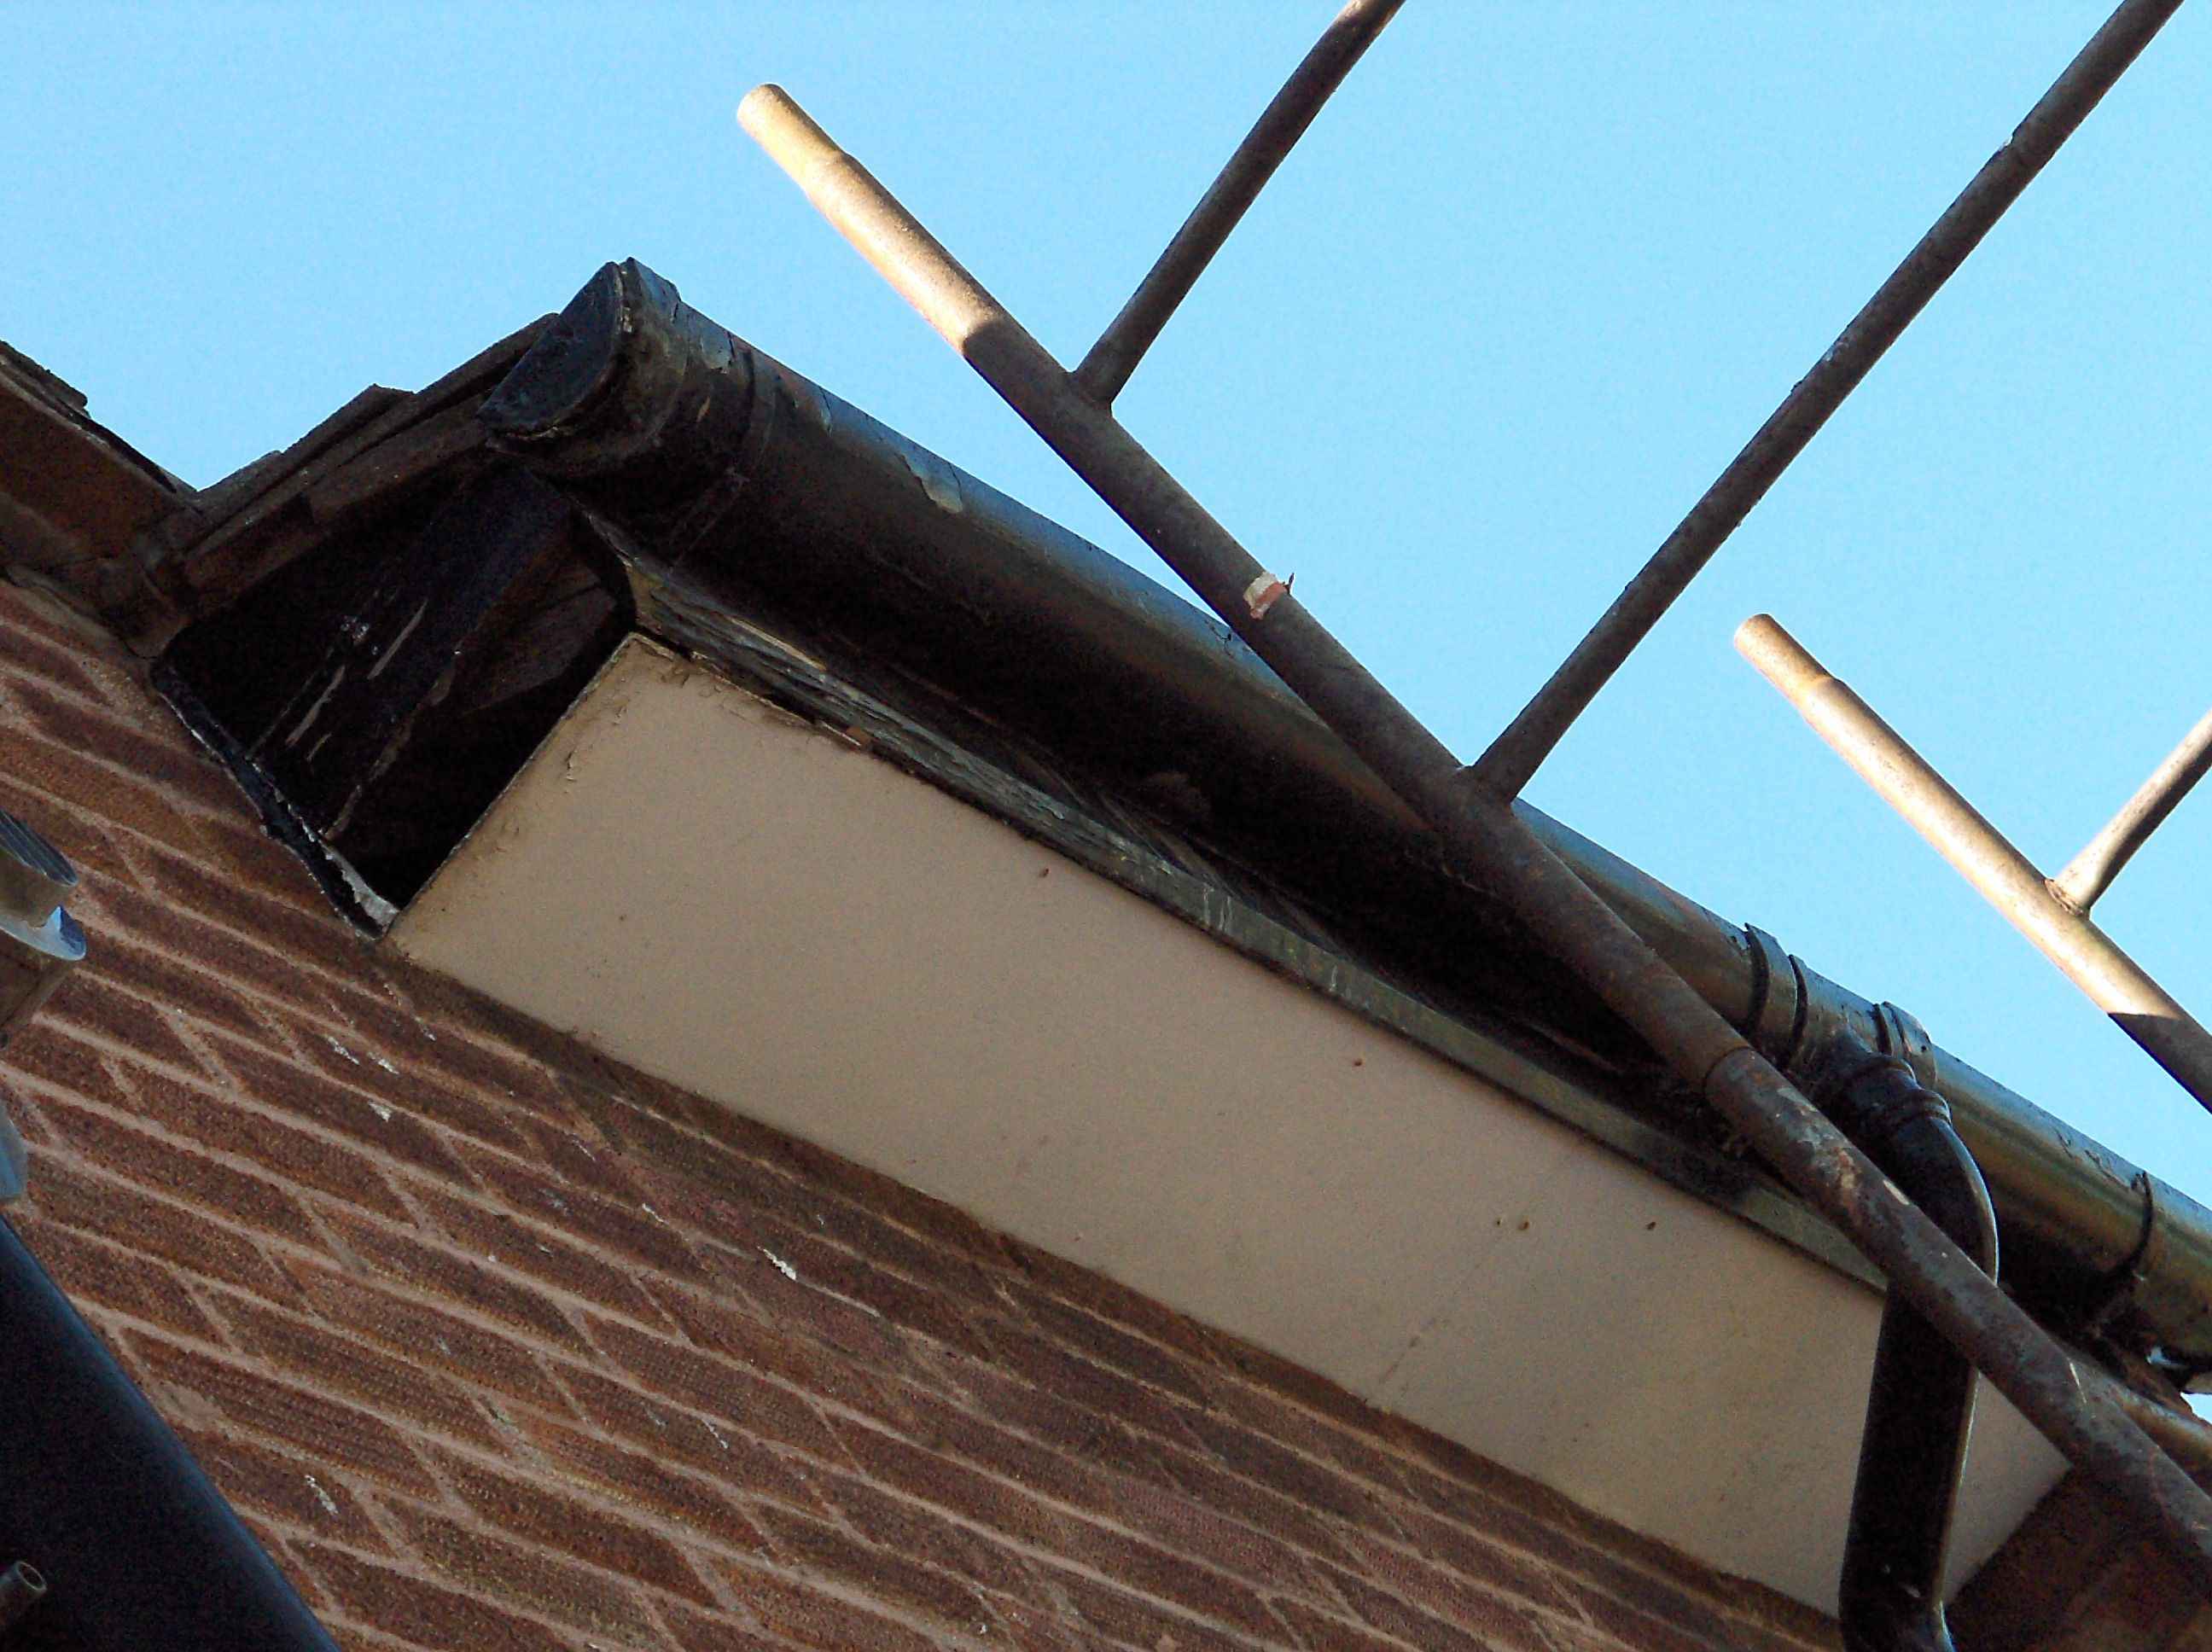
Now that was done. The next pre-requisite was the guttering and facia that is above the canopy. That needed replacing first as I'd never get to it after the canopy was up.
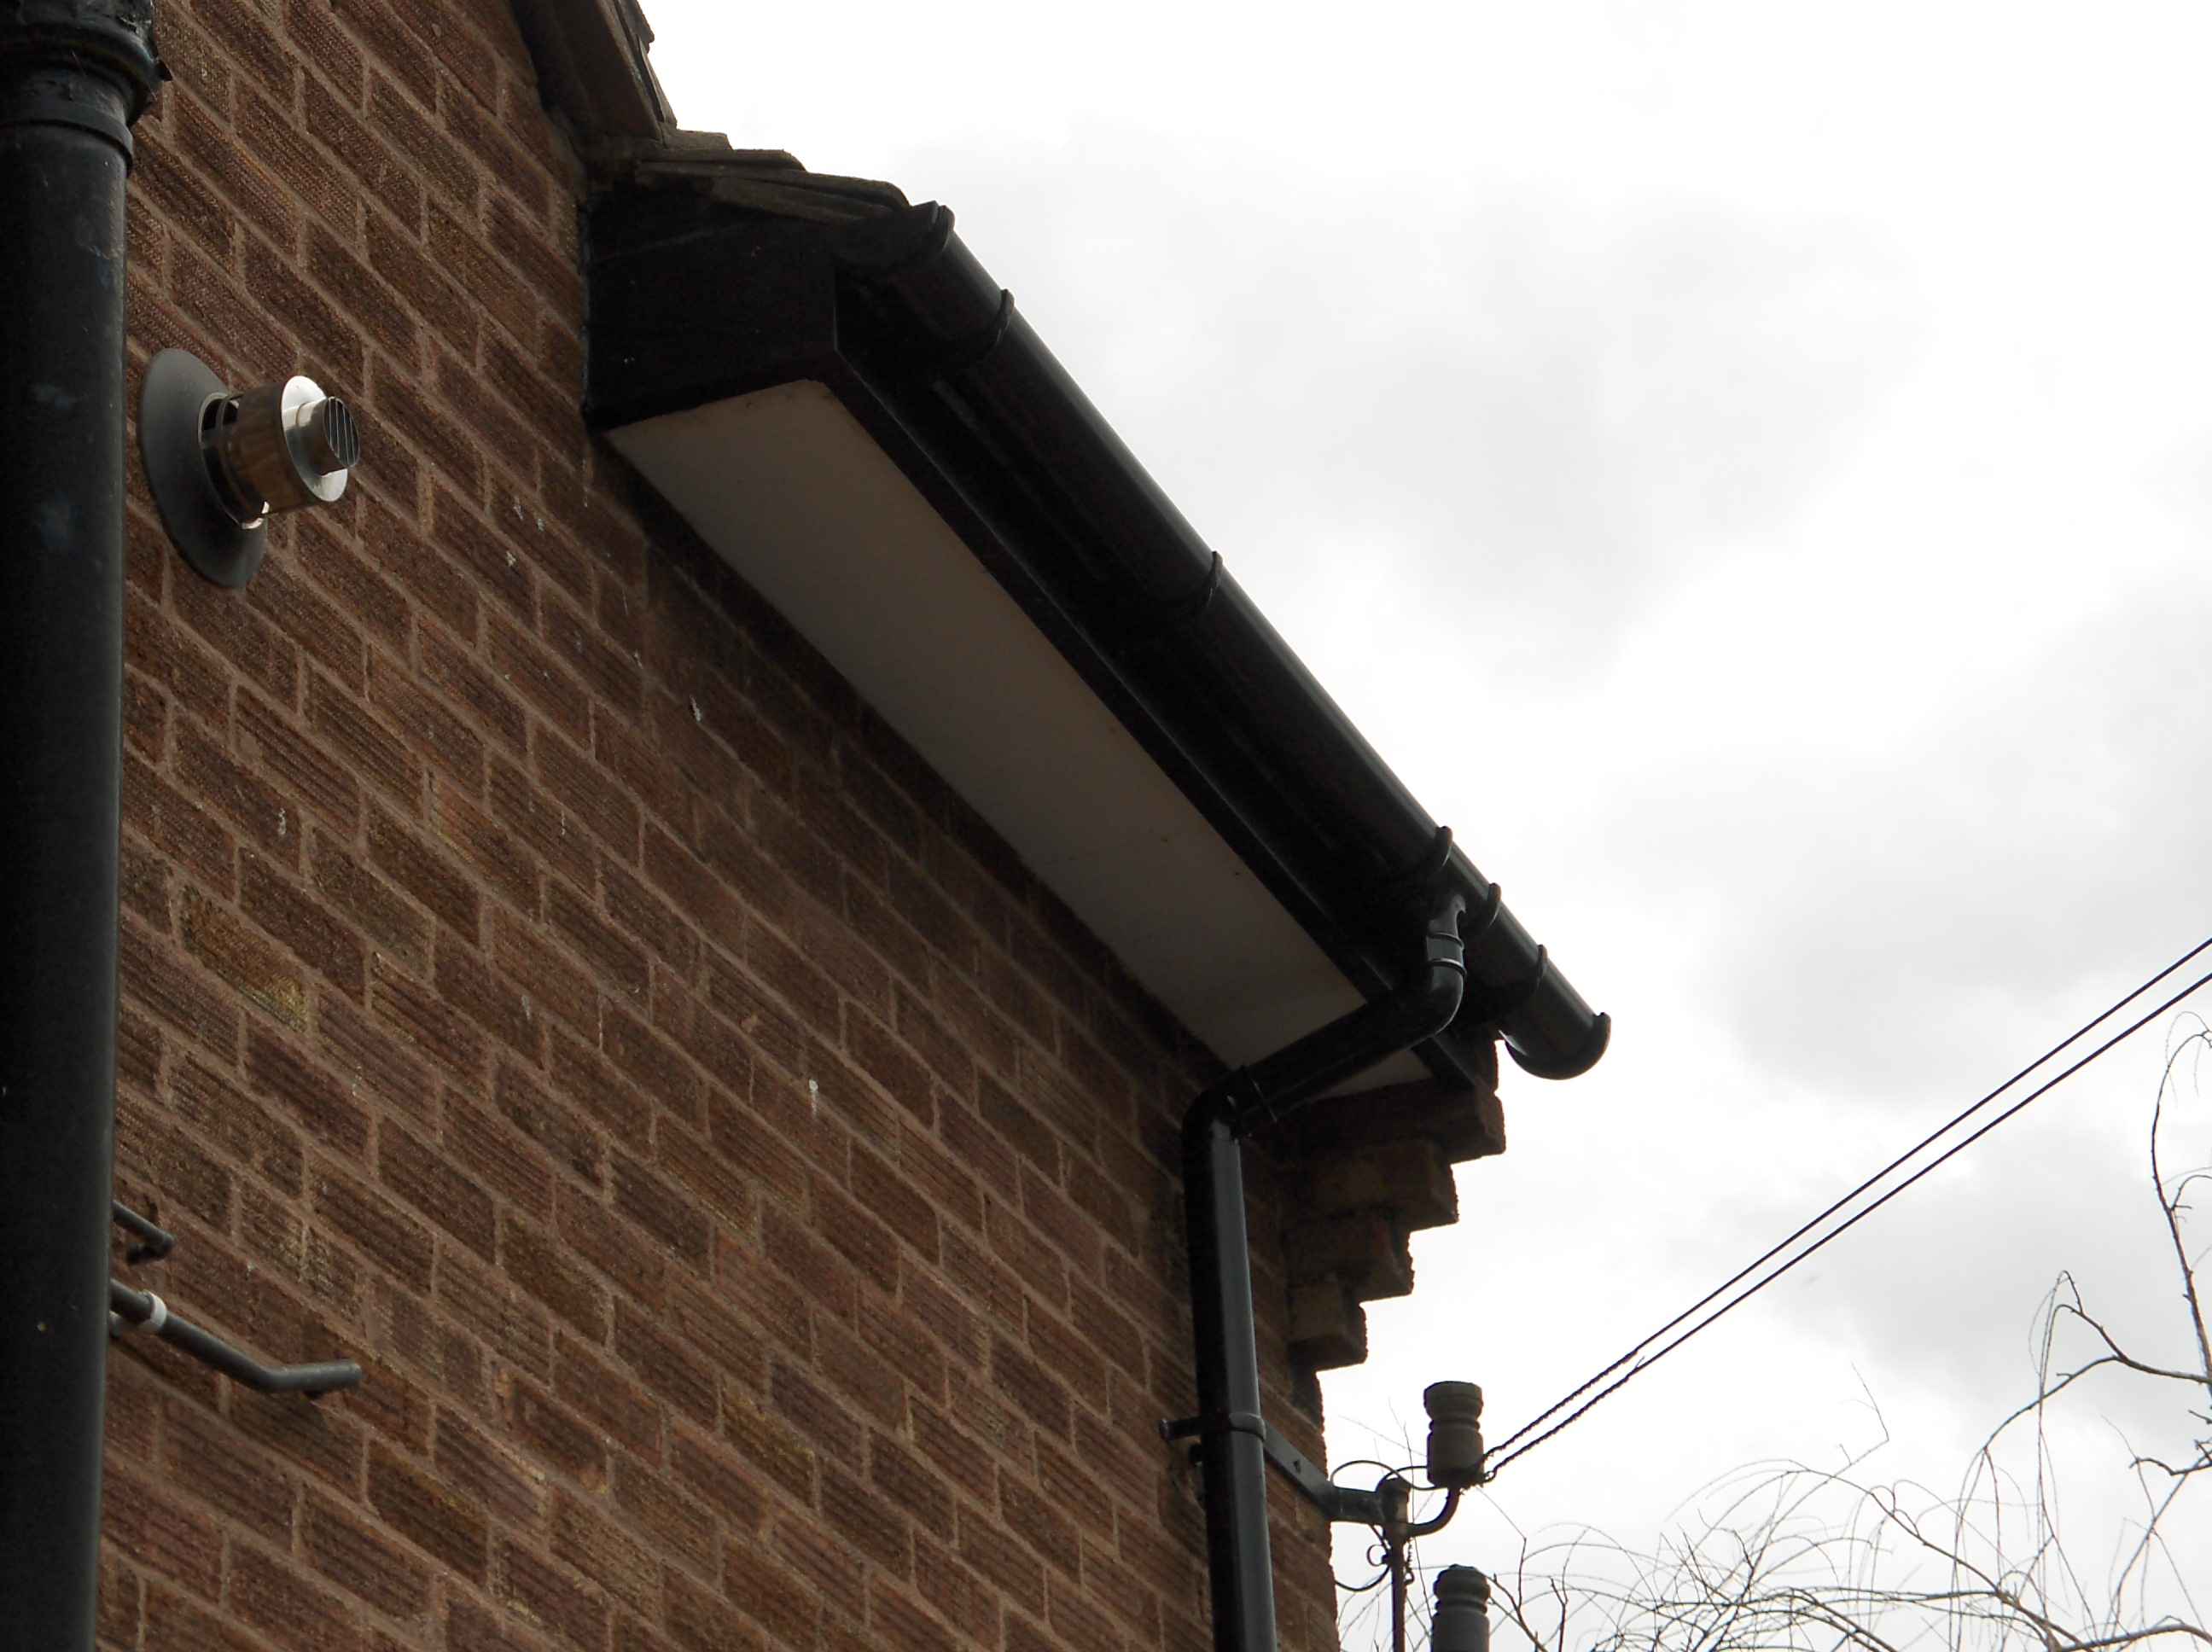
I coverd the existing facia with the plastic stuff and replaced the guttering and downpipe with plastic too. The guttering was put to empty on the canopy so all the rain would eventualy end up in my rain collection system.
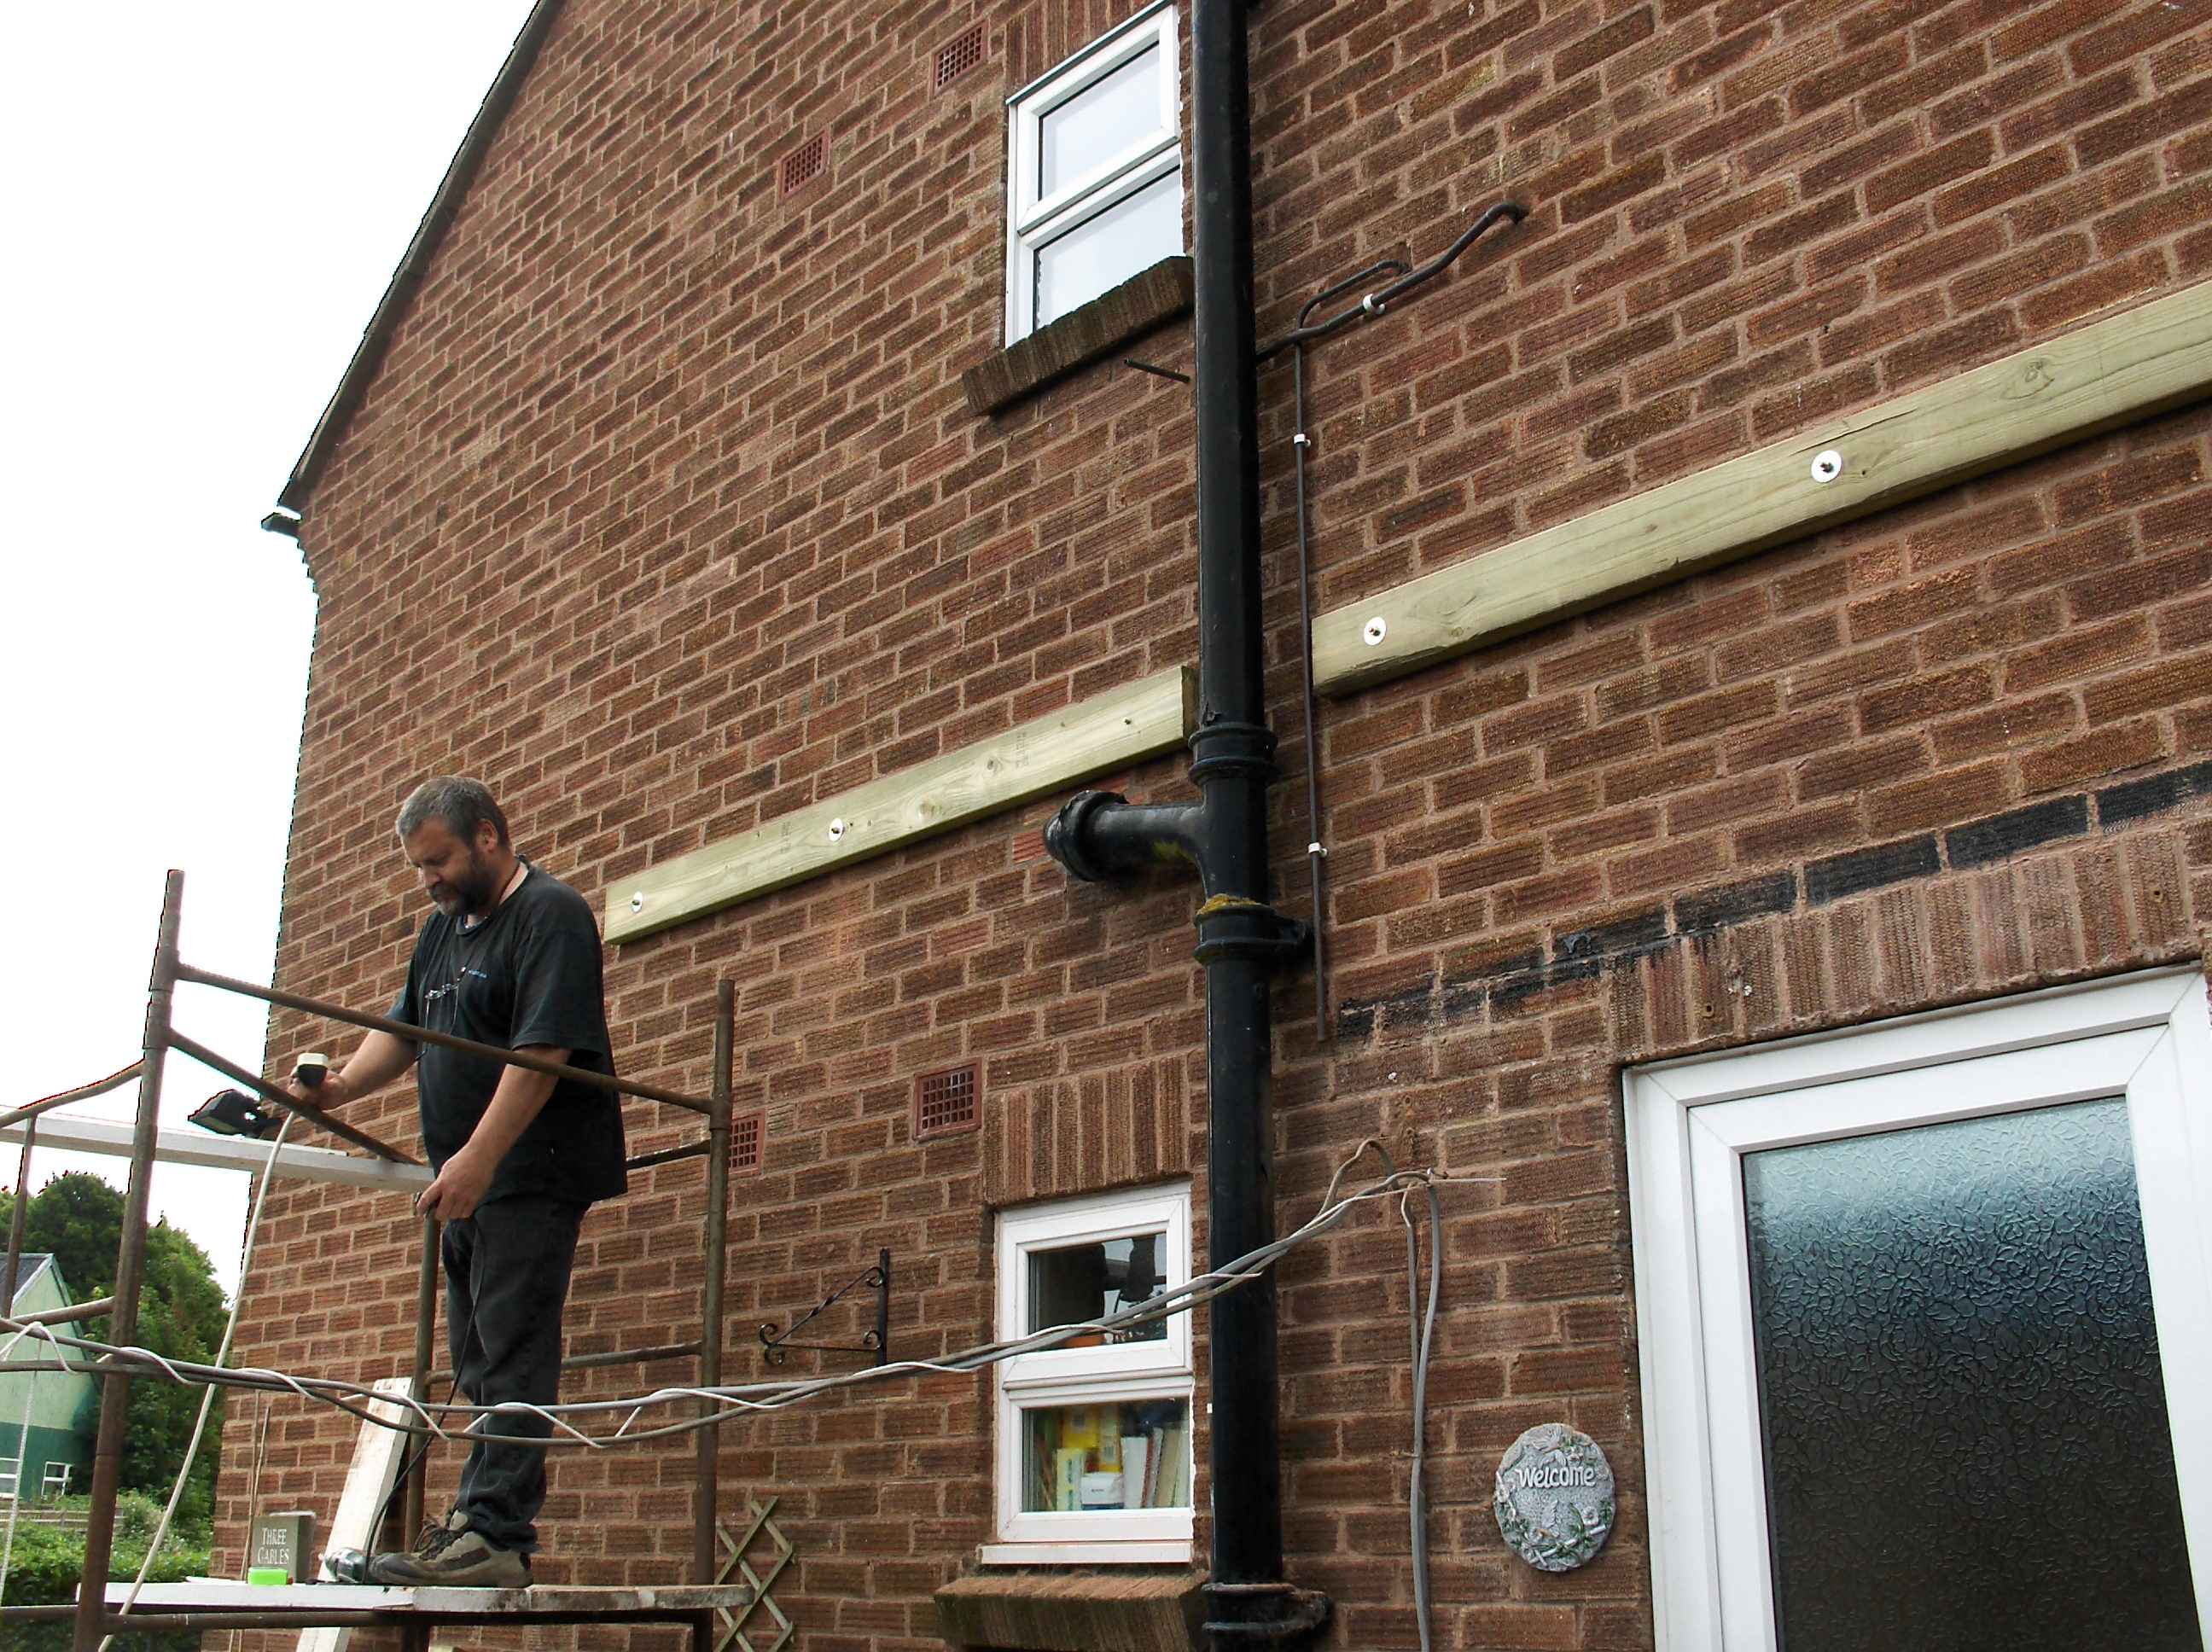
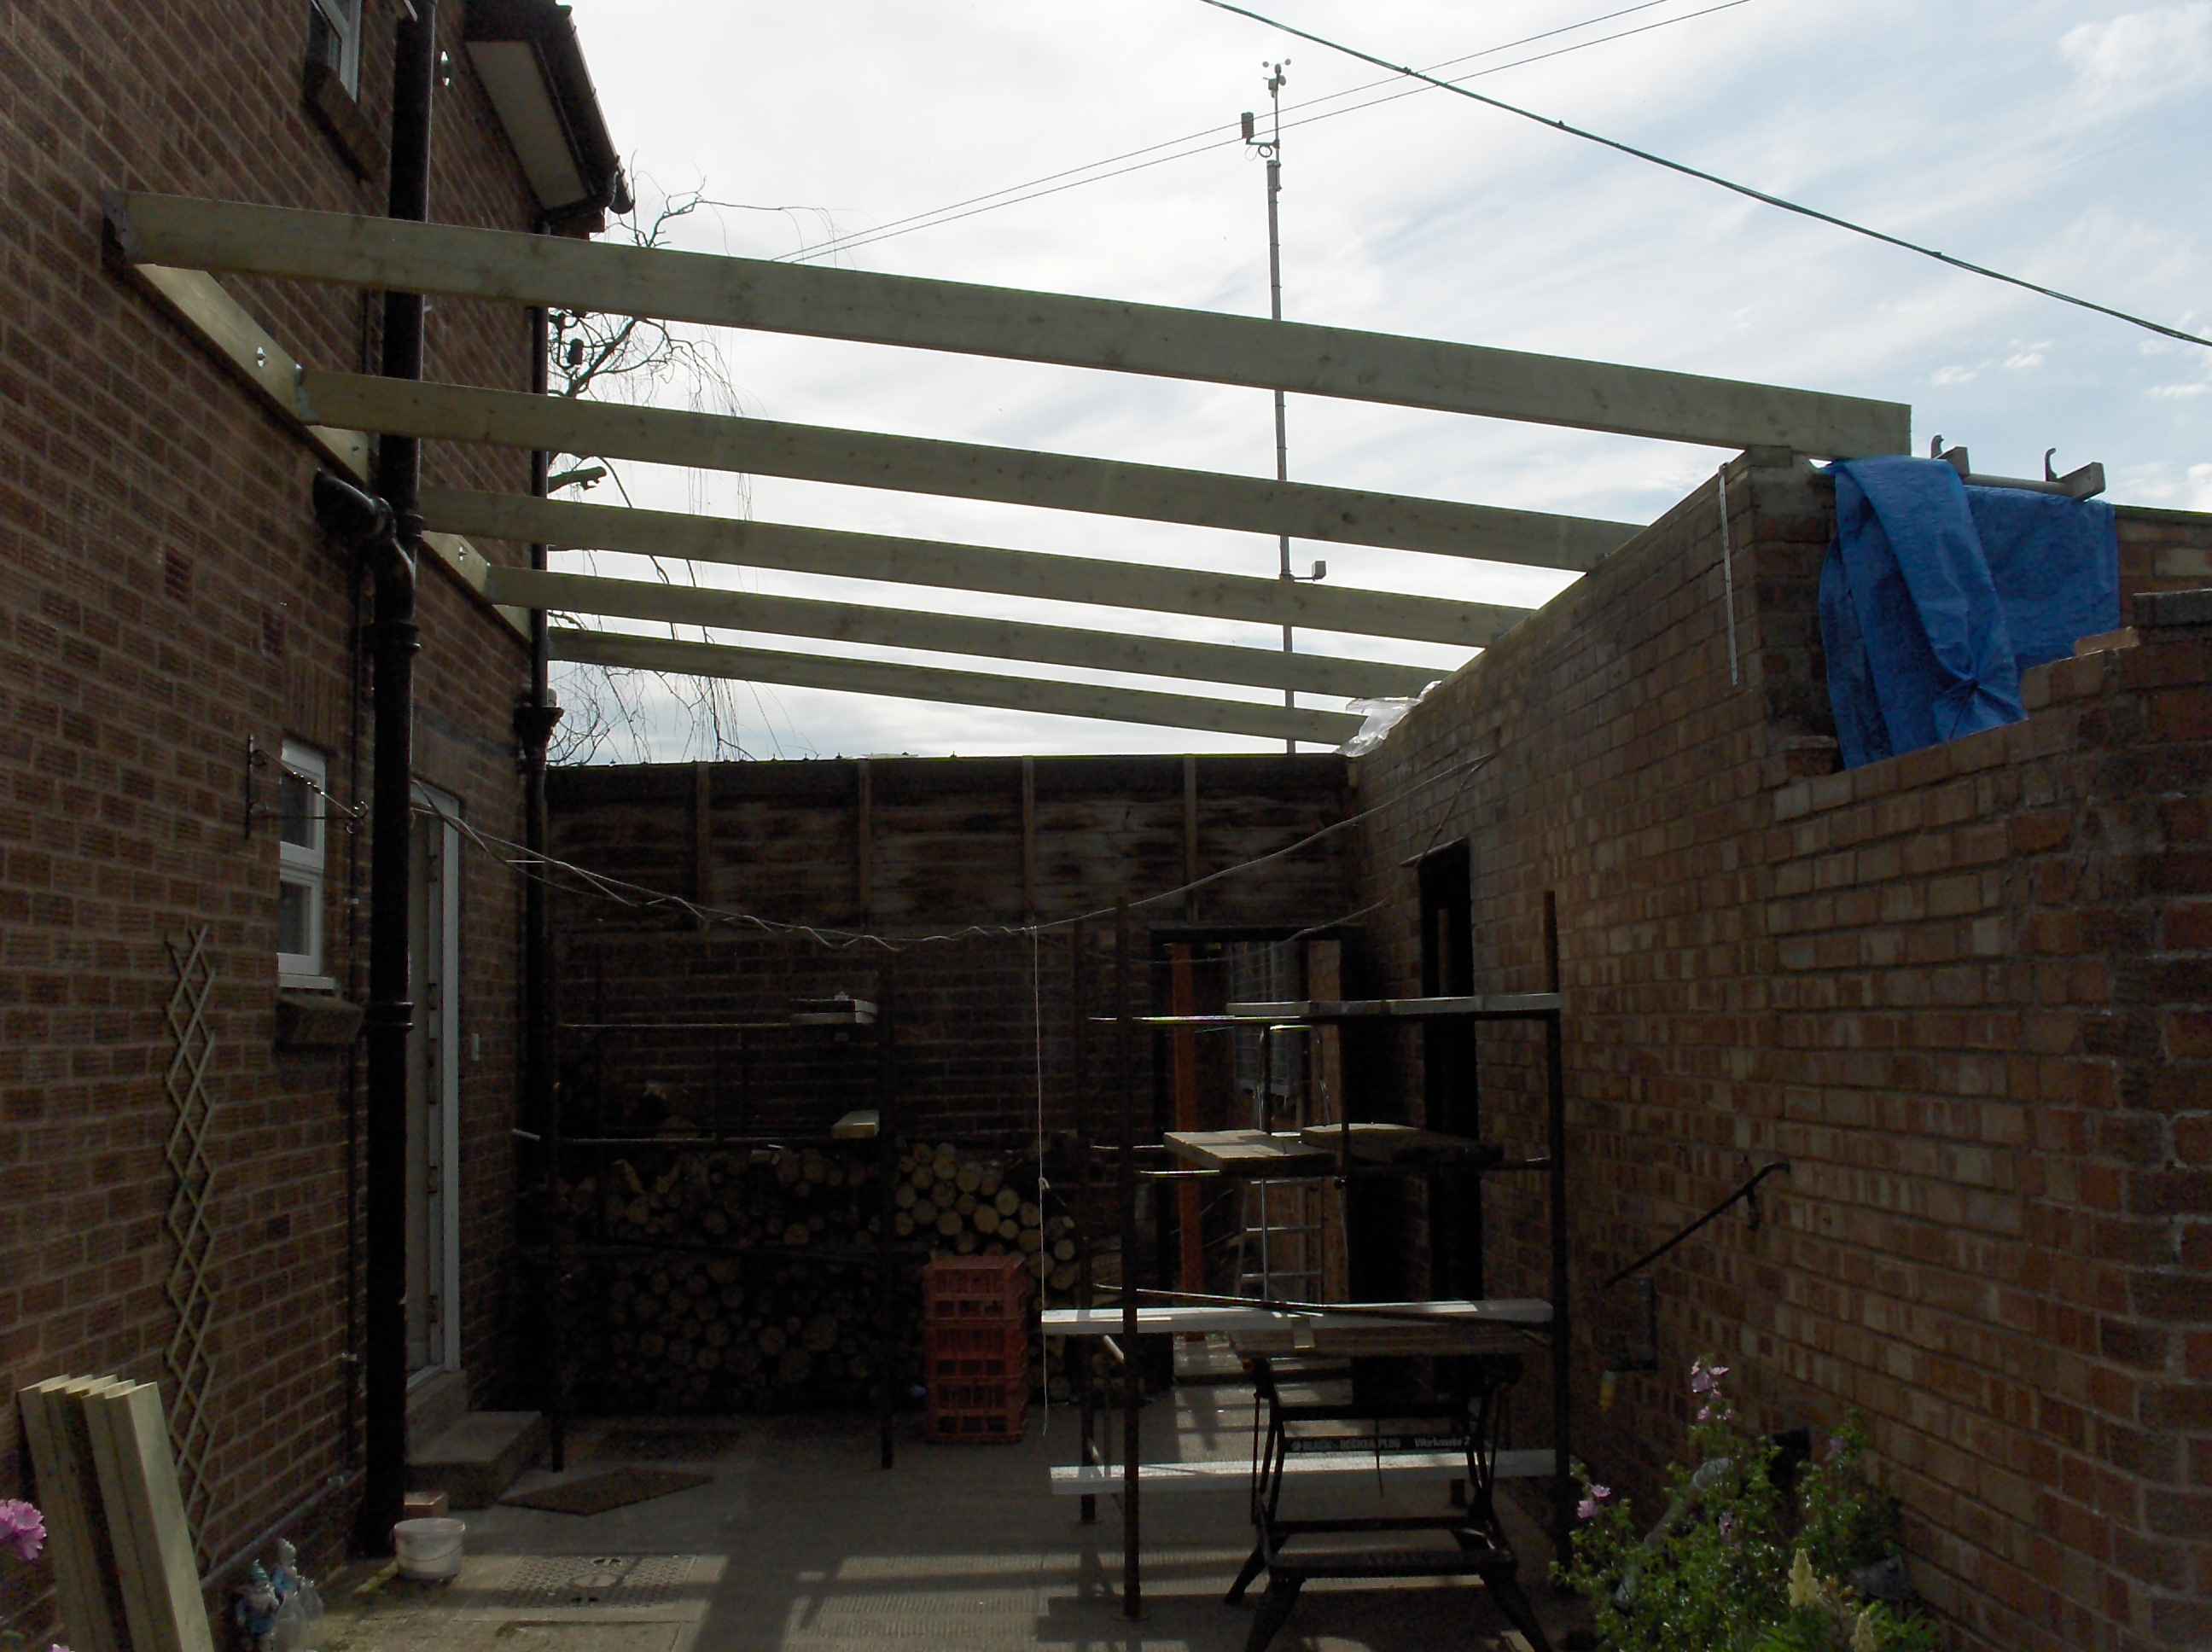
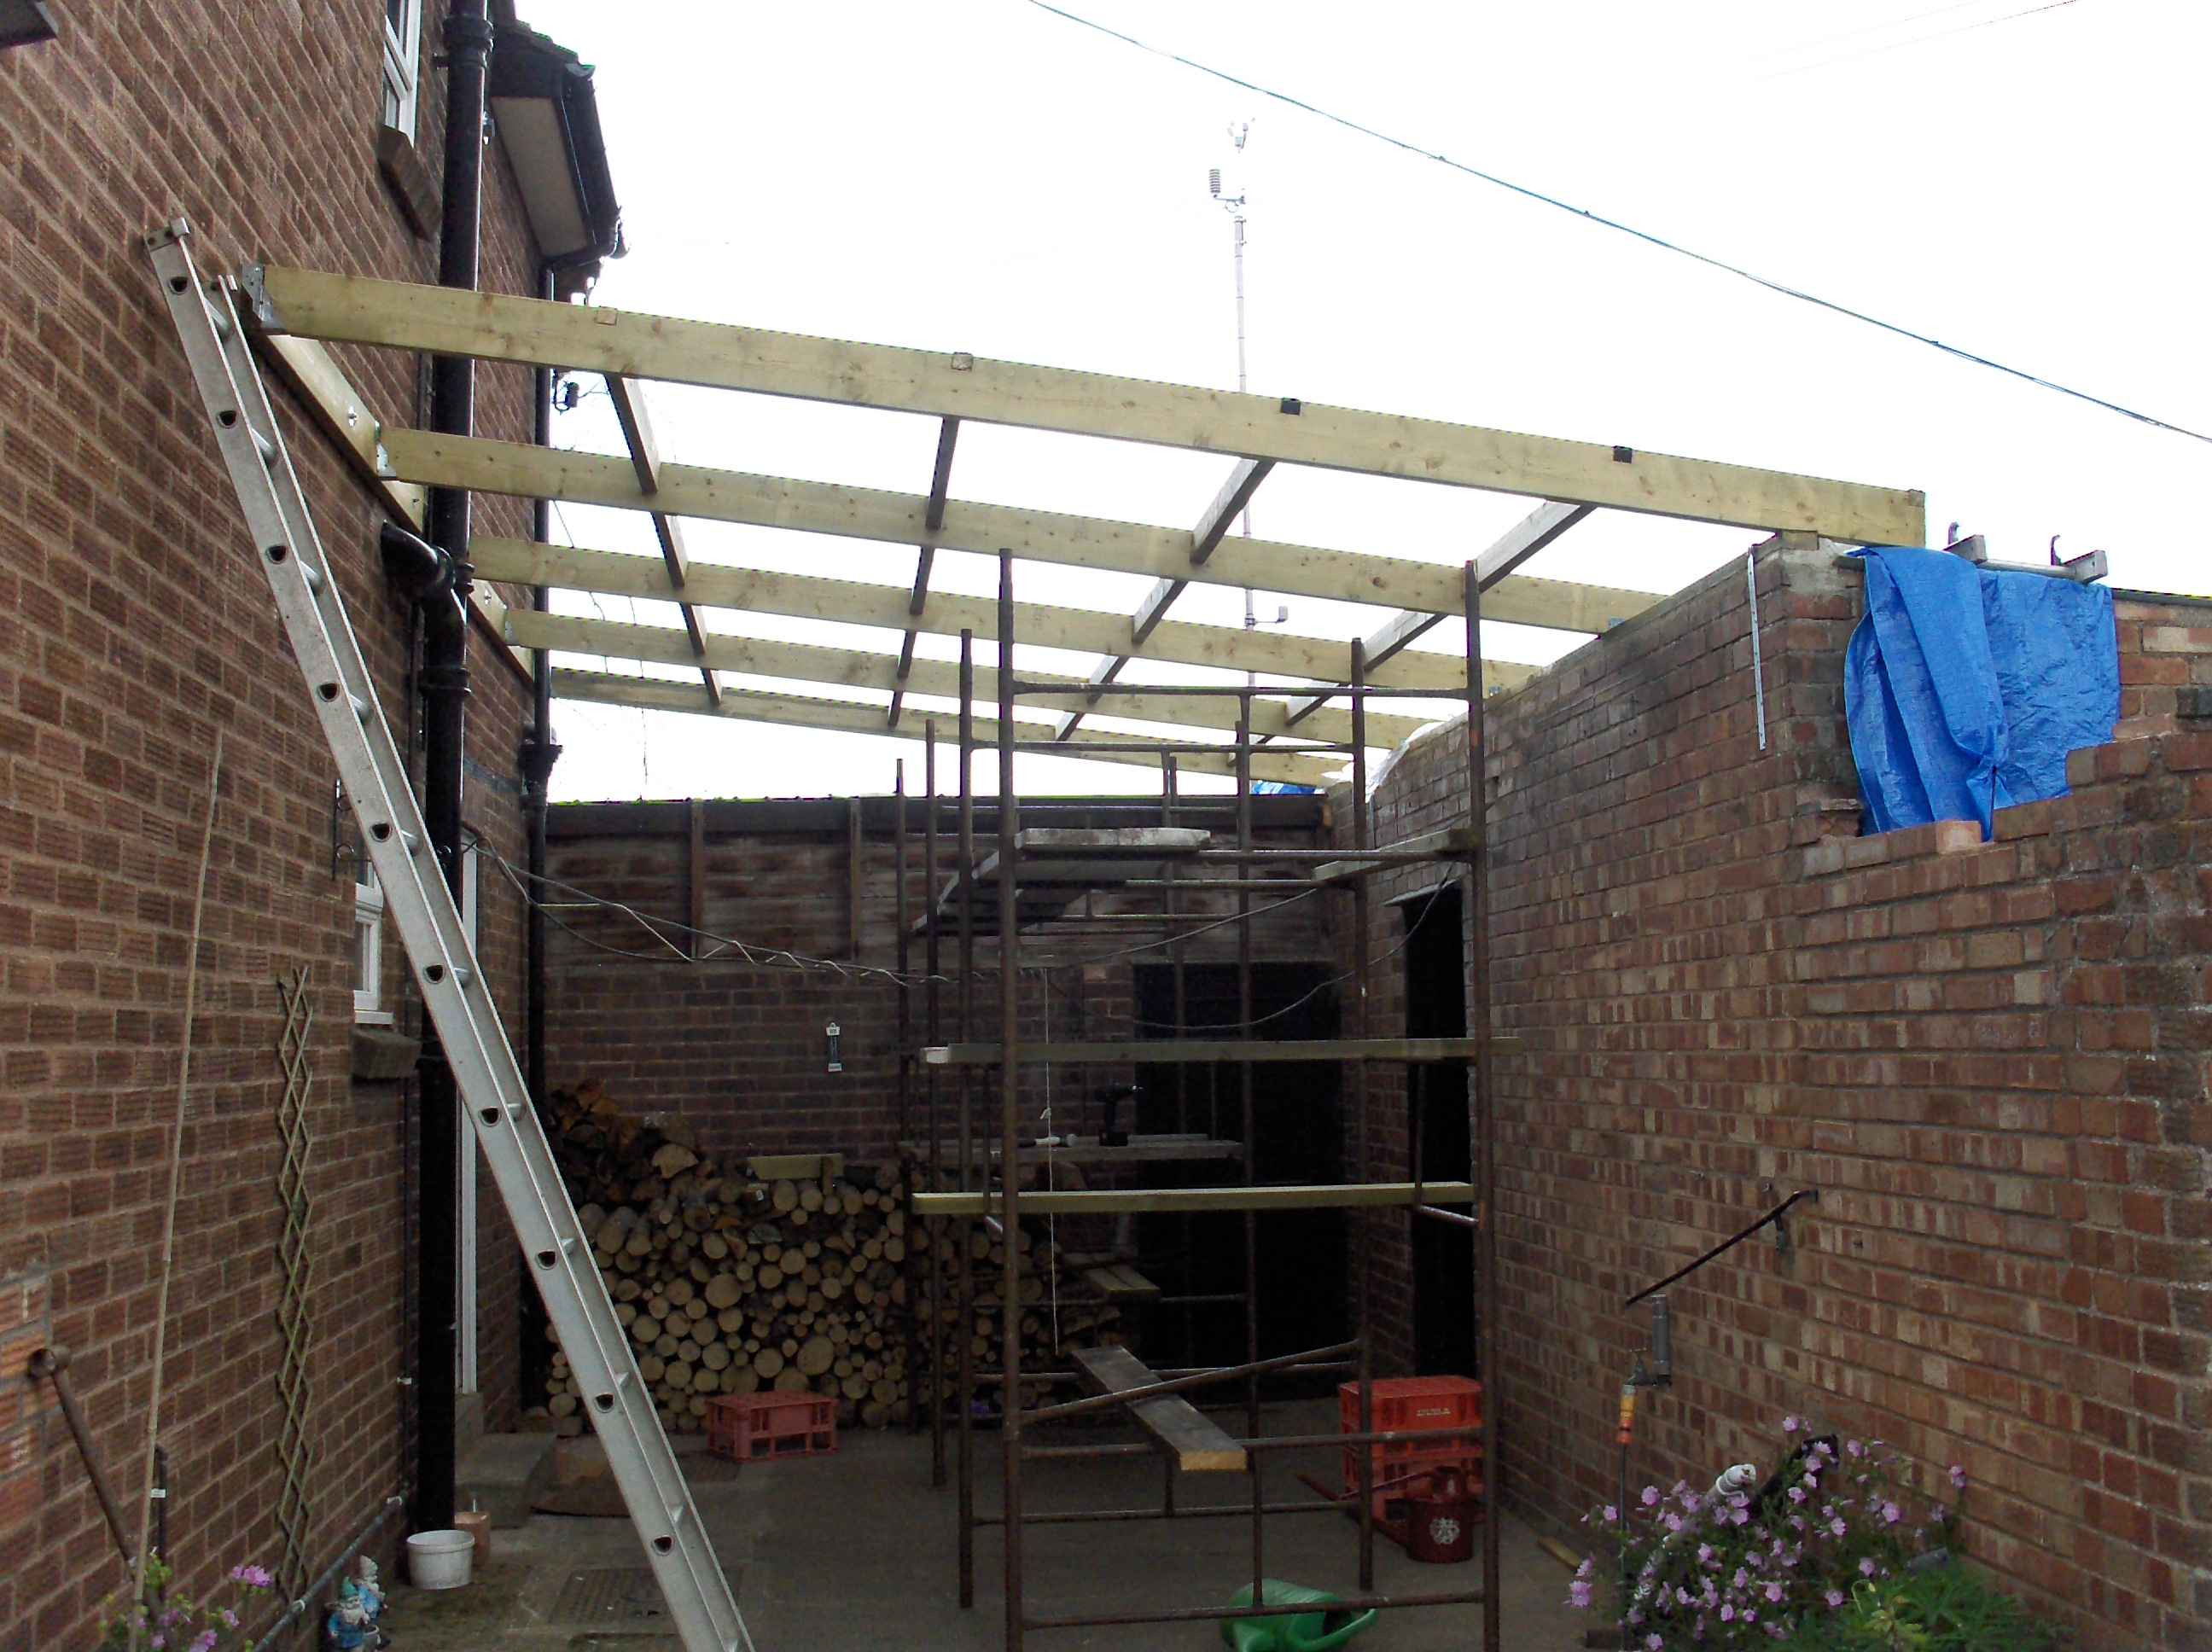
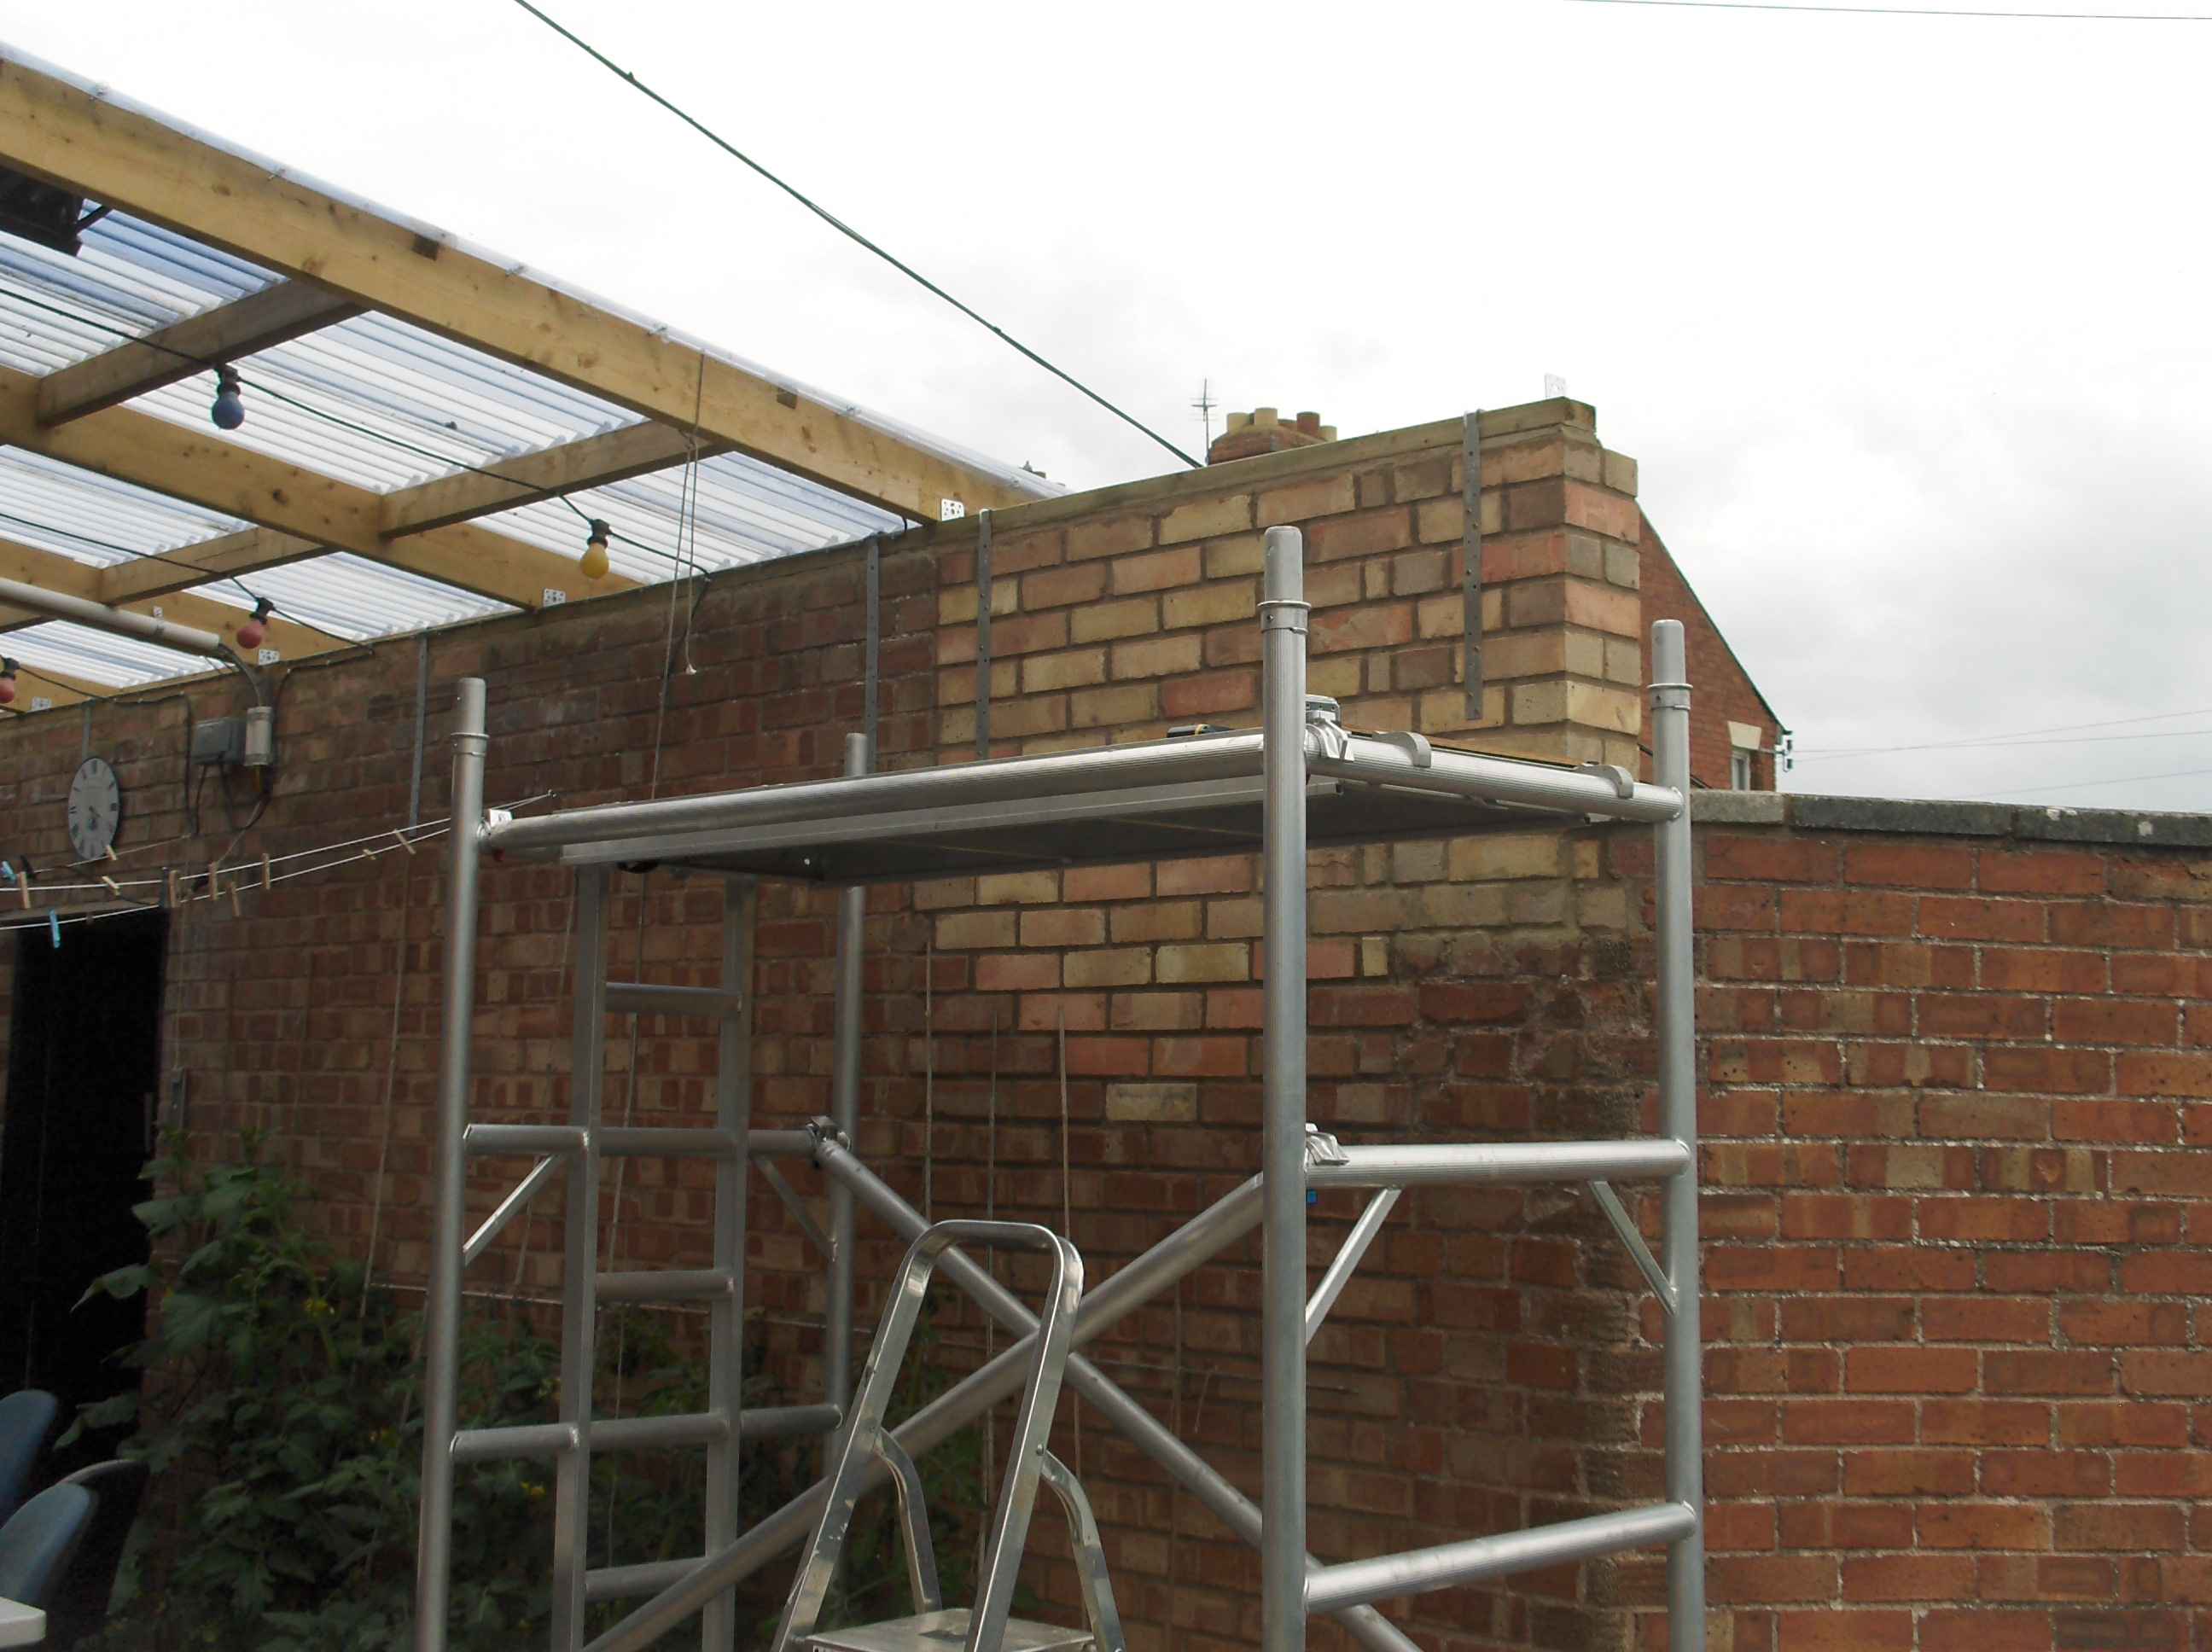
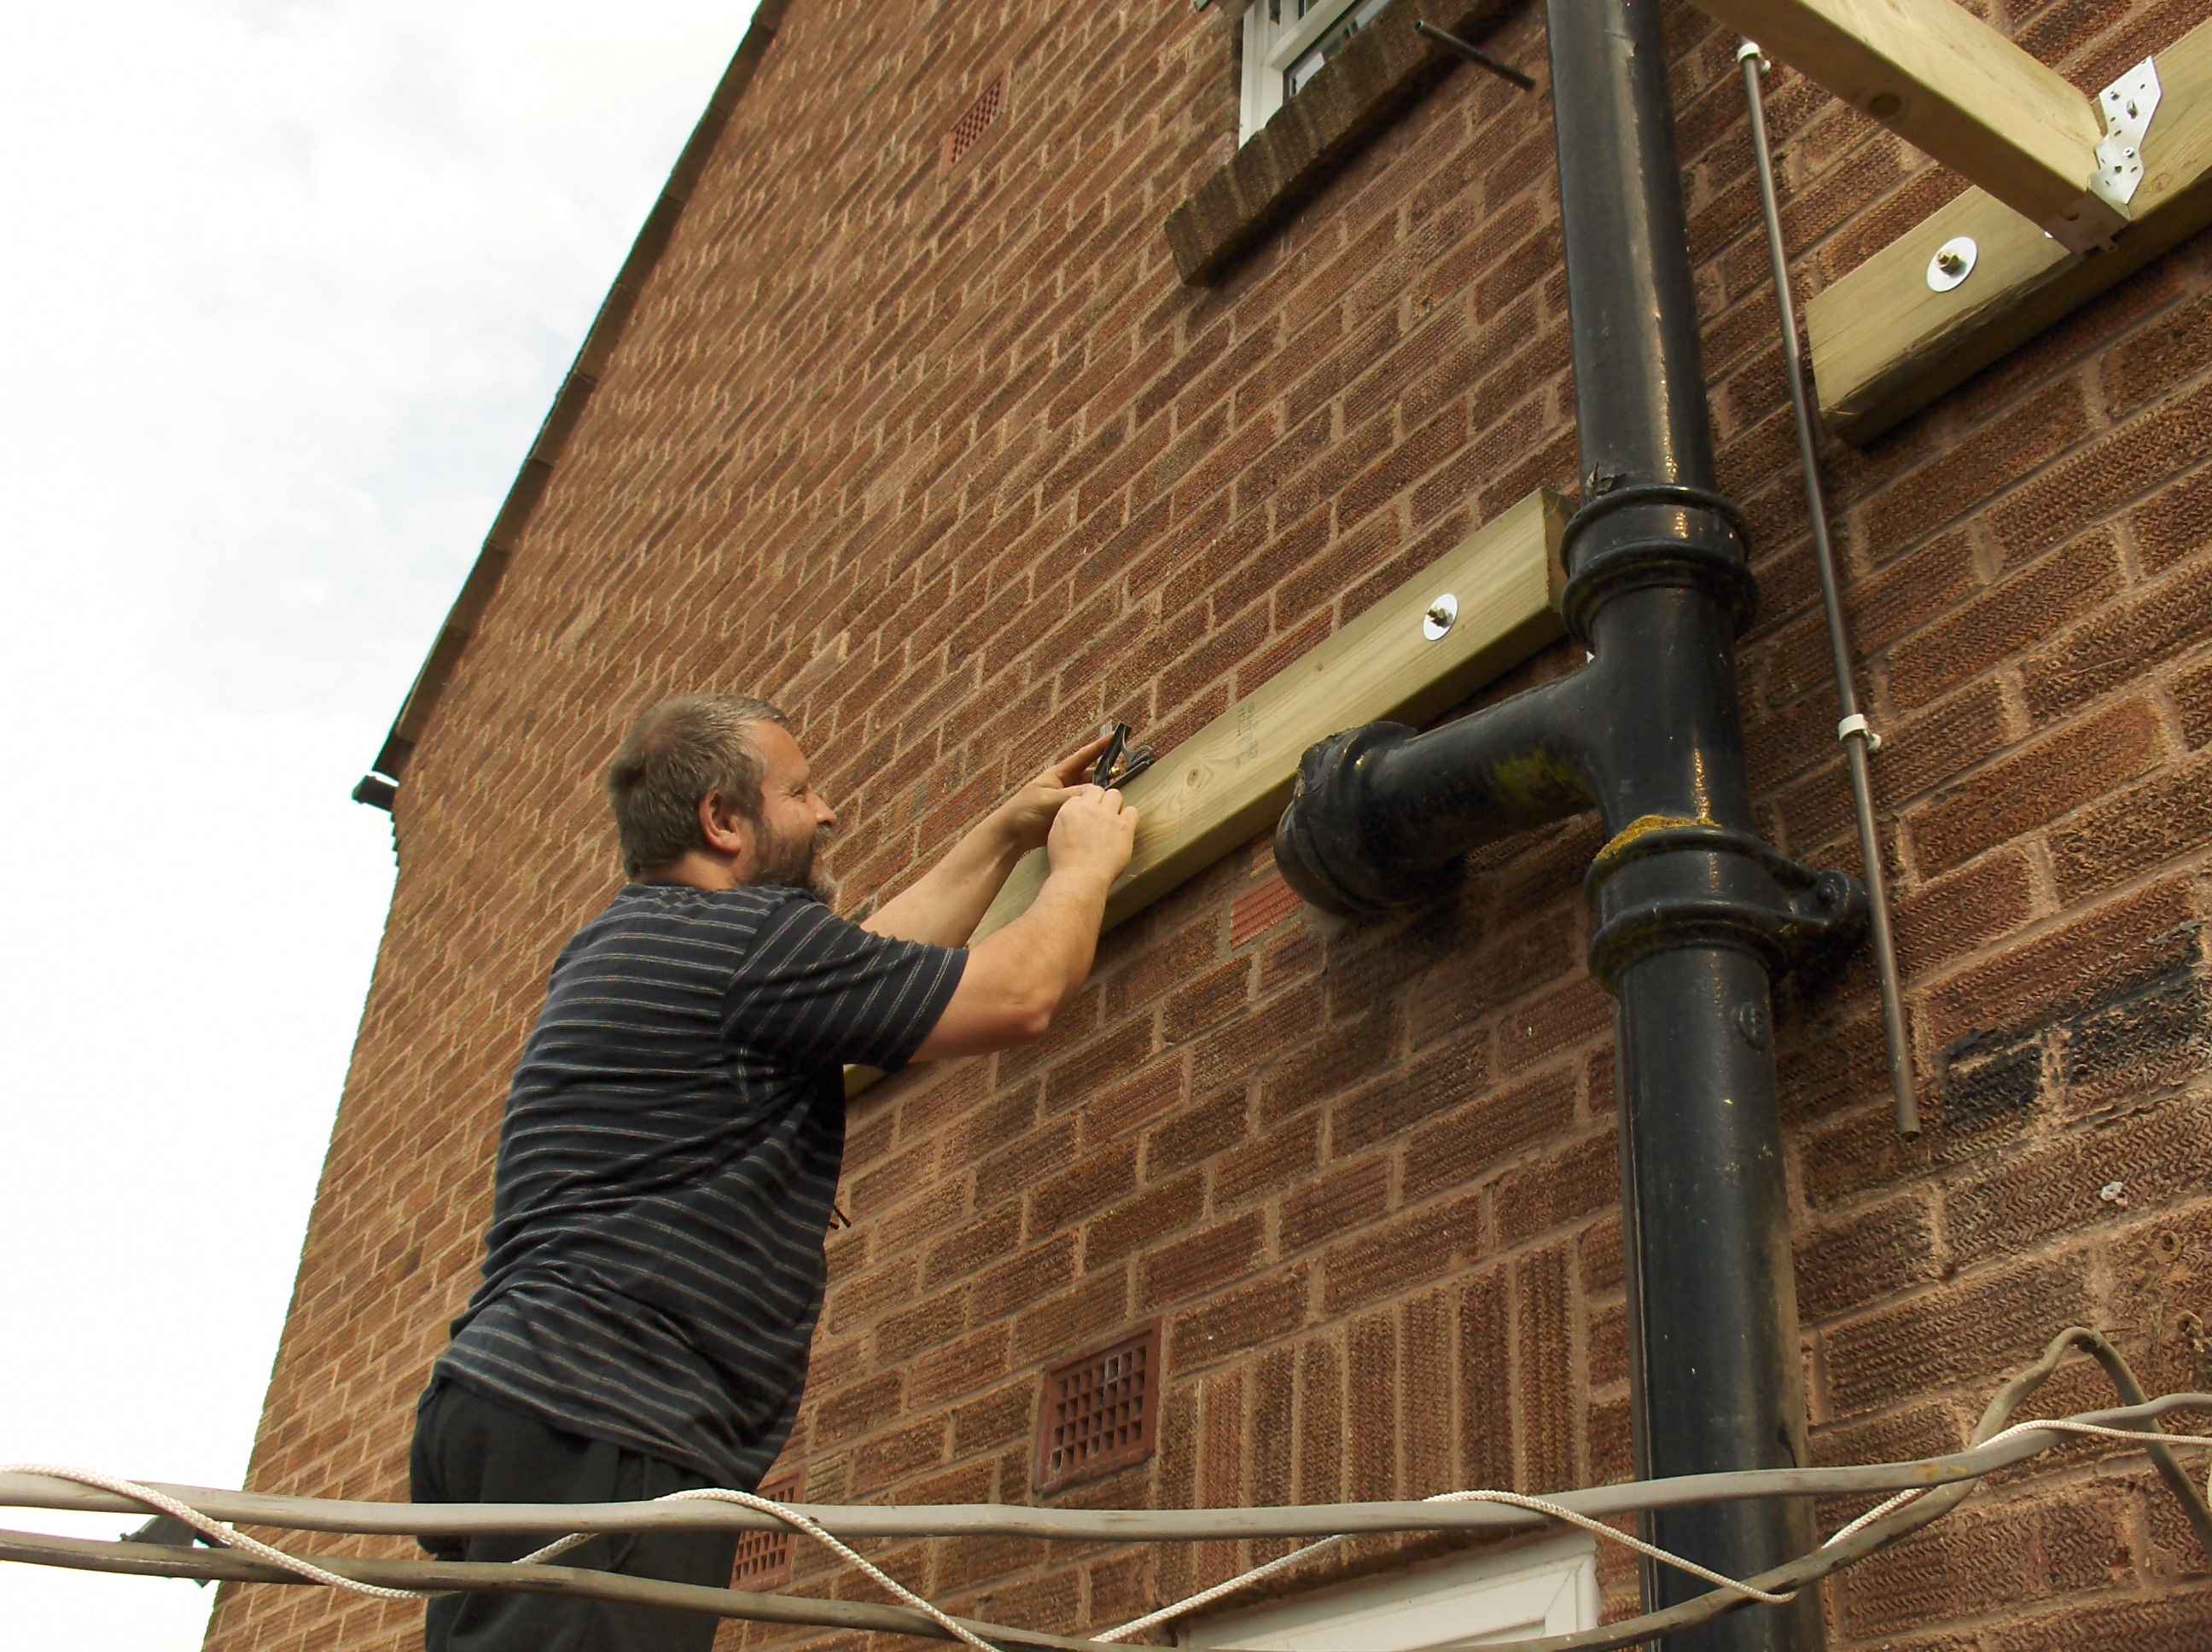
With all the preparatory work done I could finaly start the actual job. I put the upper roof support against the house
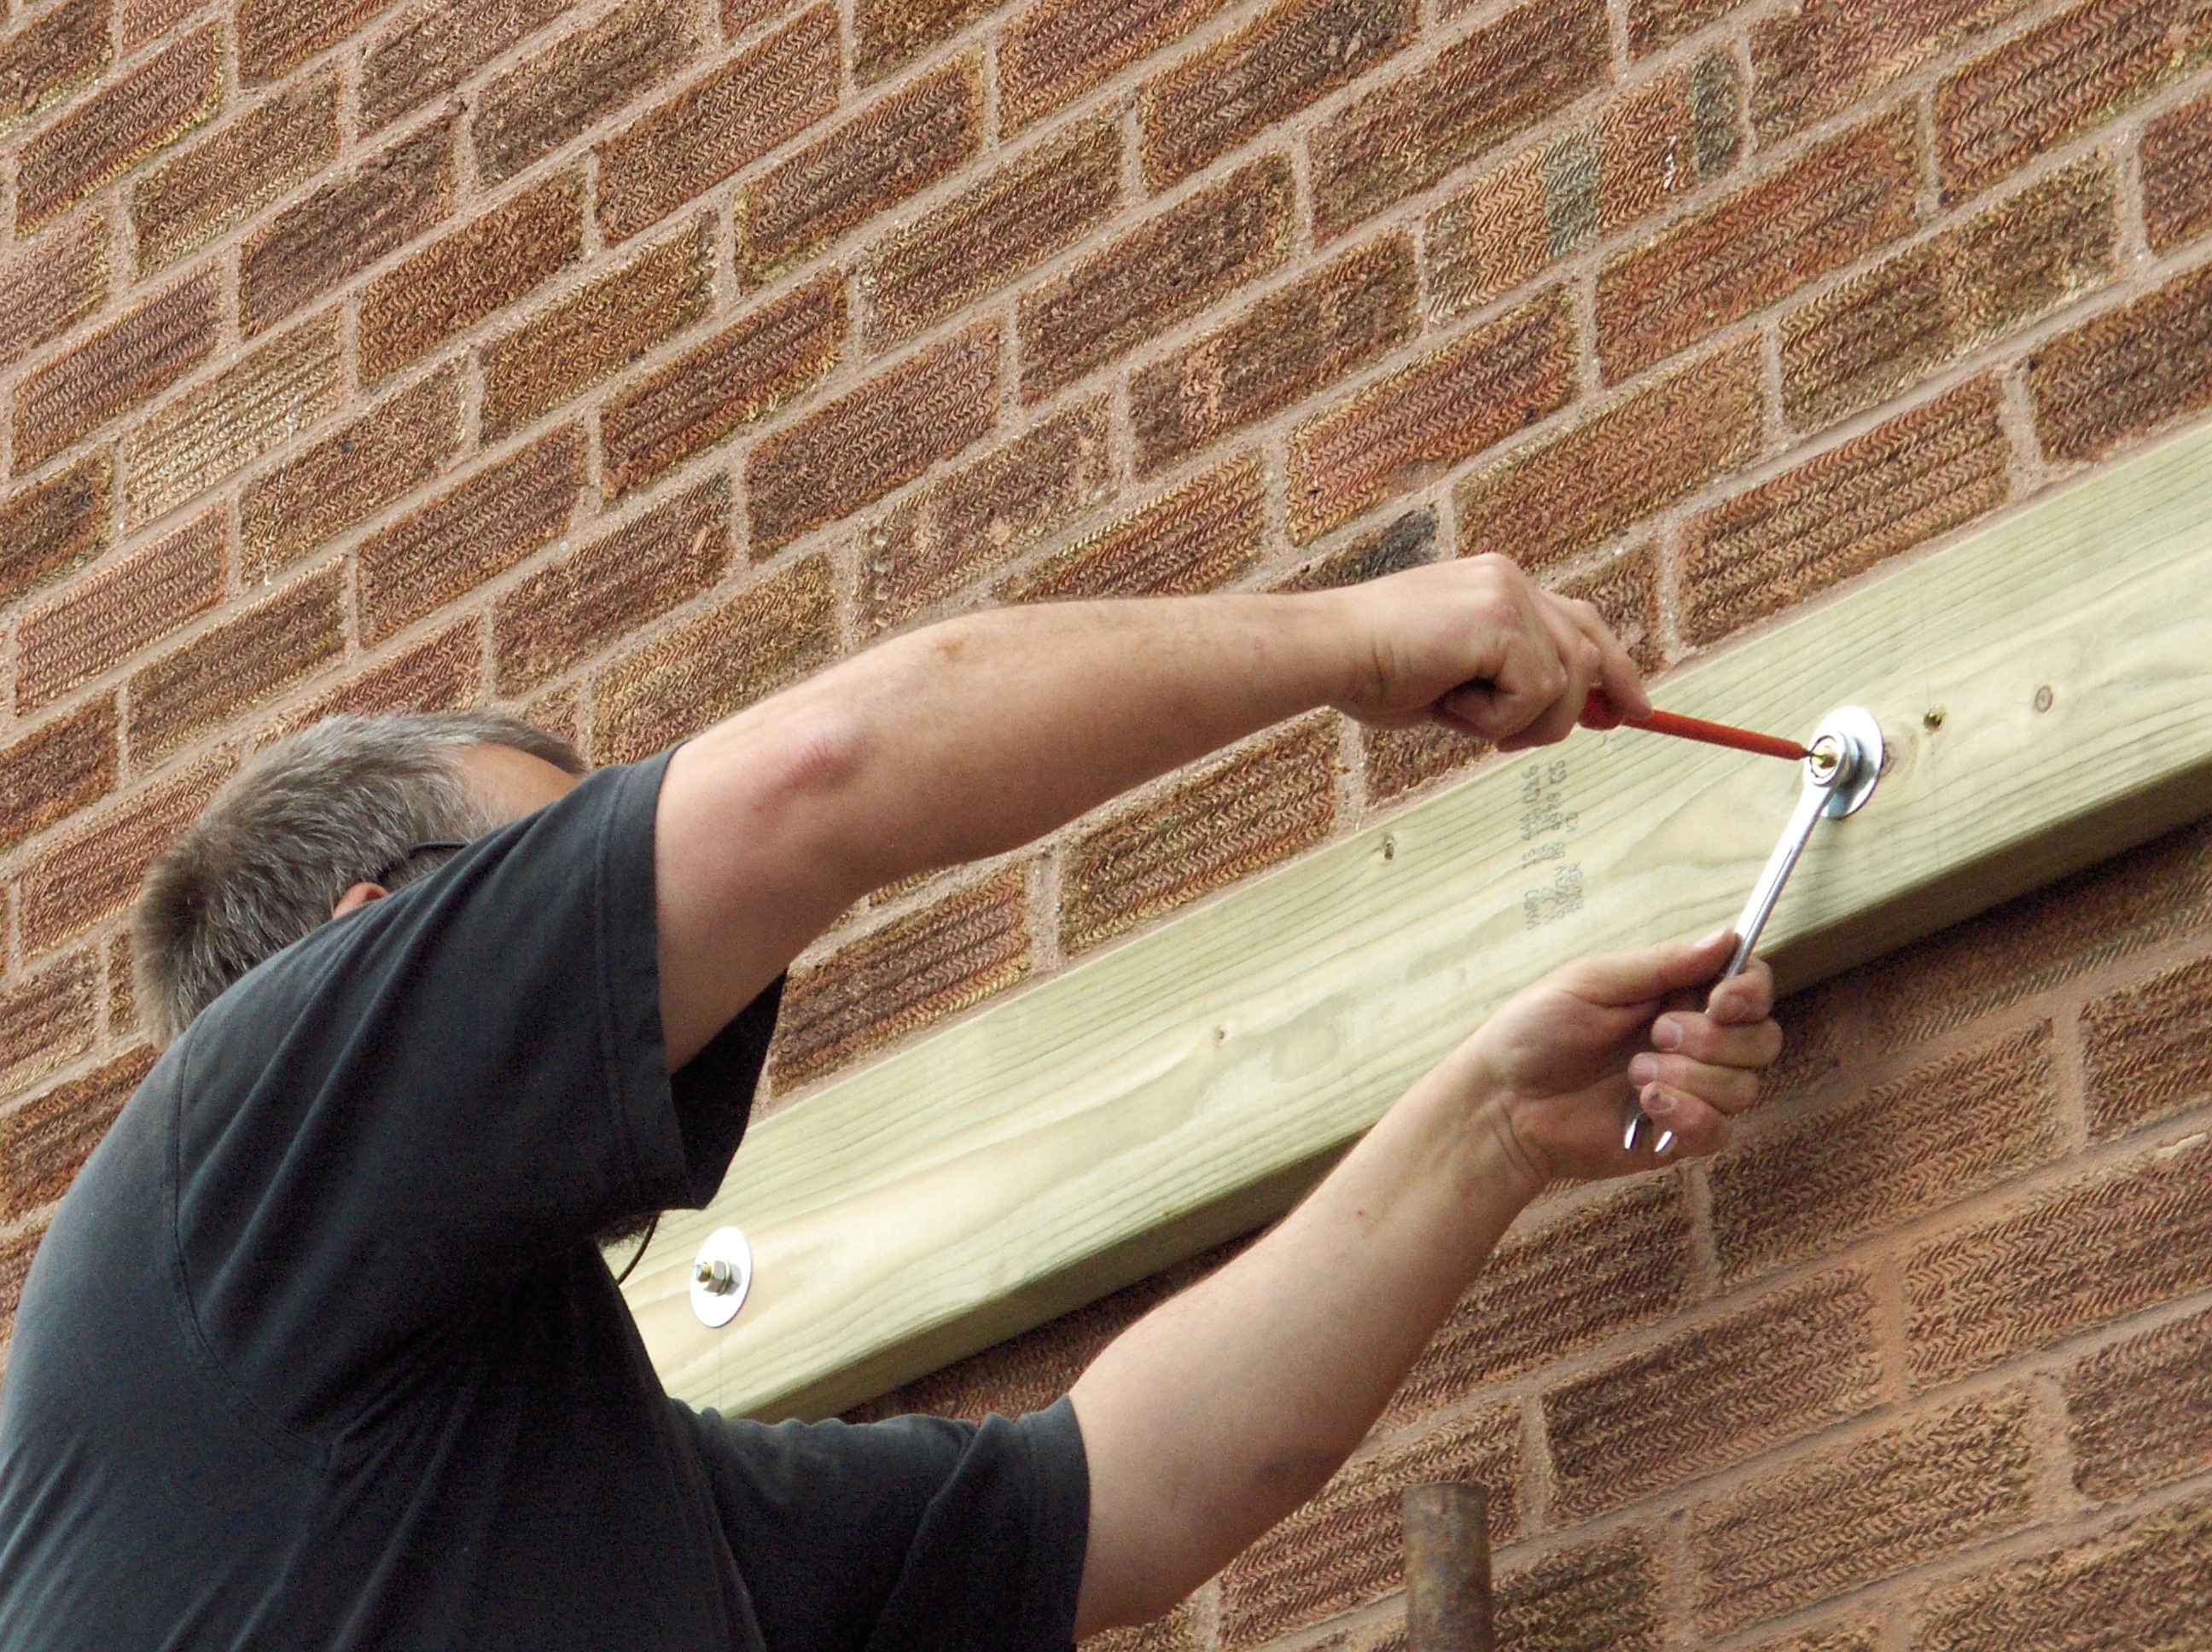
This was rawl bolted in place. 10mm rawlbolts one every meter or so.
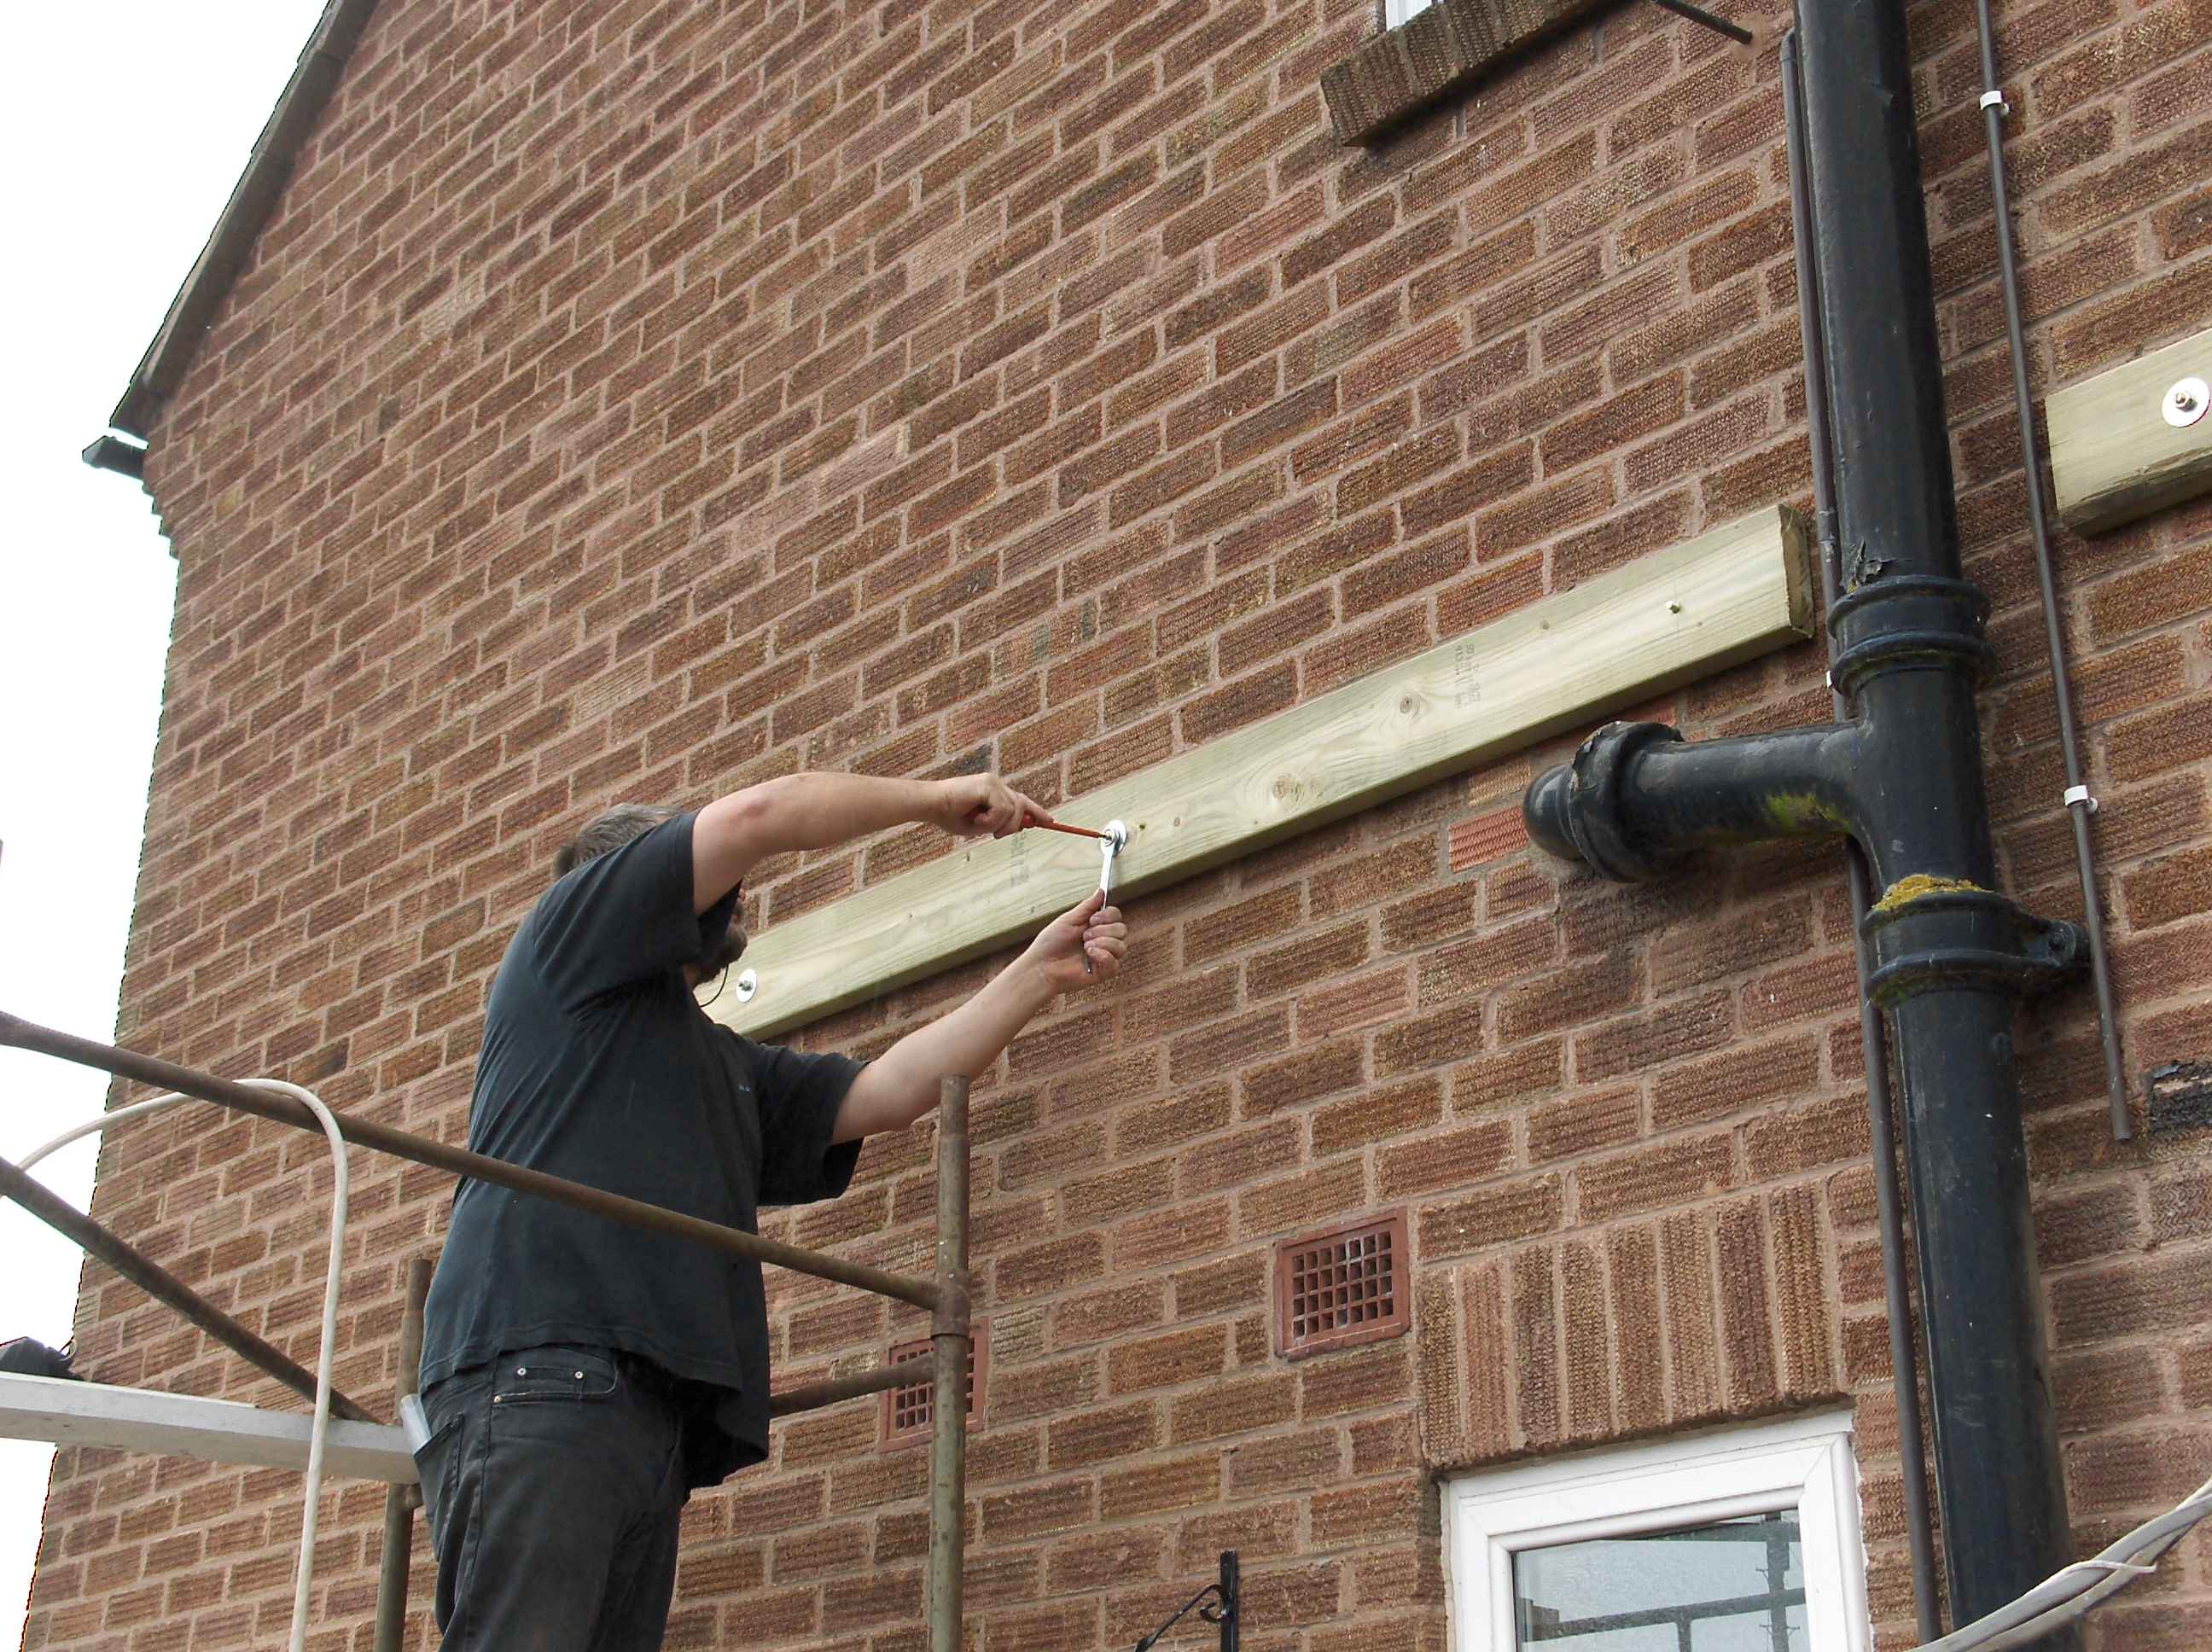
The upstairs toilet soil pipe was in the way so I just worked round it.
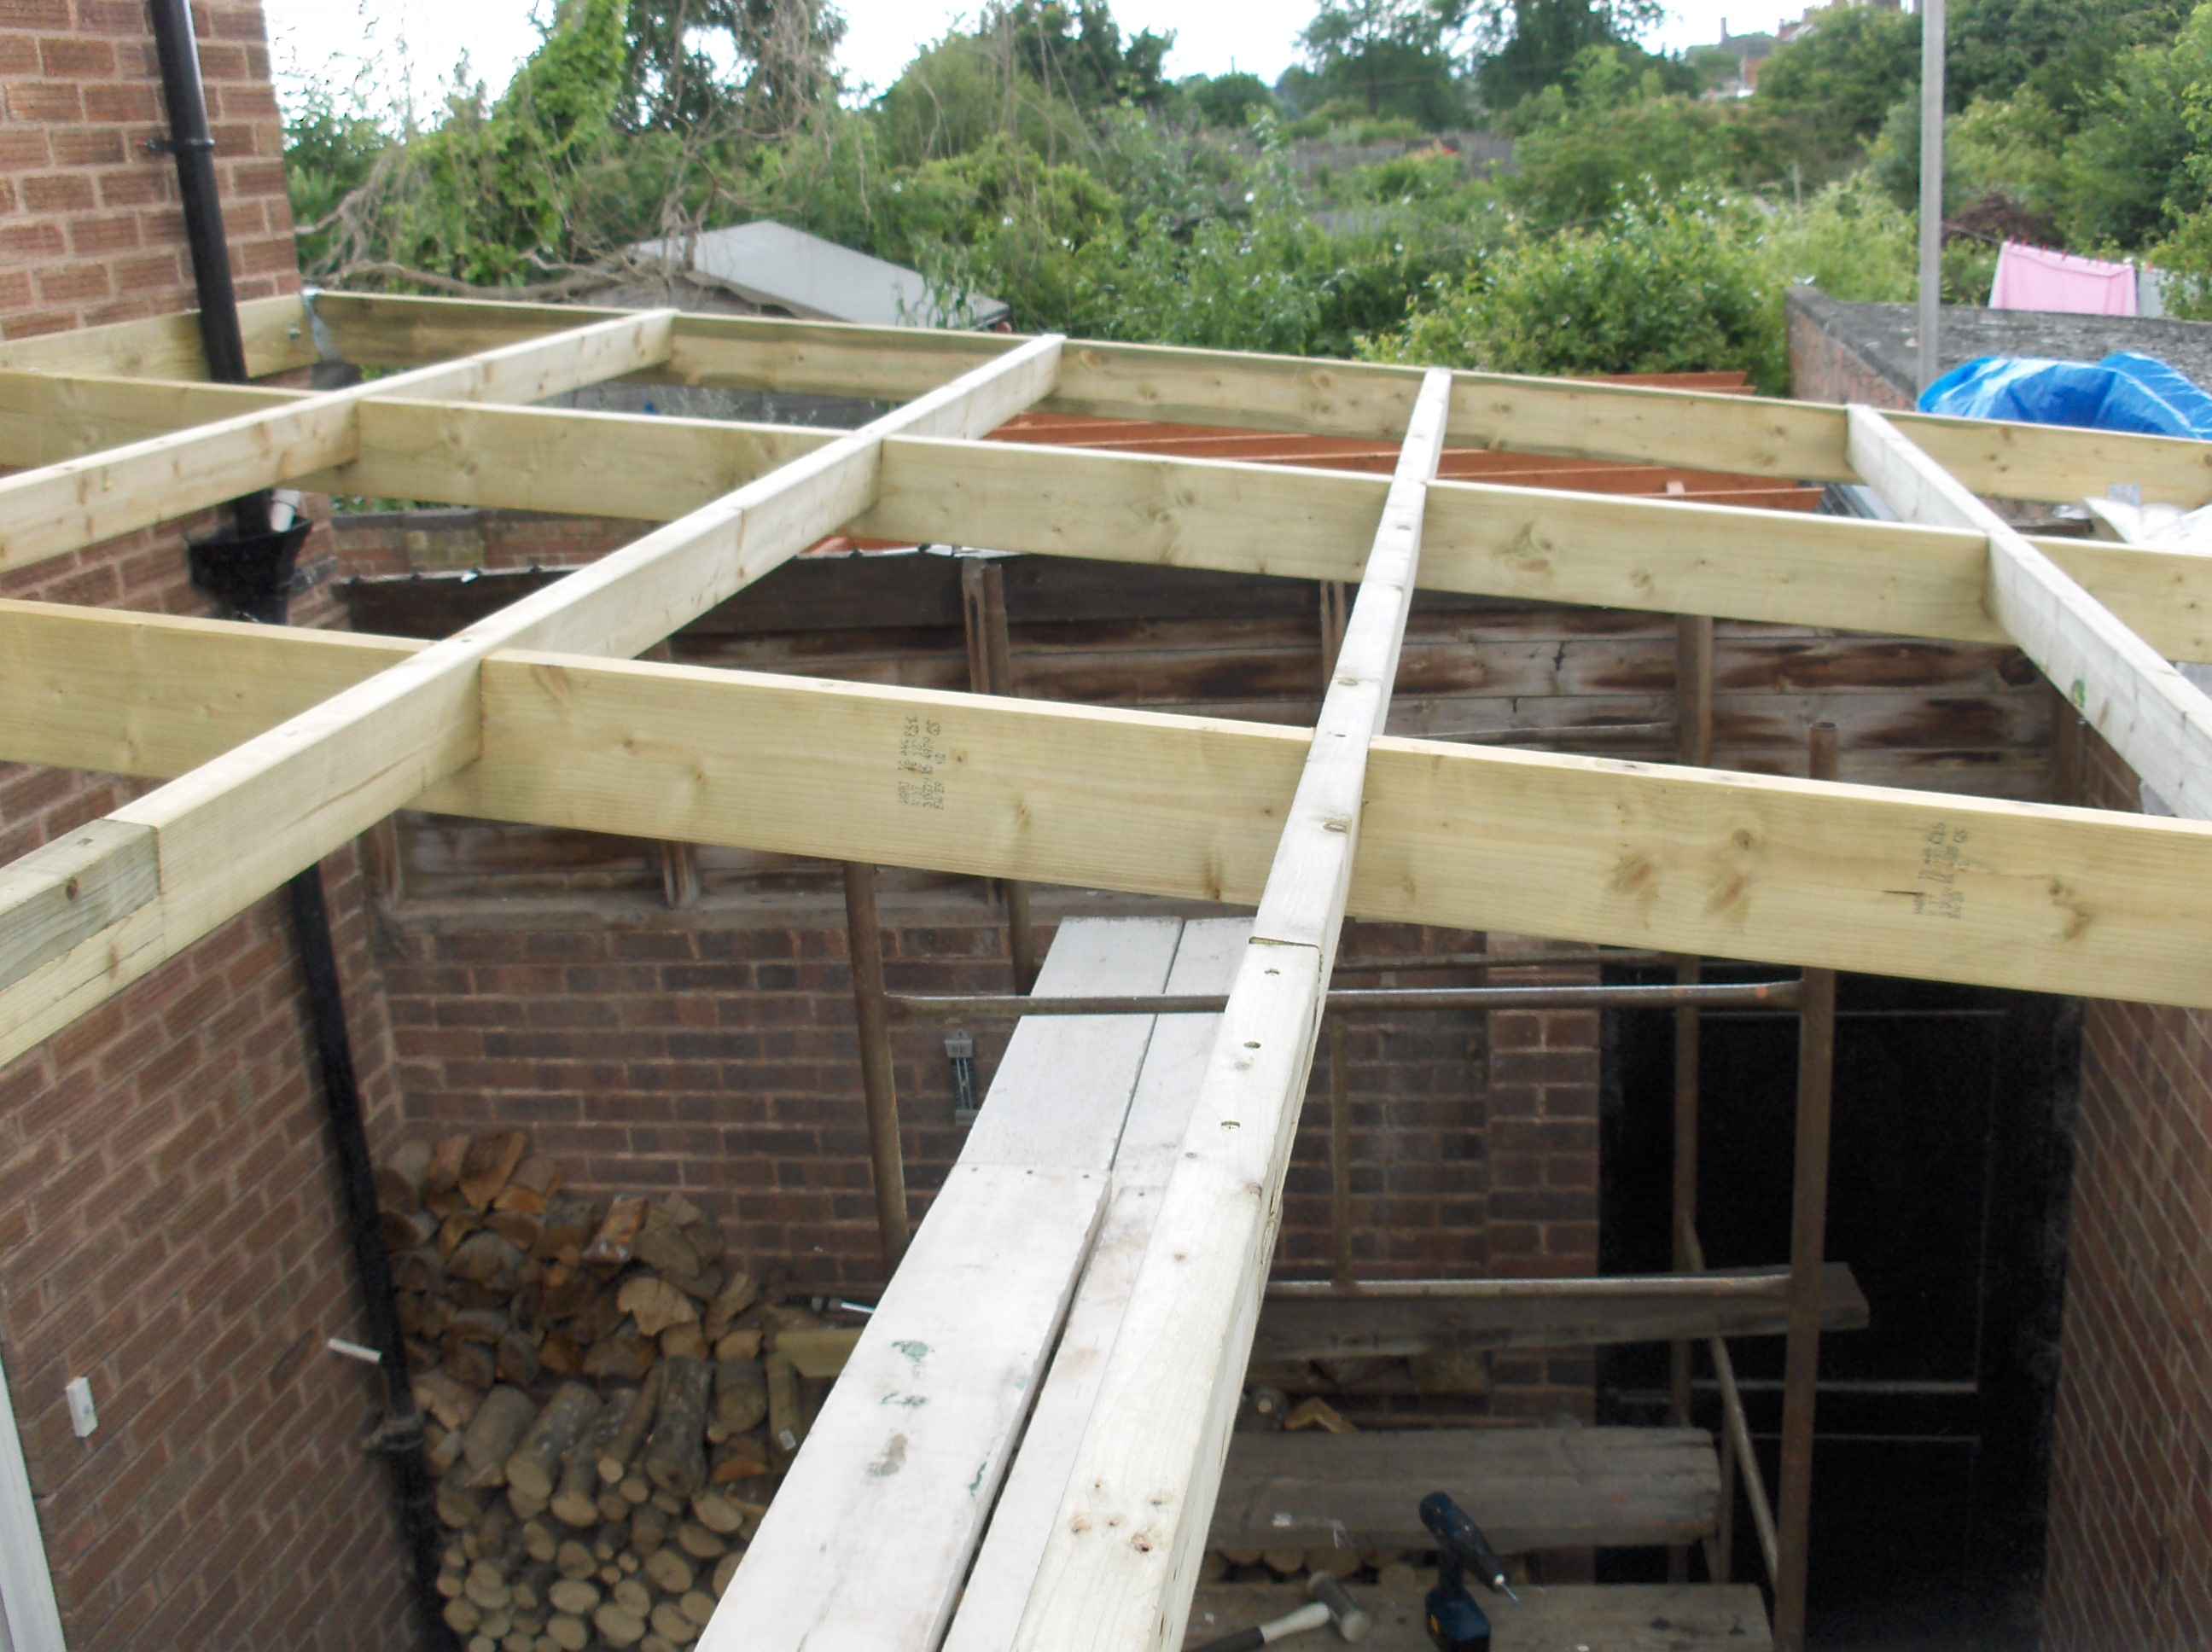
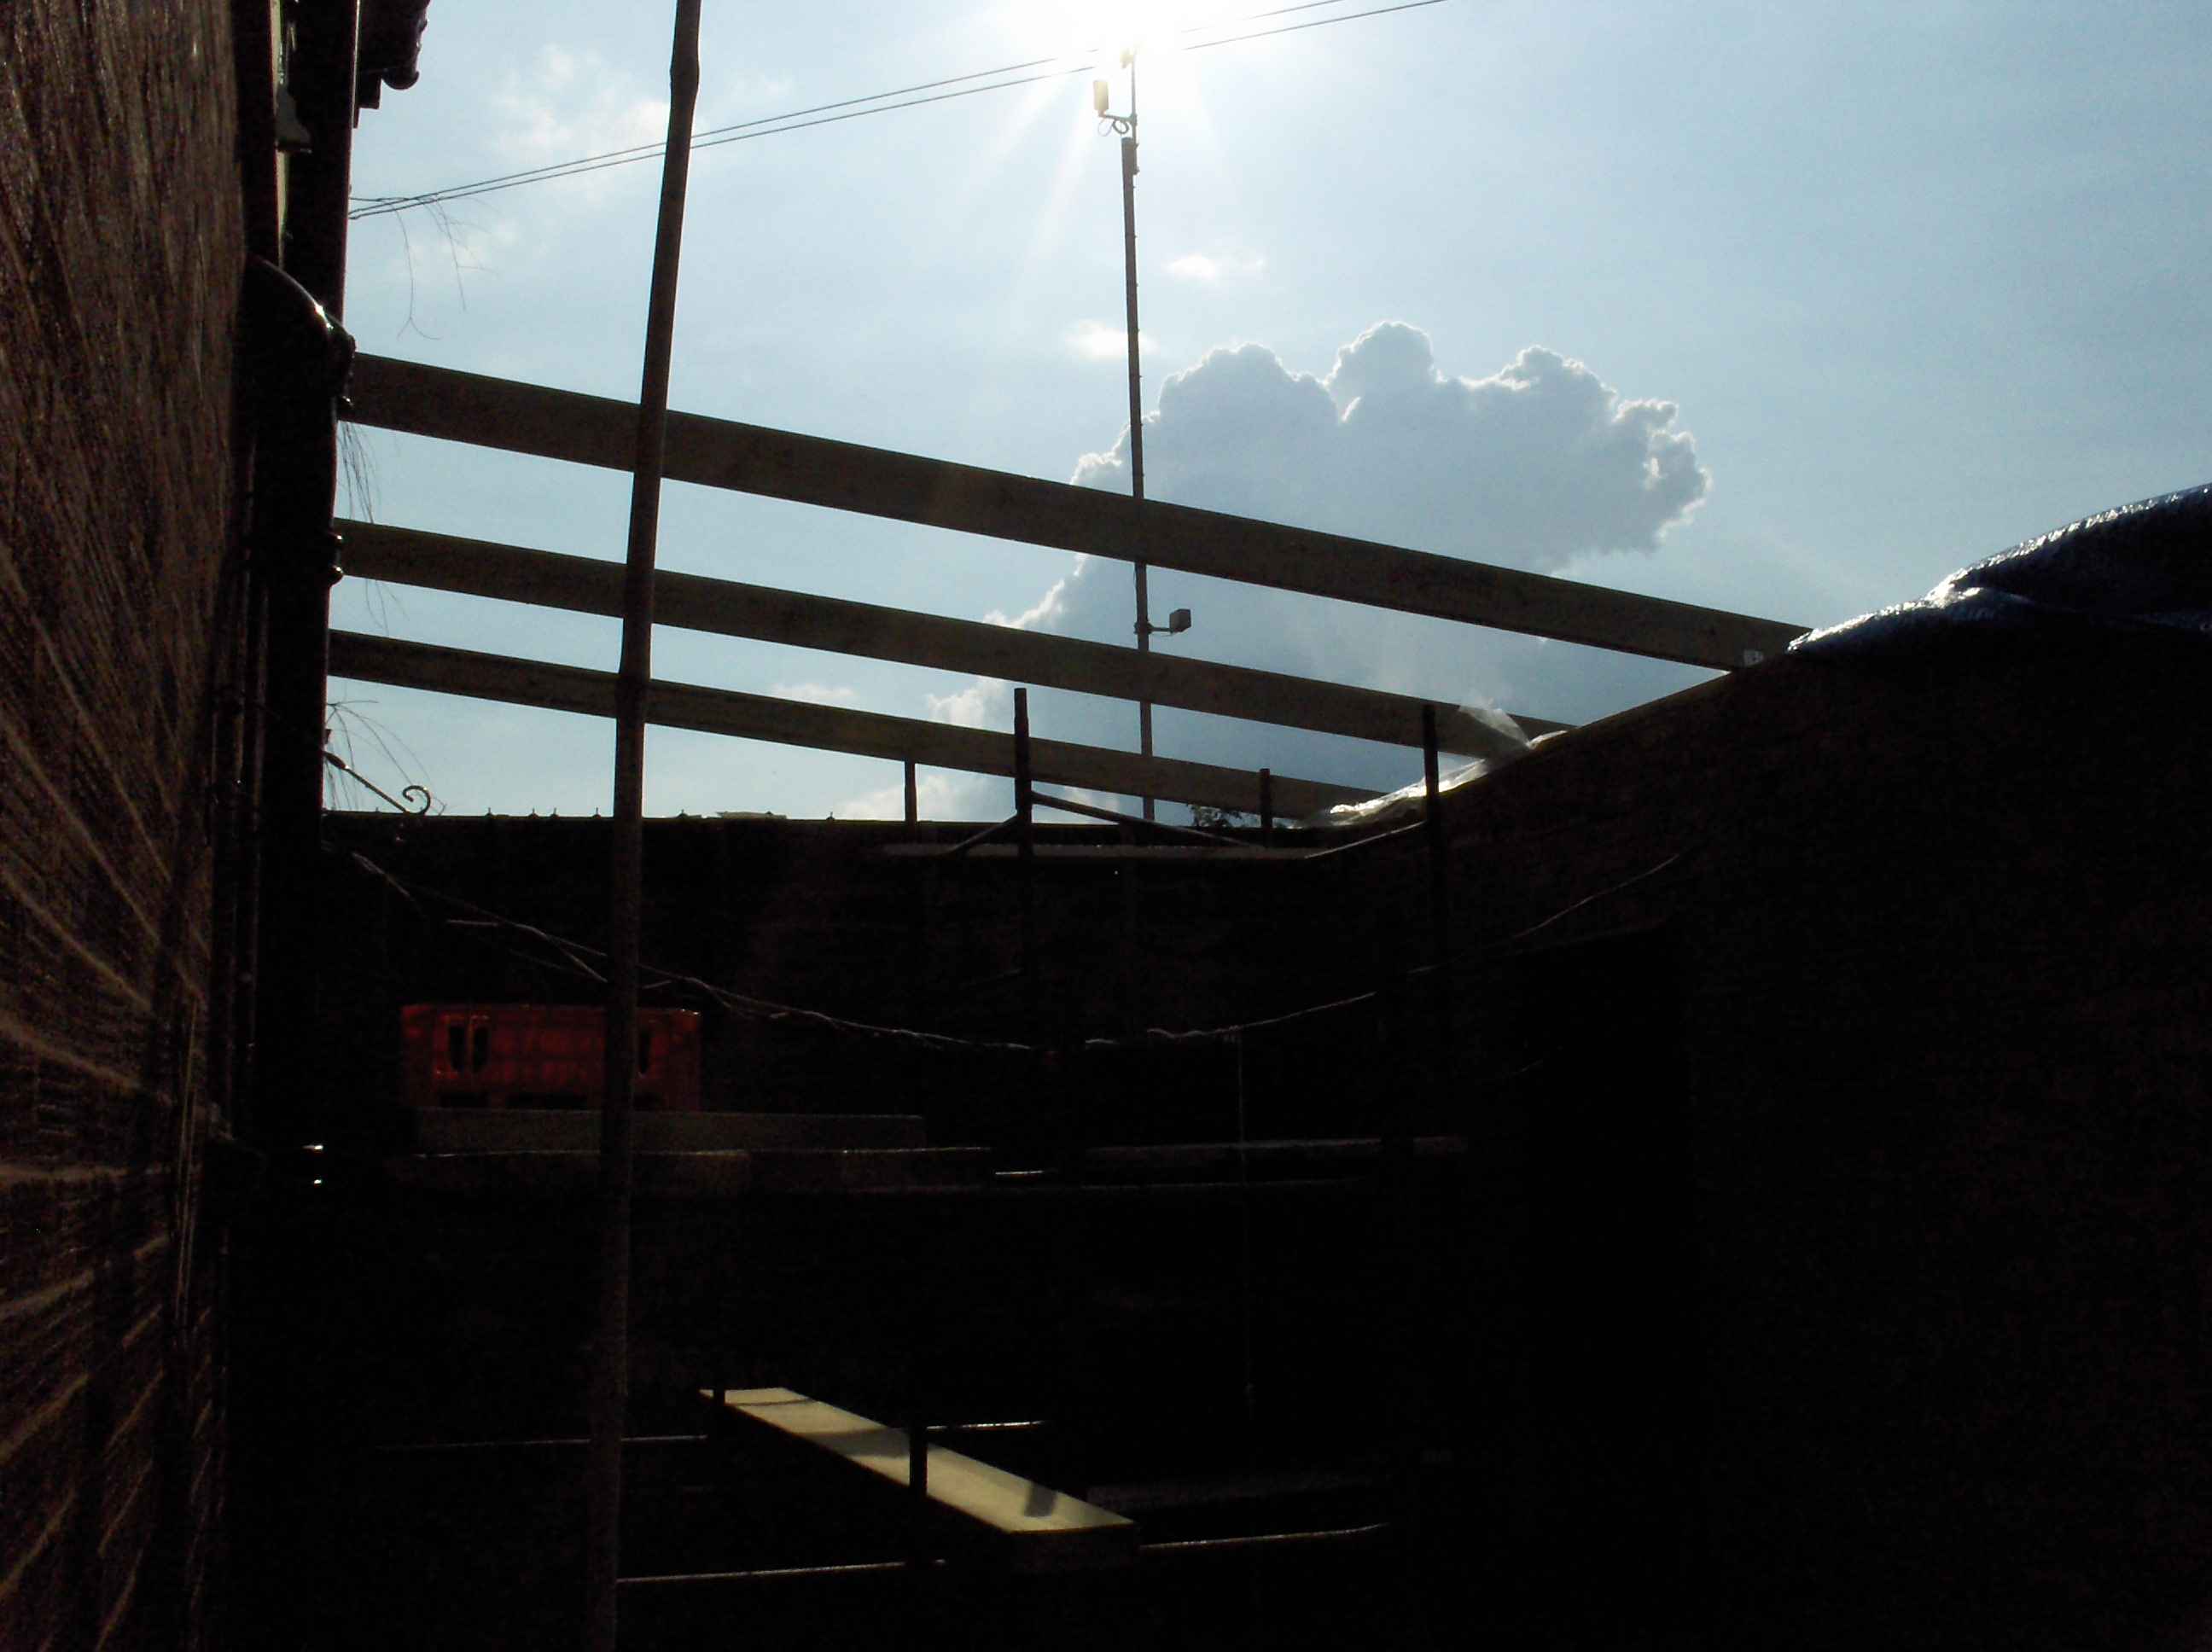
The first of the joists is up.
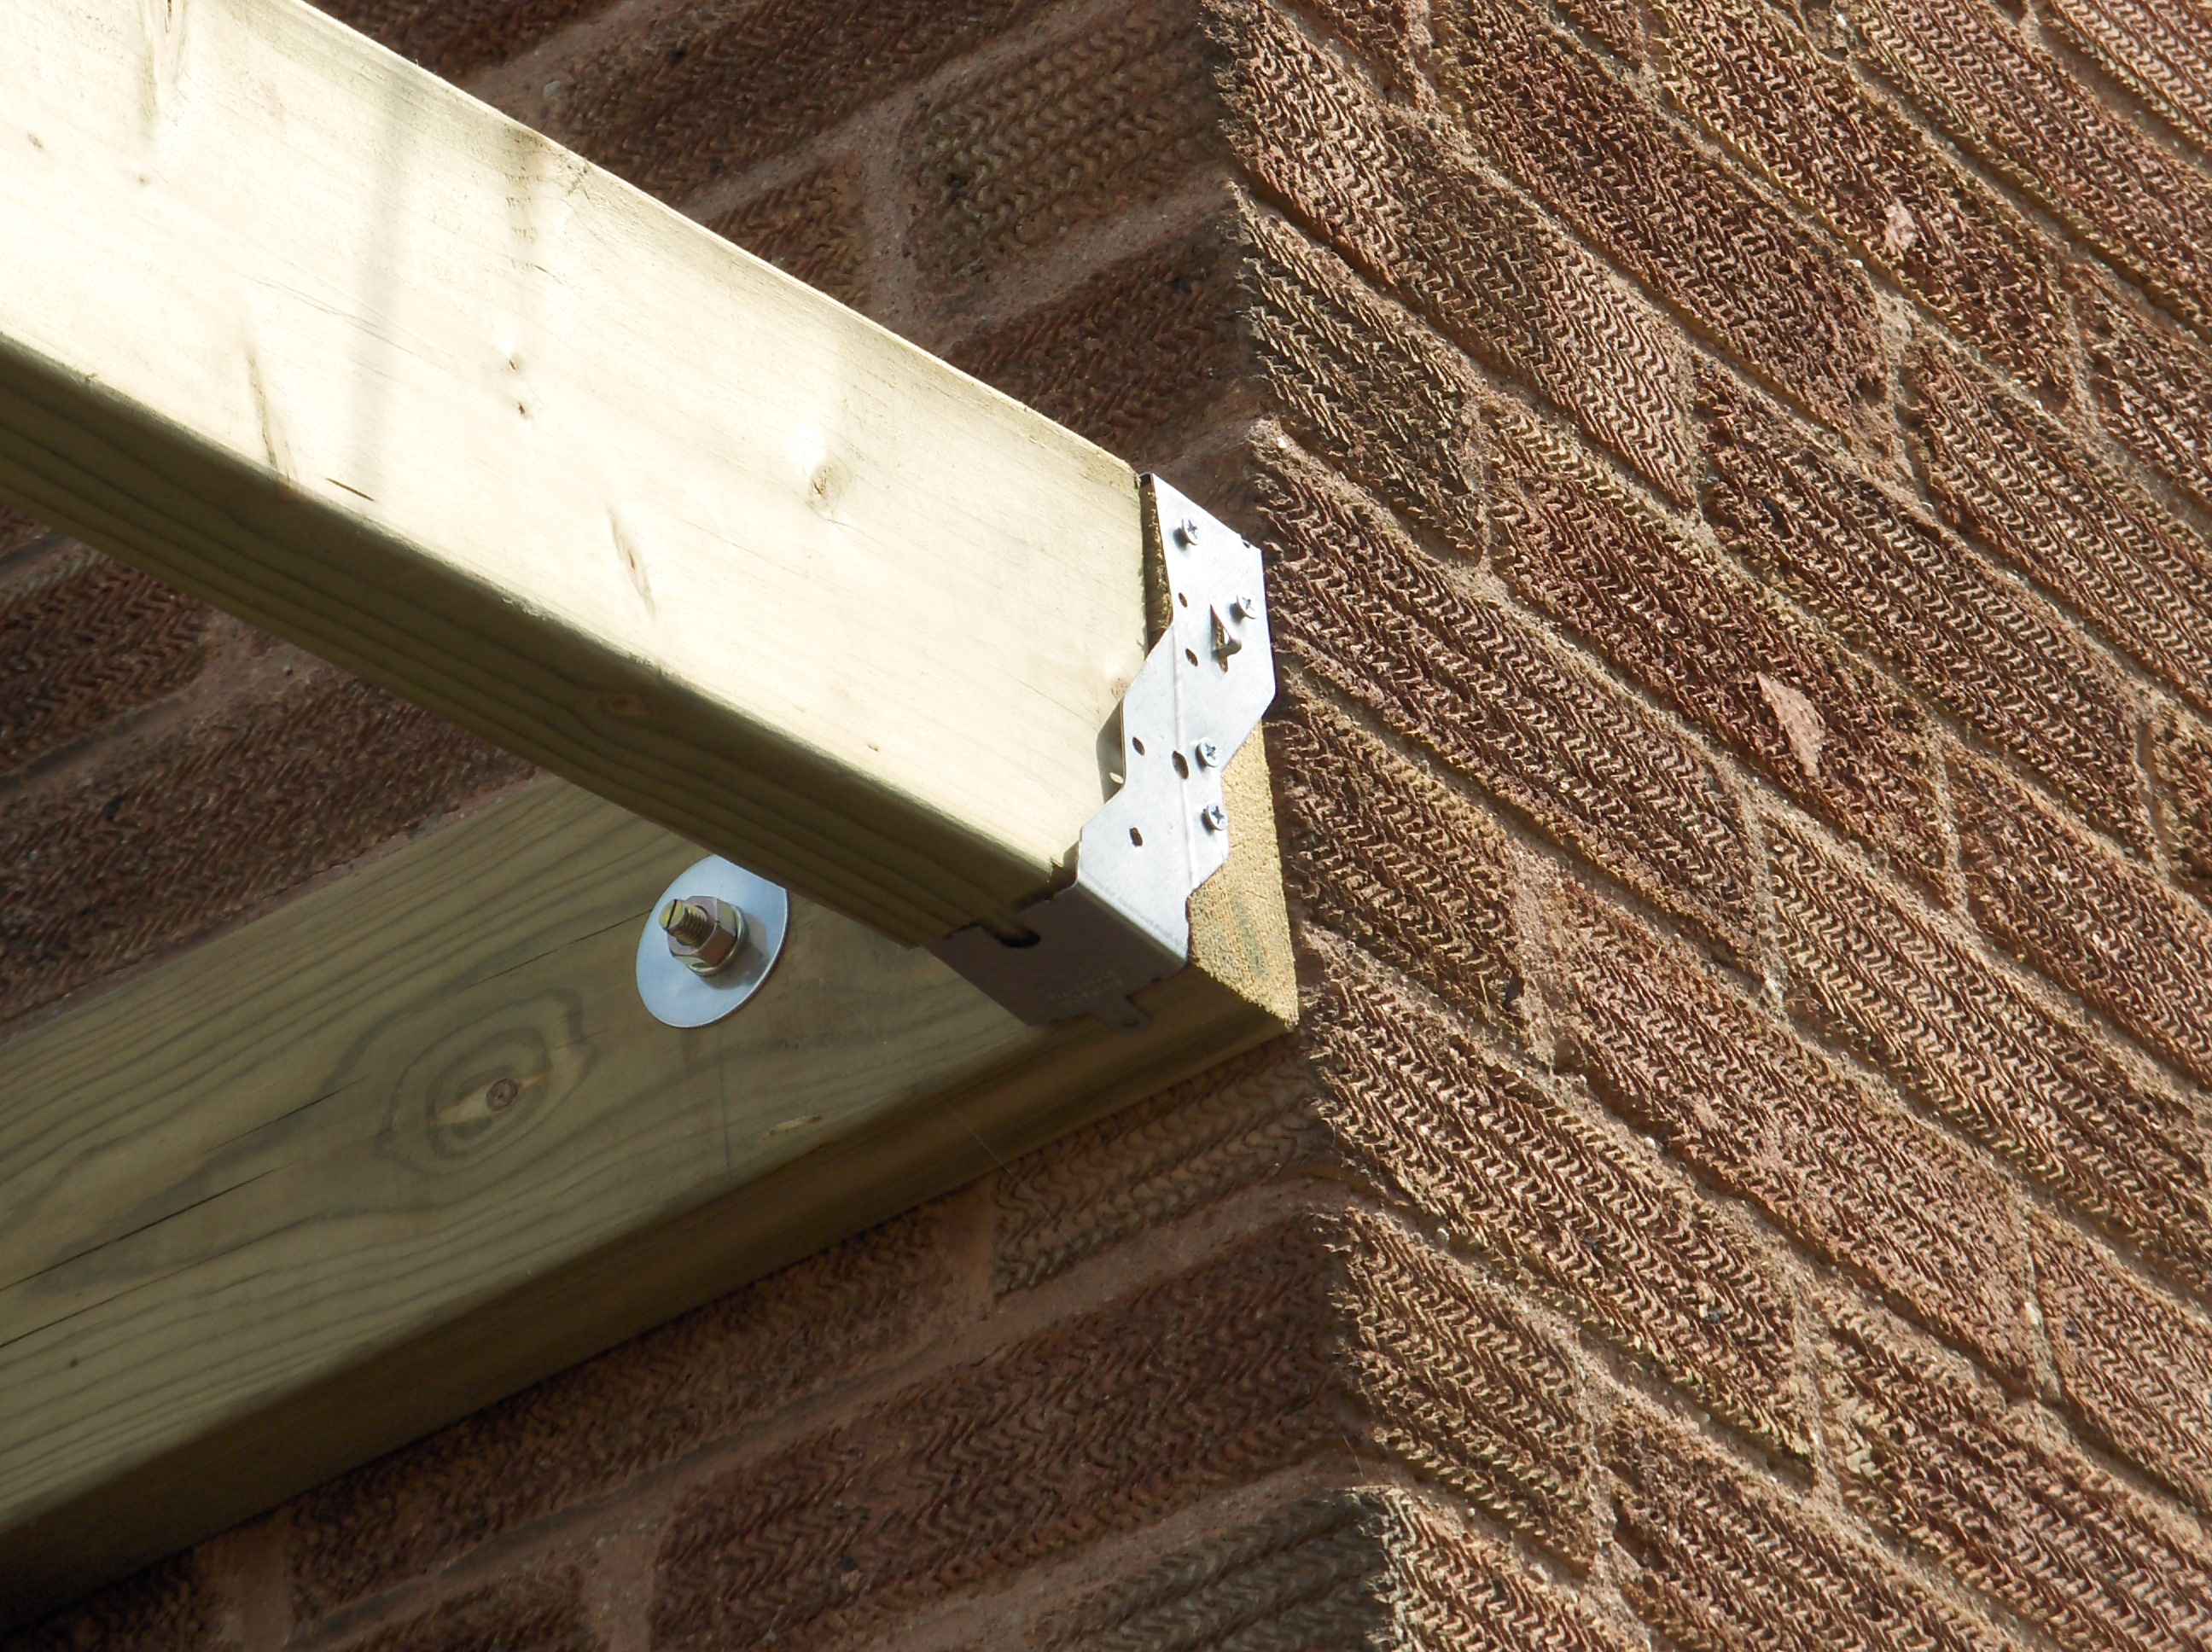
They are fixed at the house end with joist hangers after having the end cut to shape. The other end is again cut to shape and laid on the wall plate and held inplace with a simple L bracket. Damn shame I never photographed that sorry.
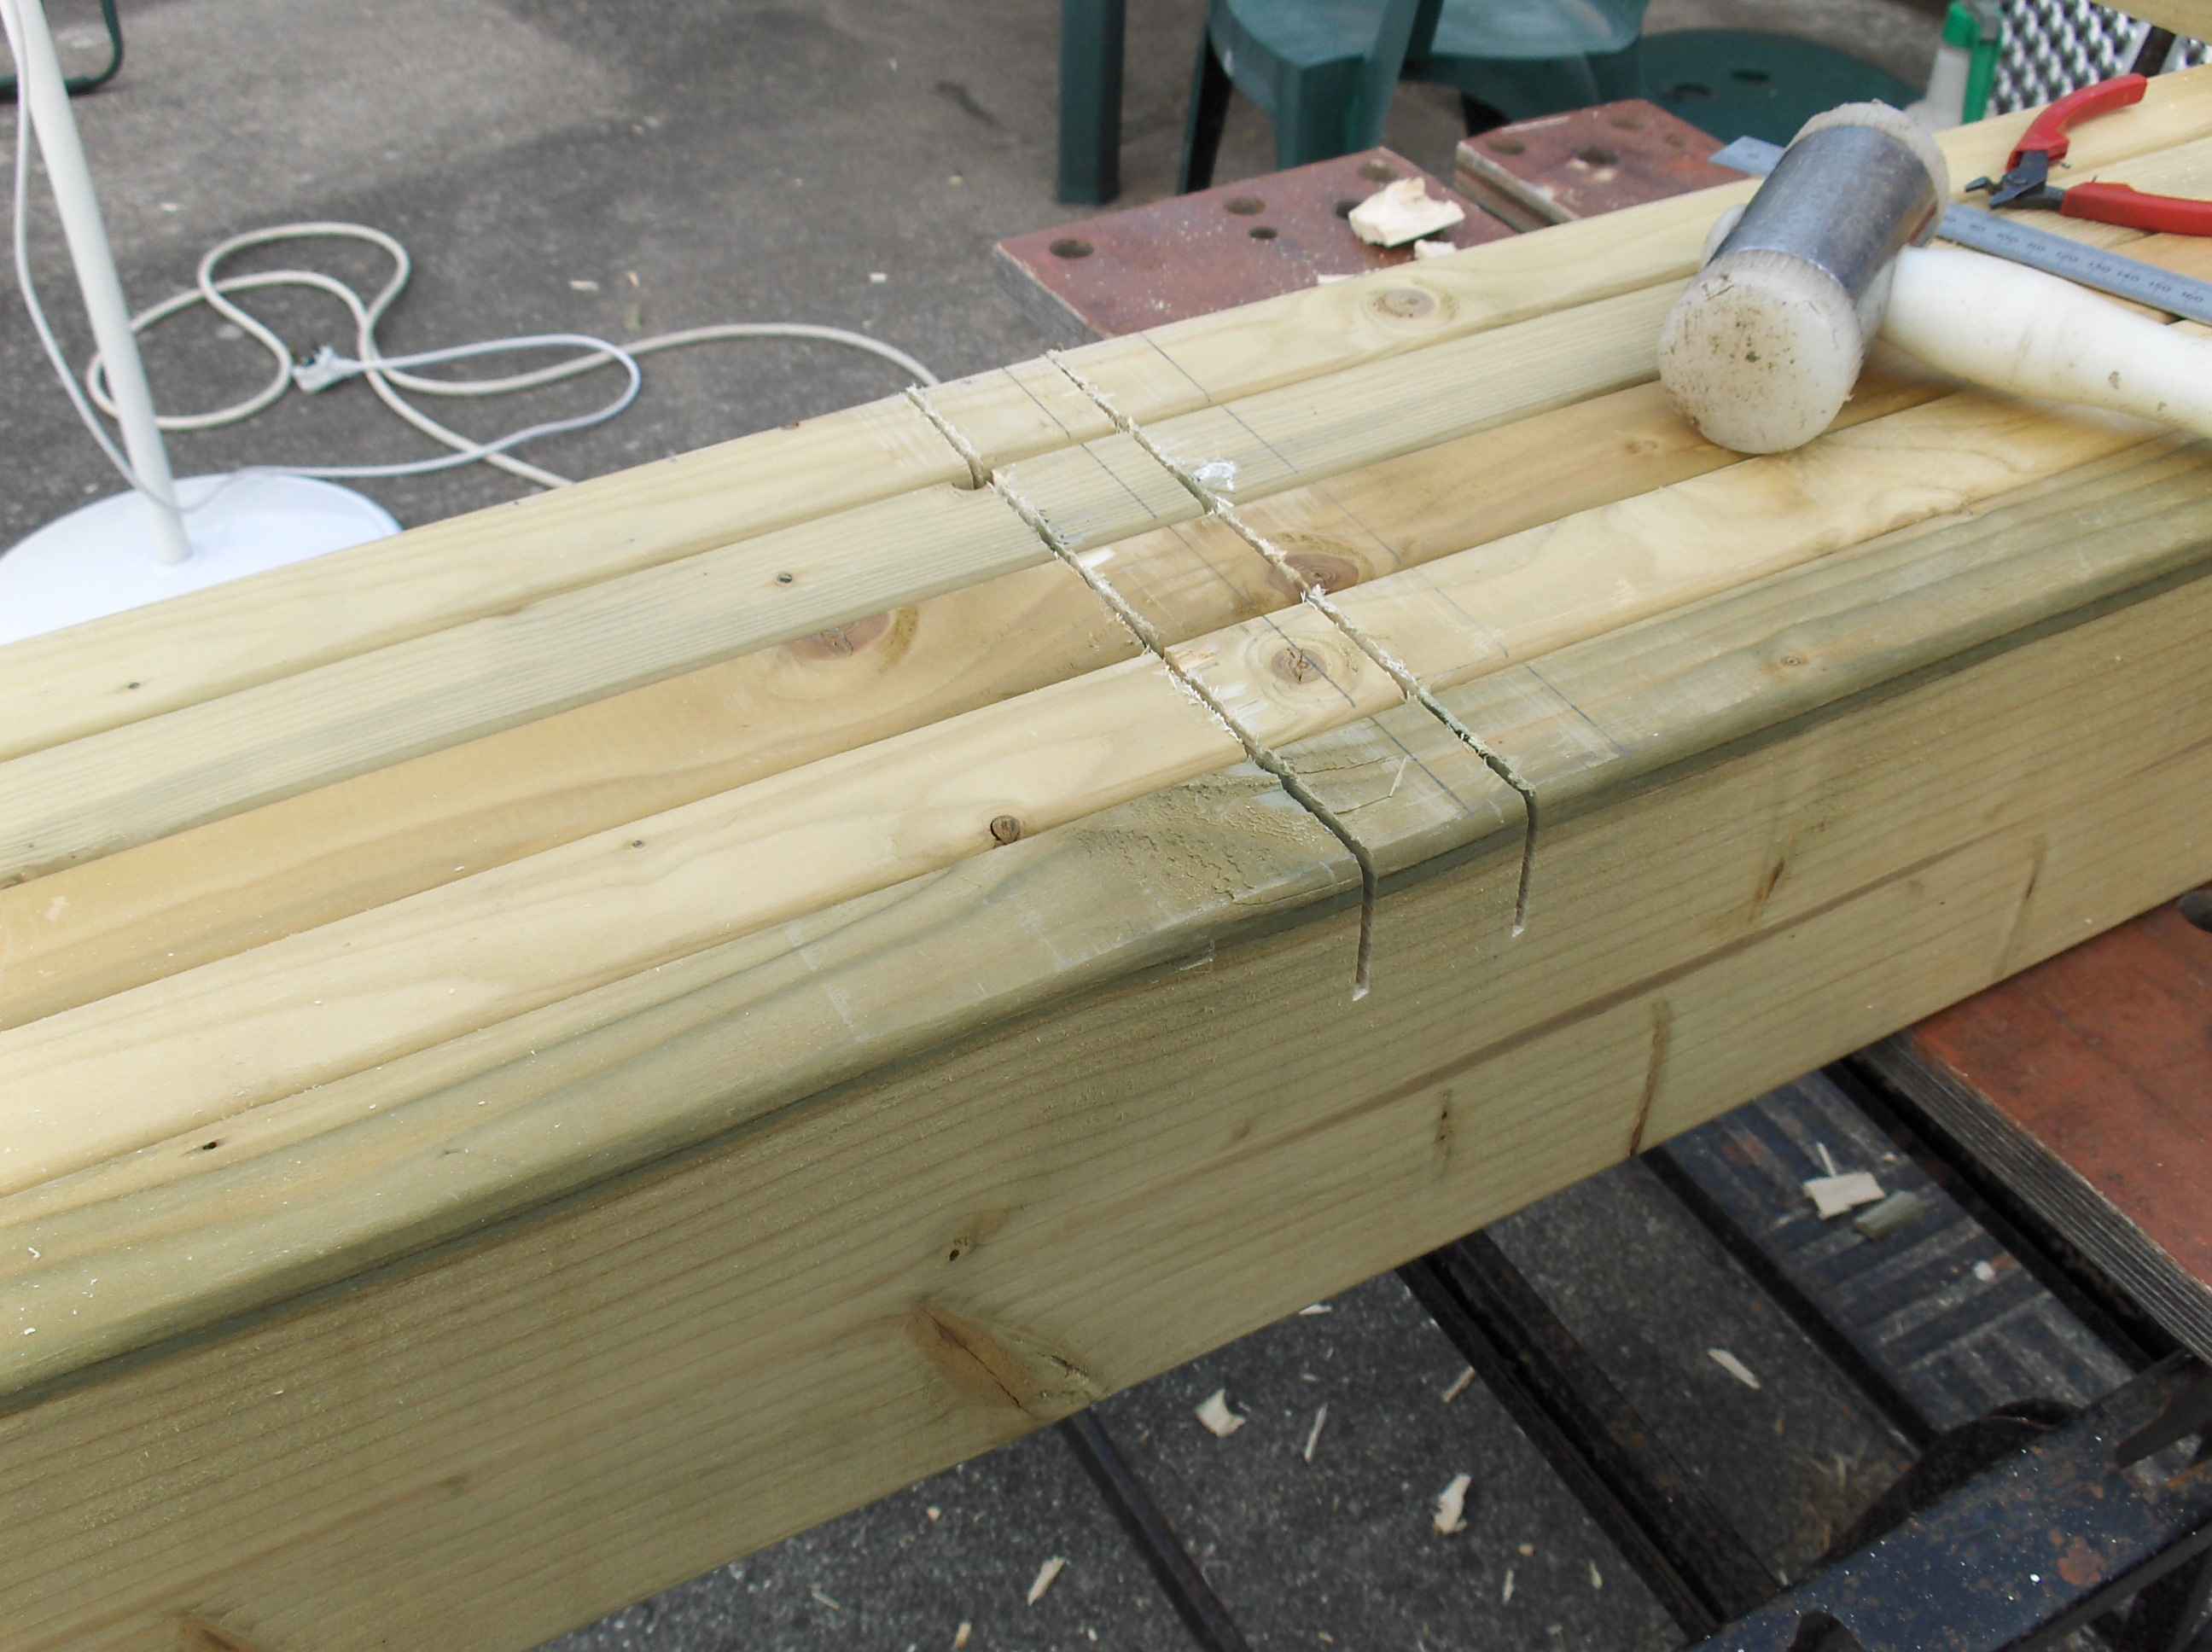
After all the joists were cut to length and shape i removed them all again and cut the lap joints ready for the cross pieces to be put in place to screw the ripply plastic to.
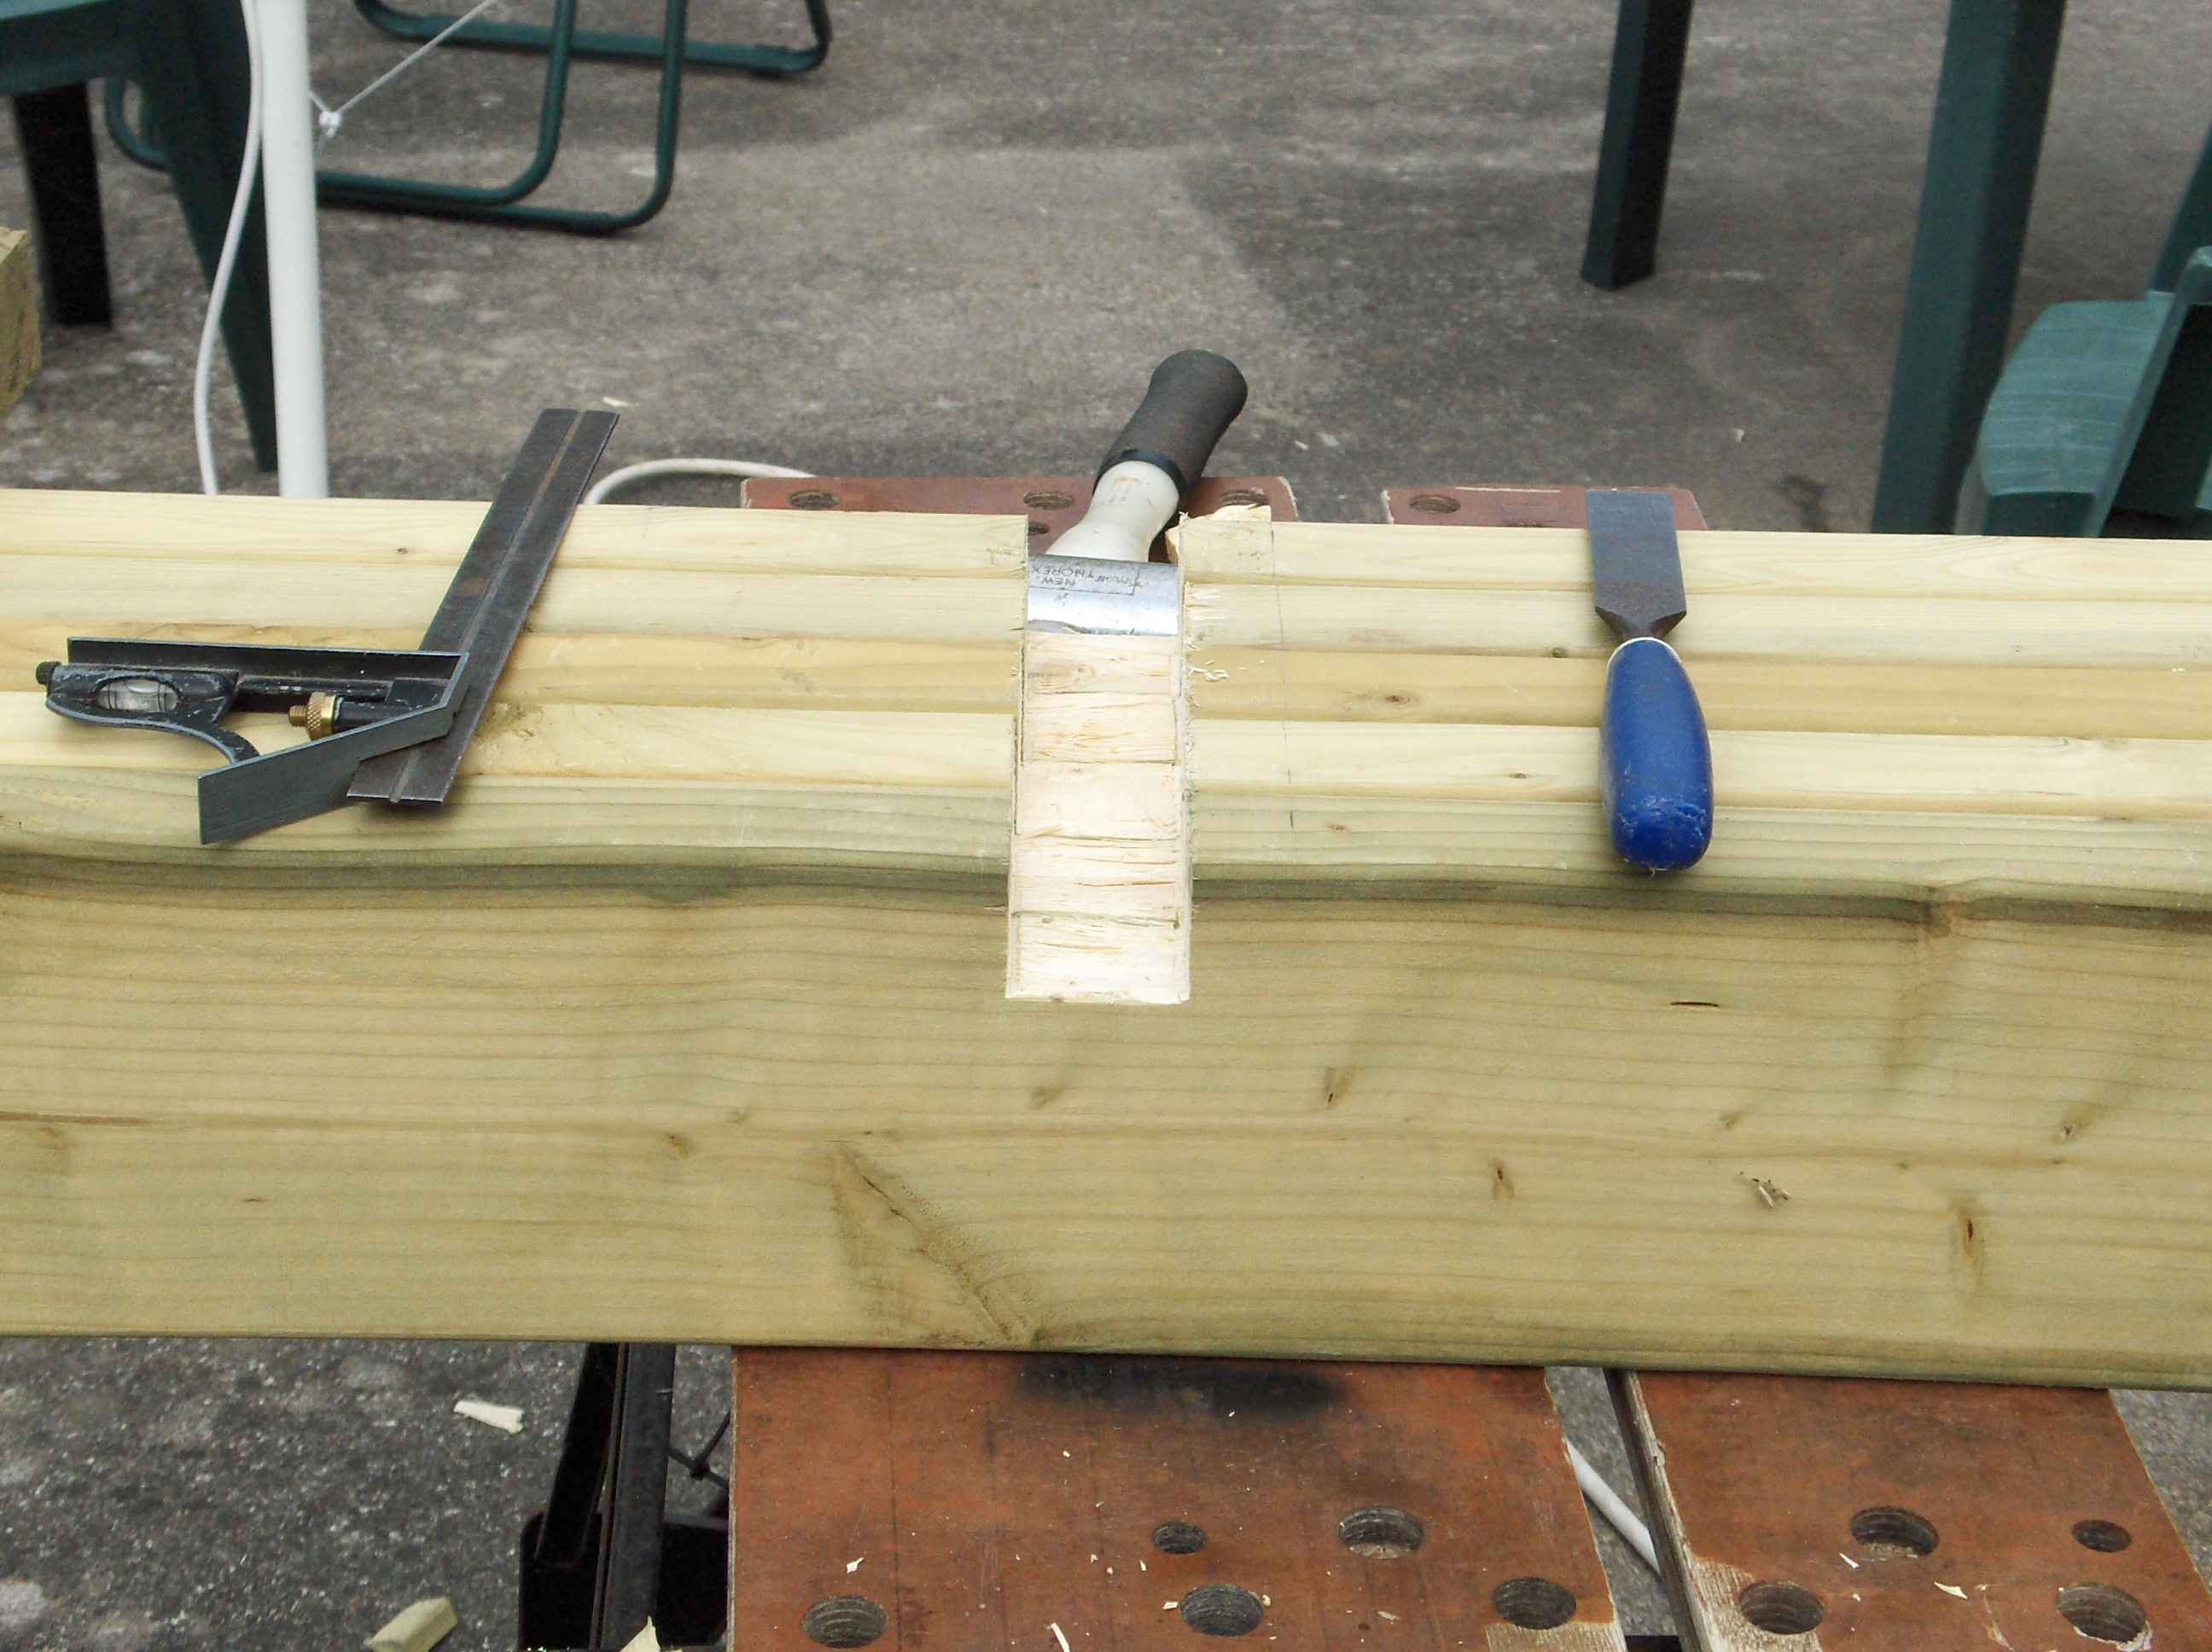
Cutting the joist half of the lap joints.
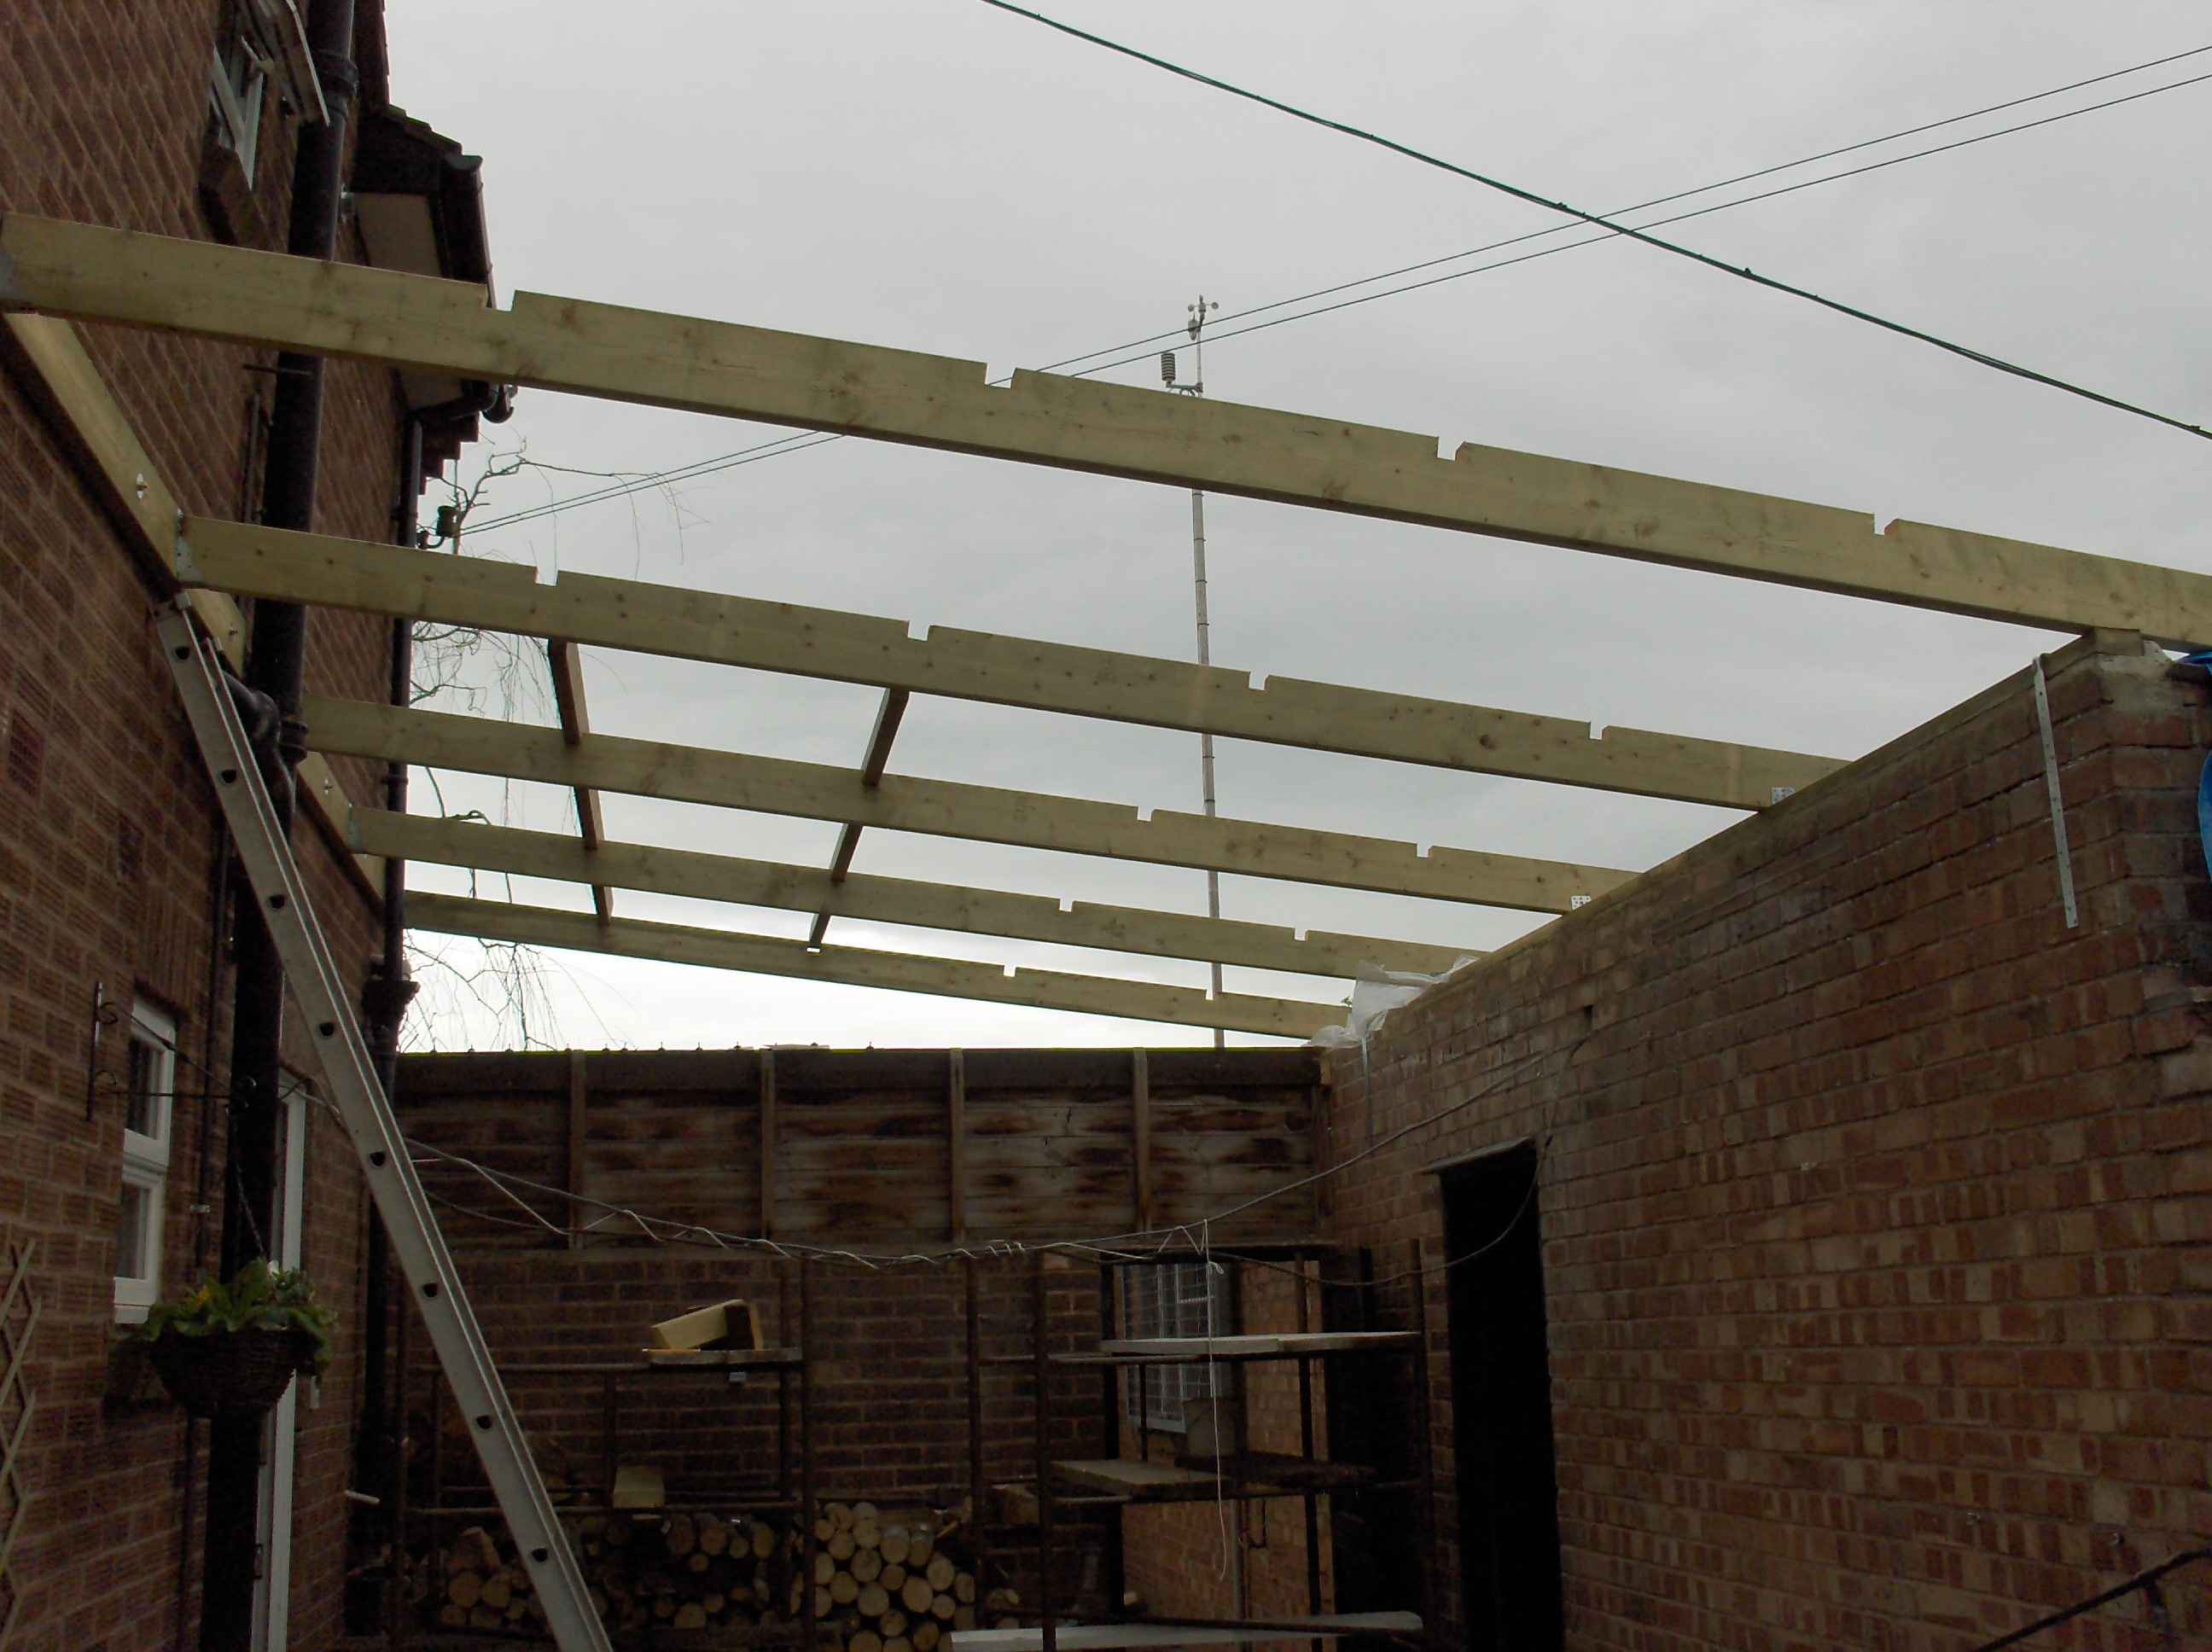
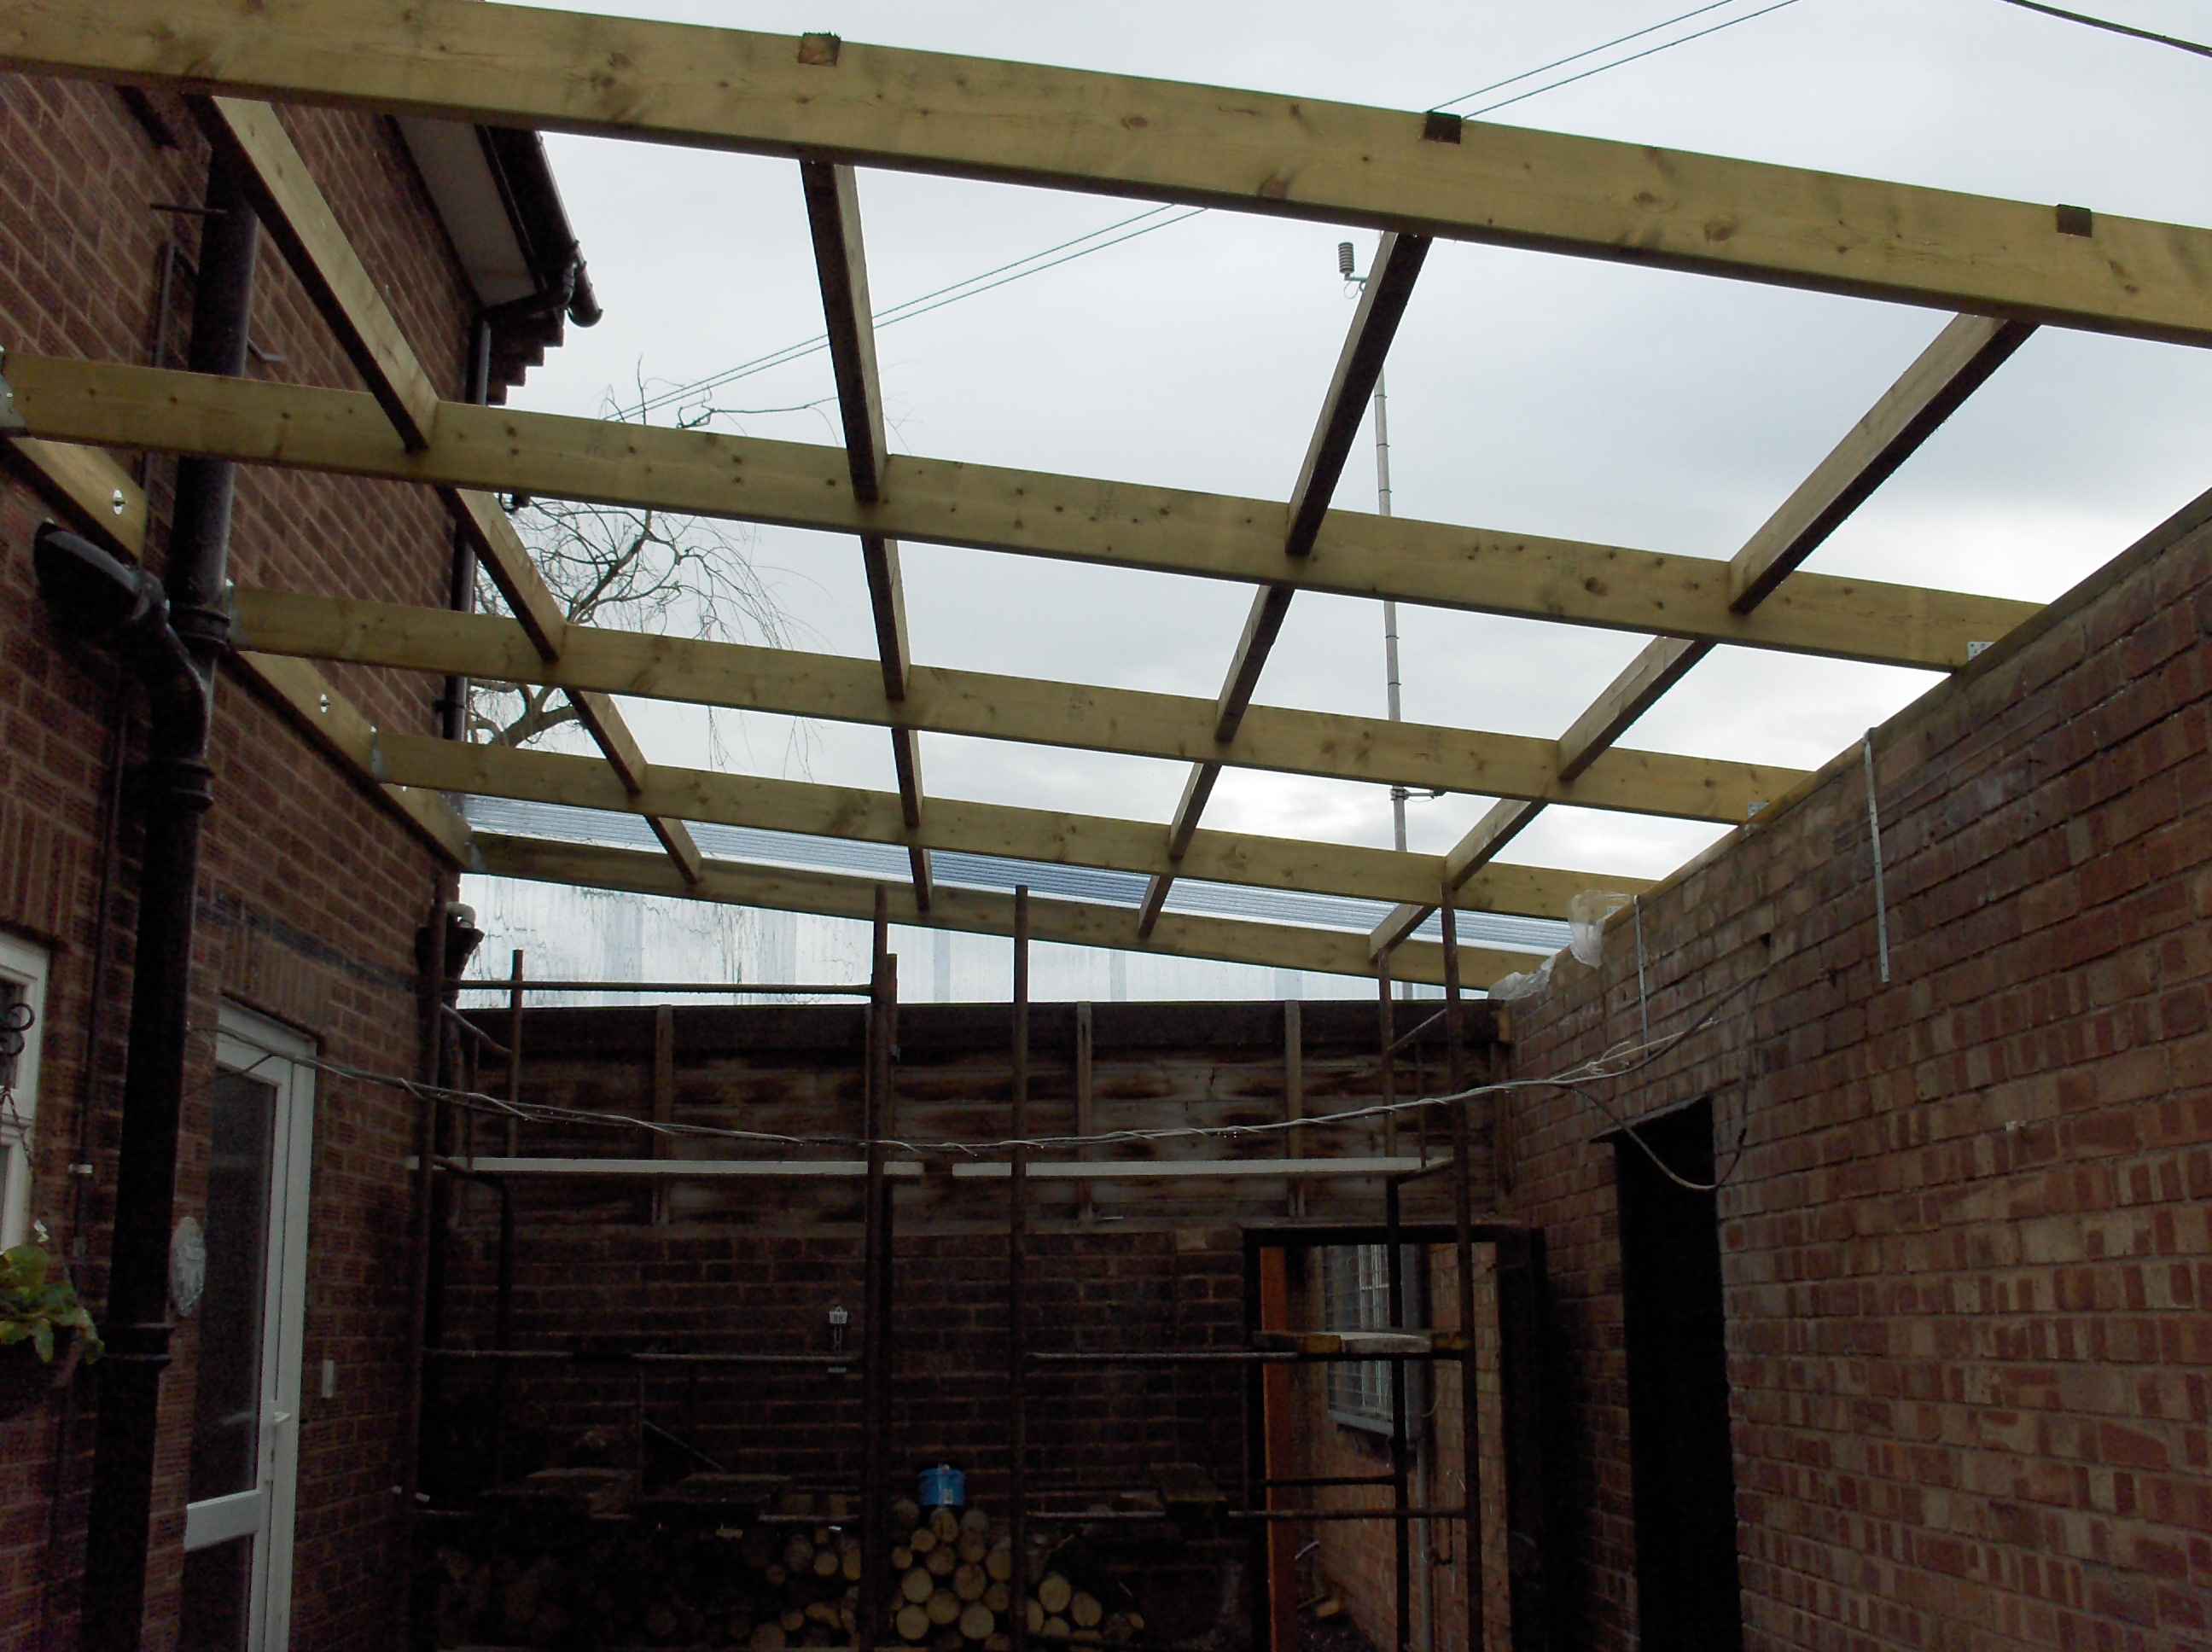
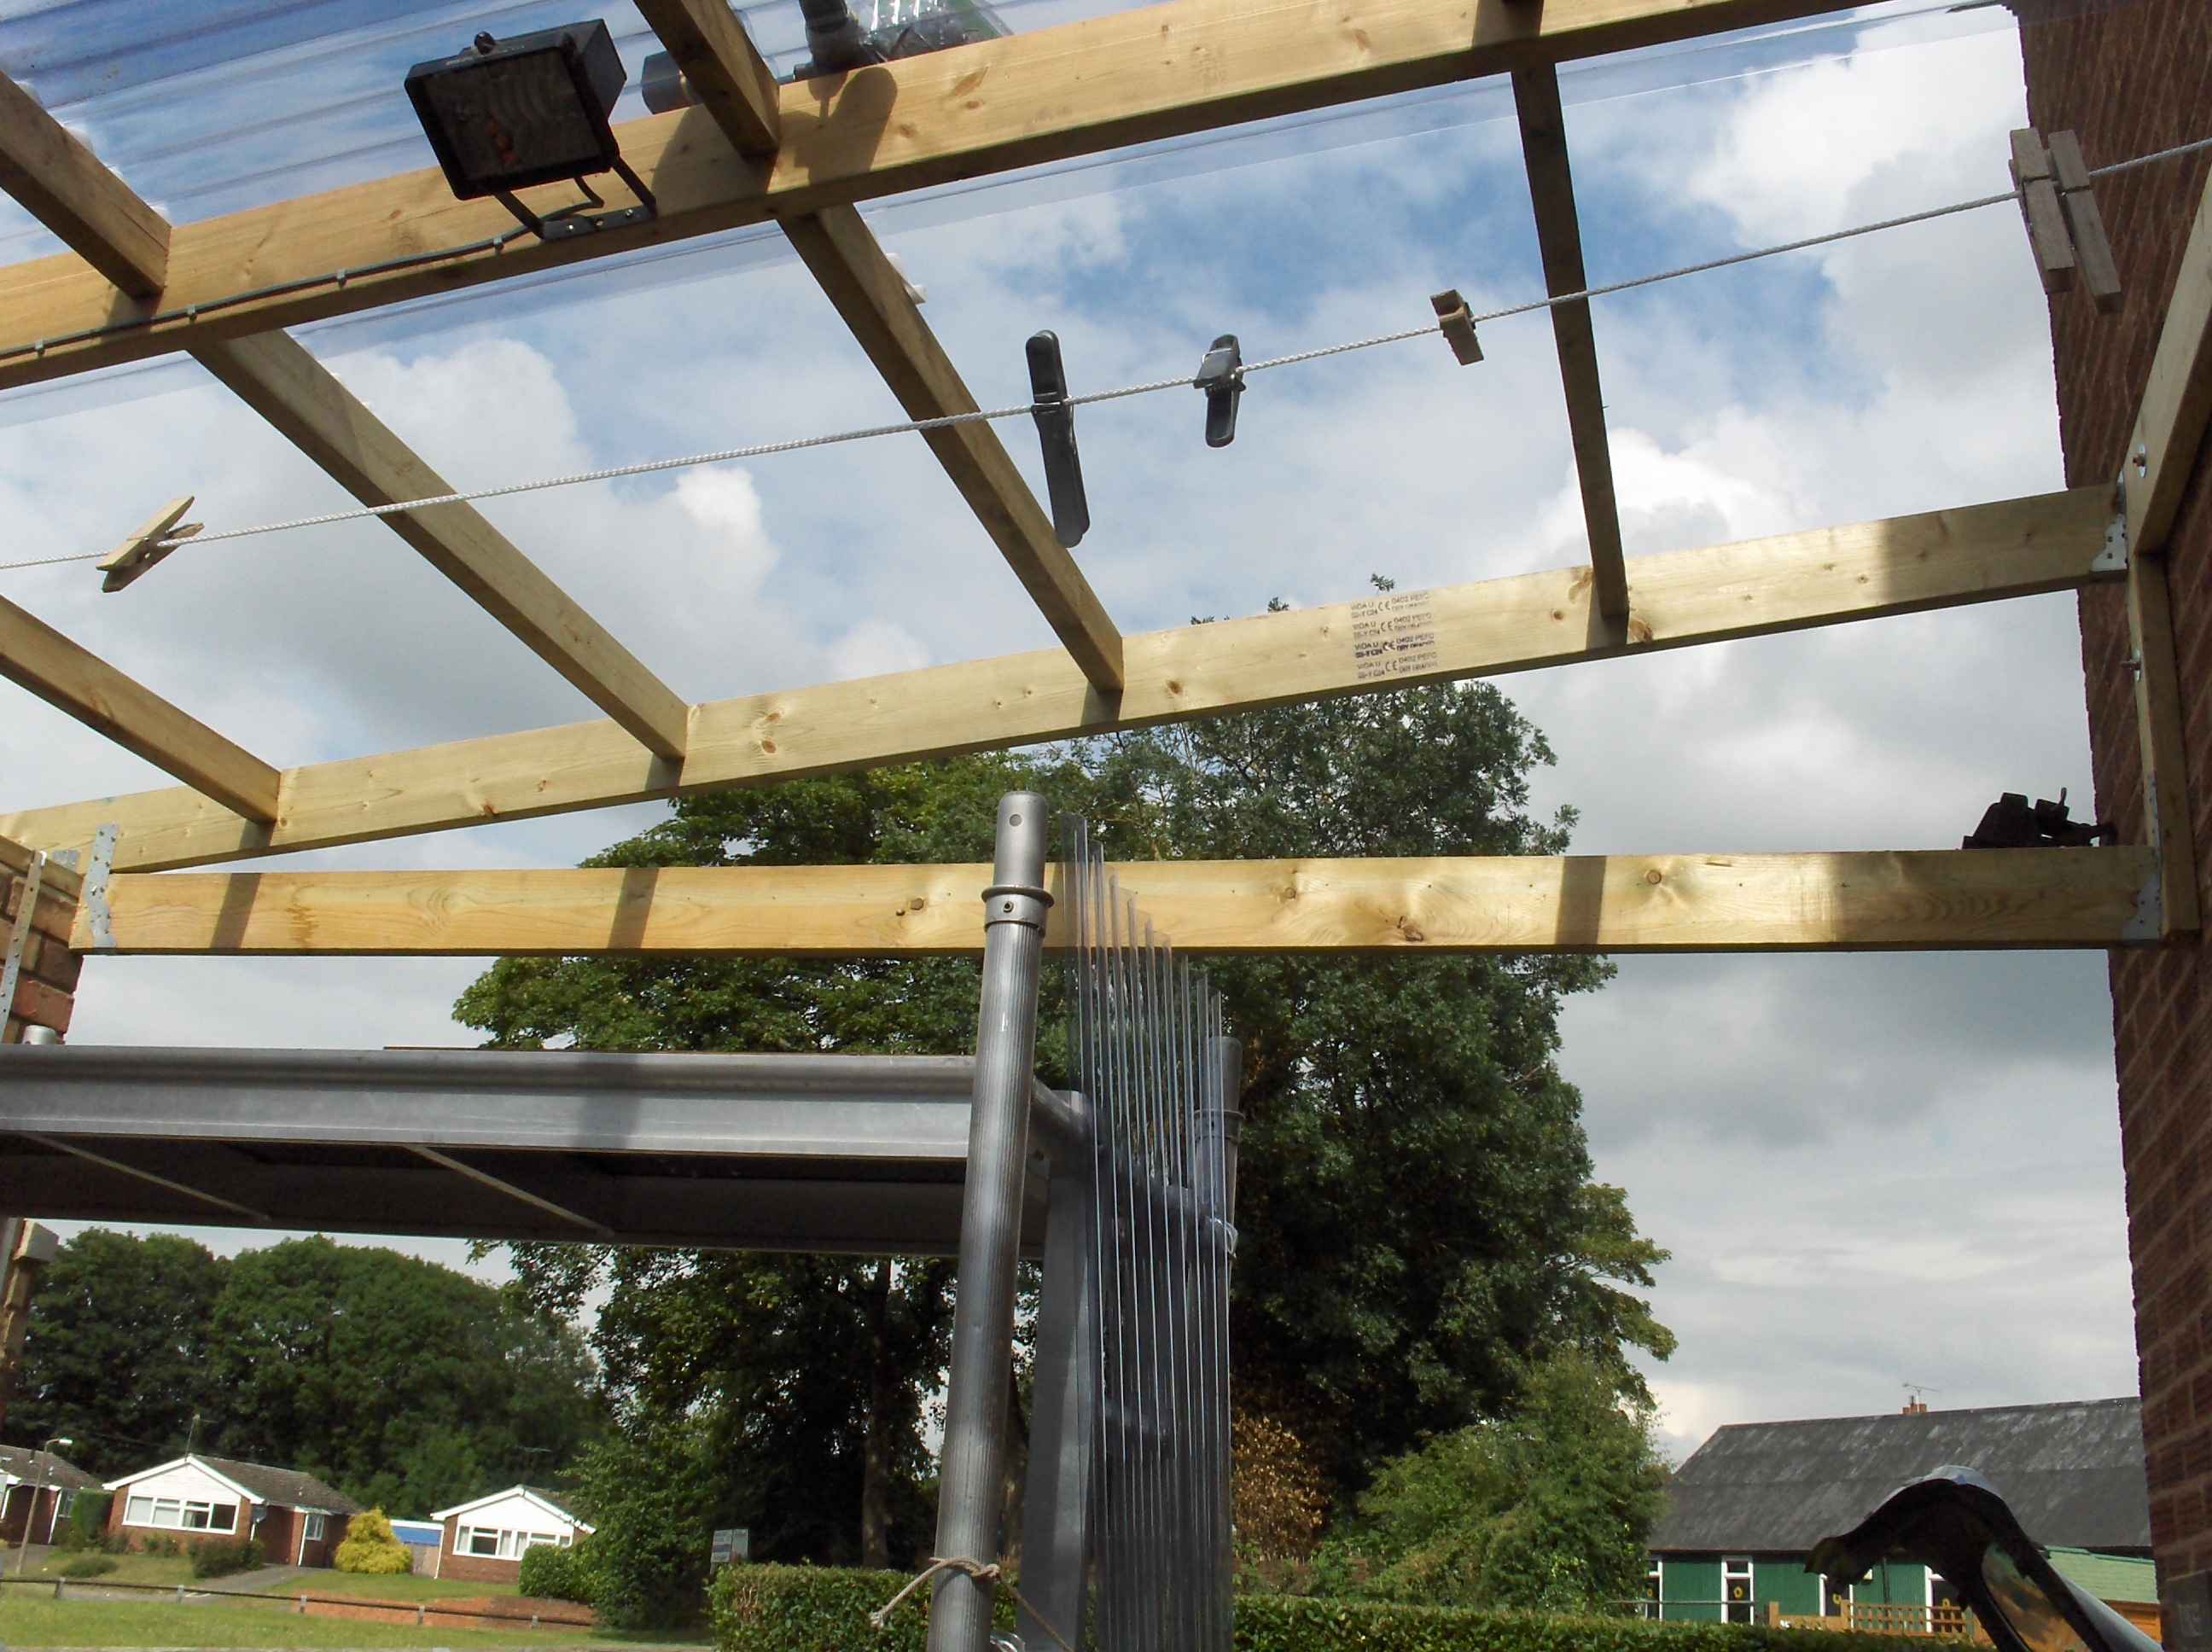
The joists were then fixed in place.
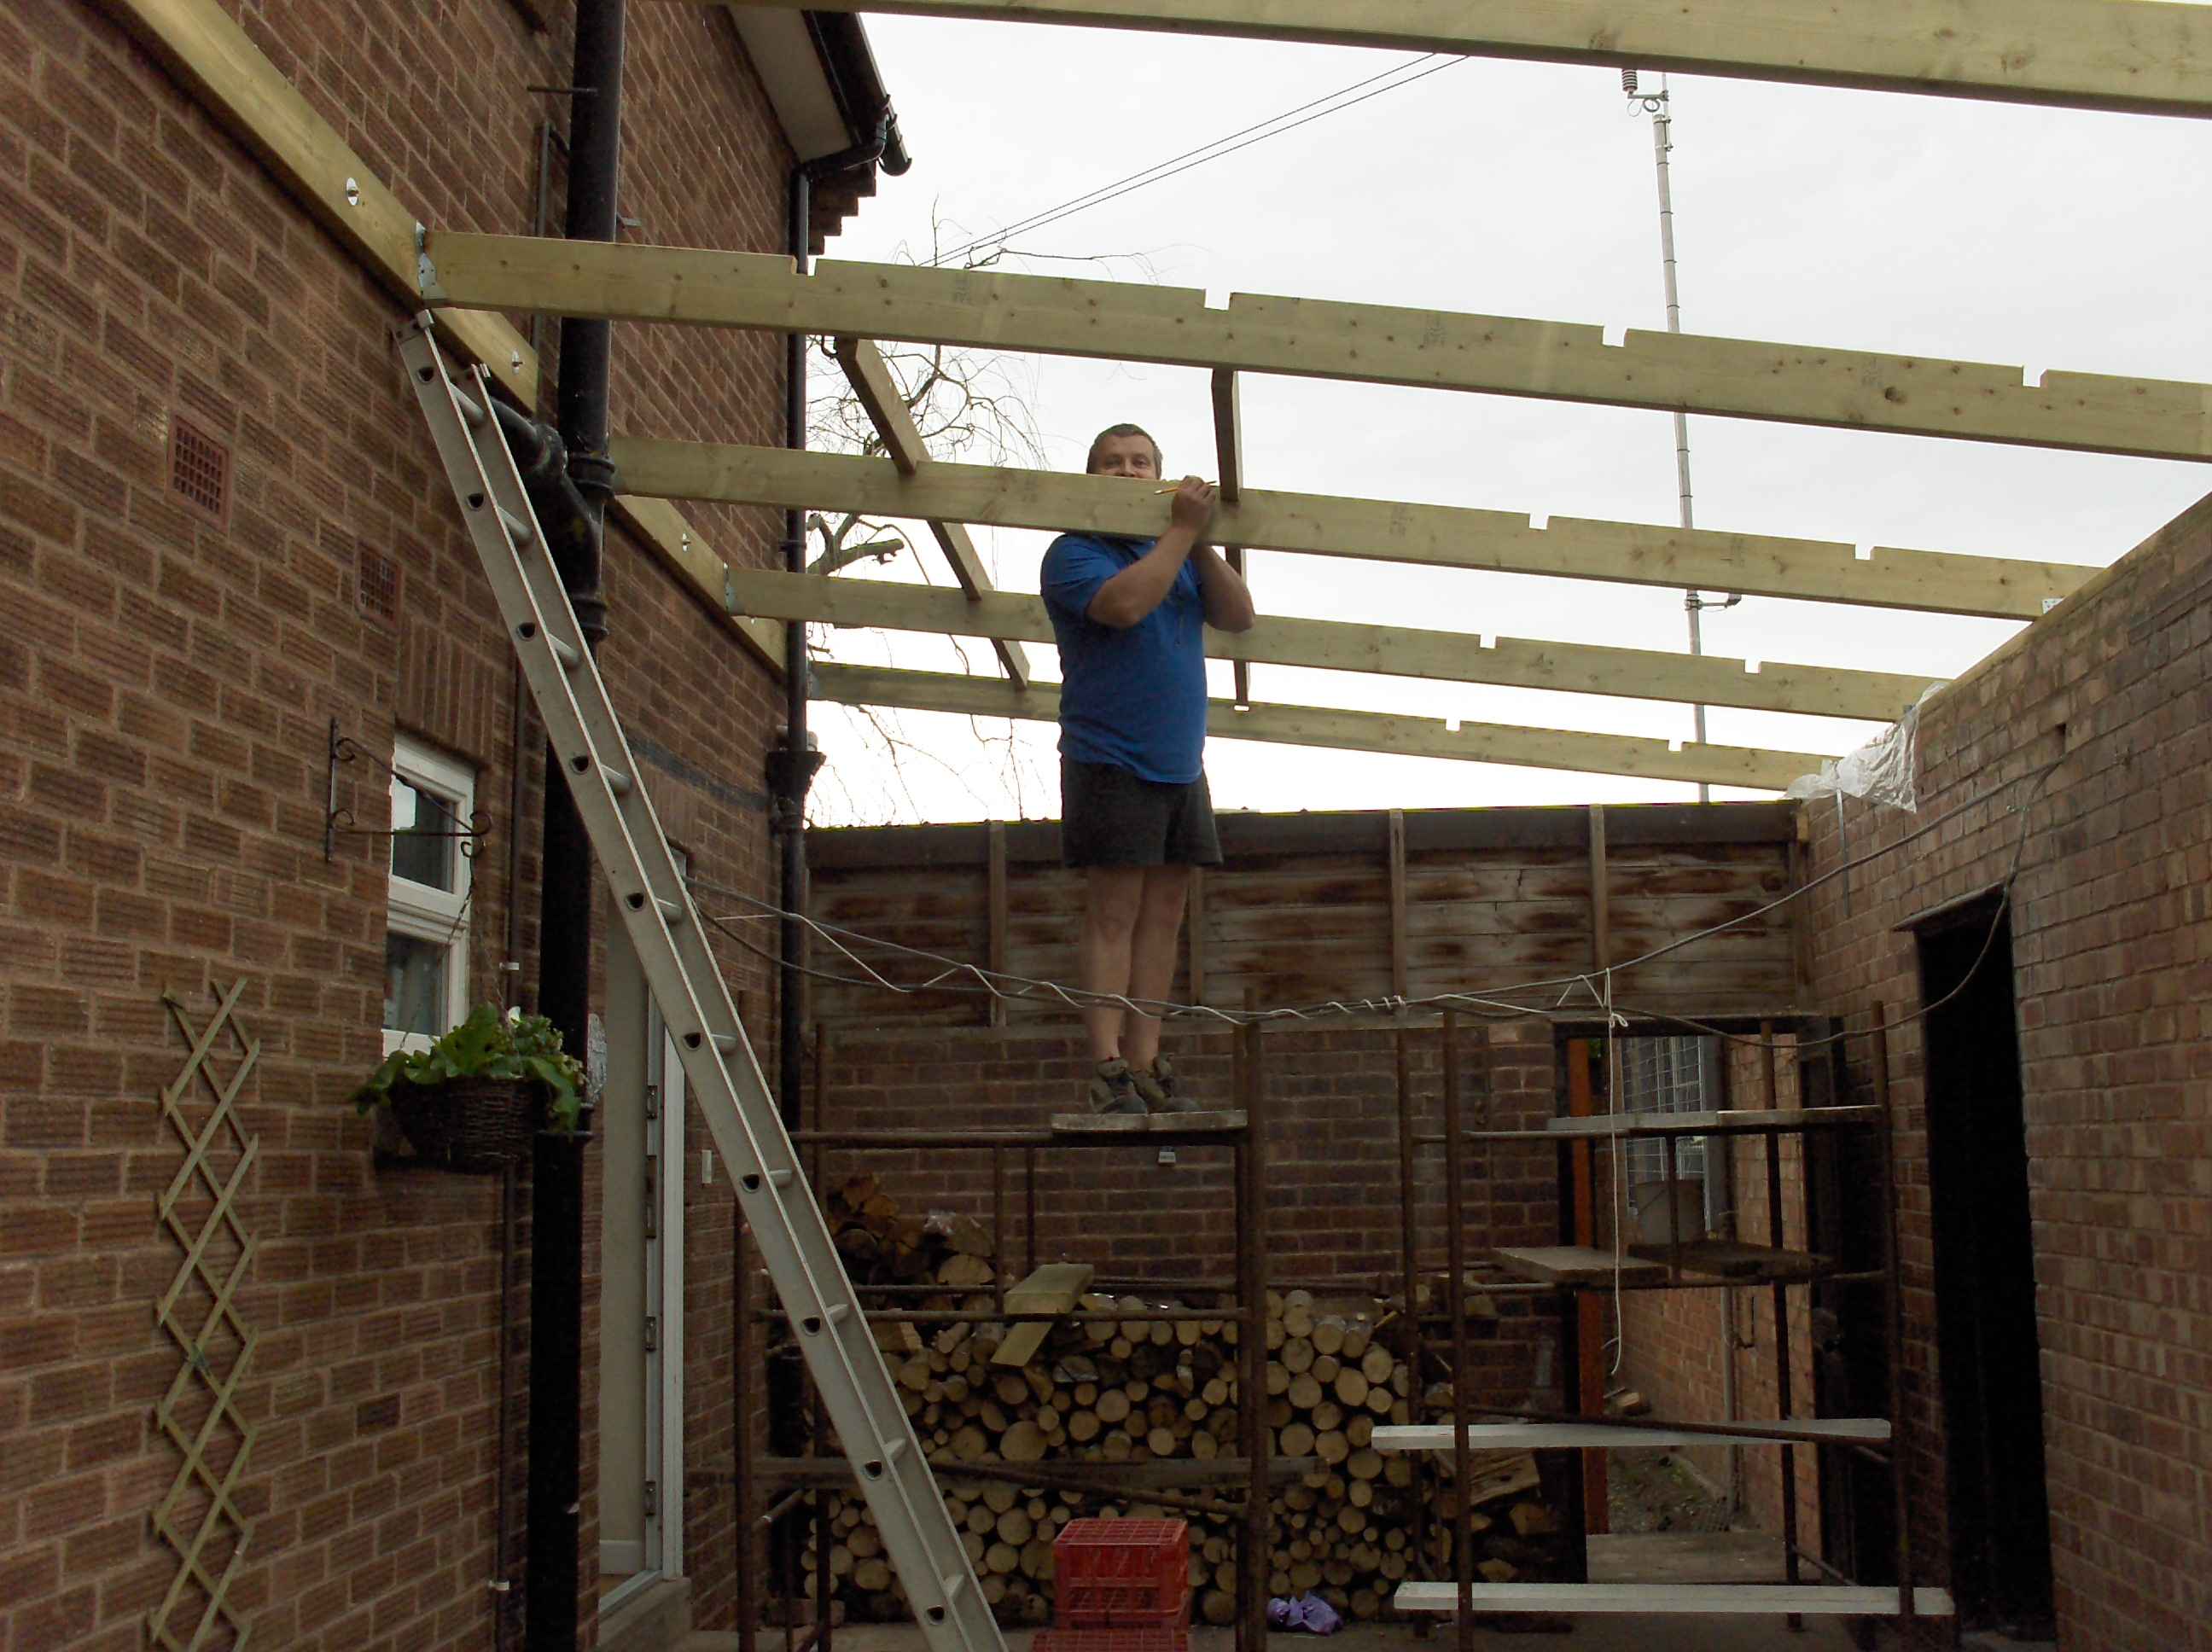
The cross pieces were measured and offered up to be sure every thing fitted before the second half of the lap joints were cut.
The biggest piece of timber I could shift was 4.8m in length and that was not long enough to go end to end on the canopy. So I had to lap joint the cross pieces to get the length I required.
All the timber in place...
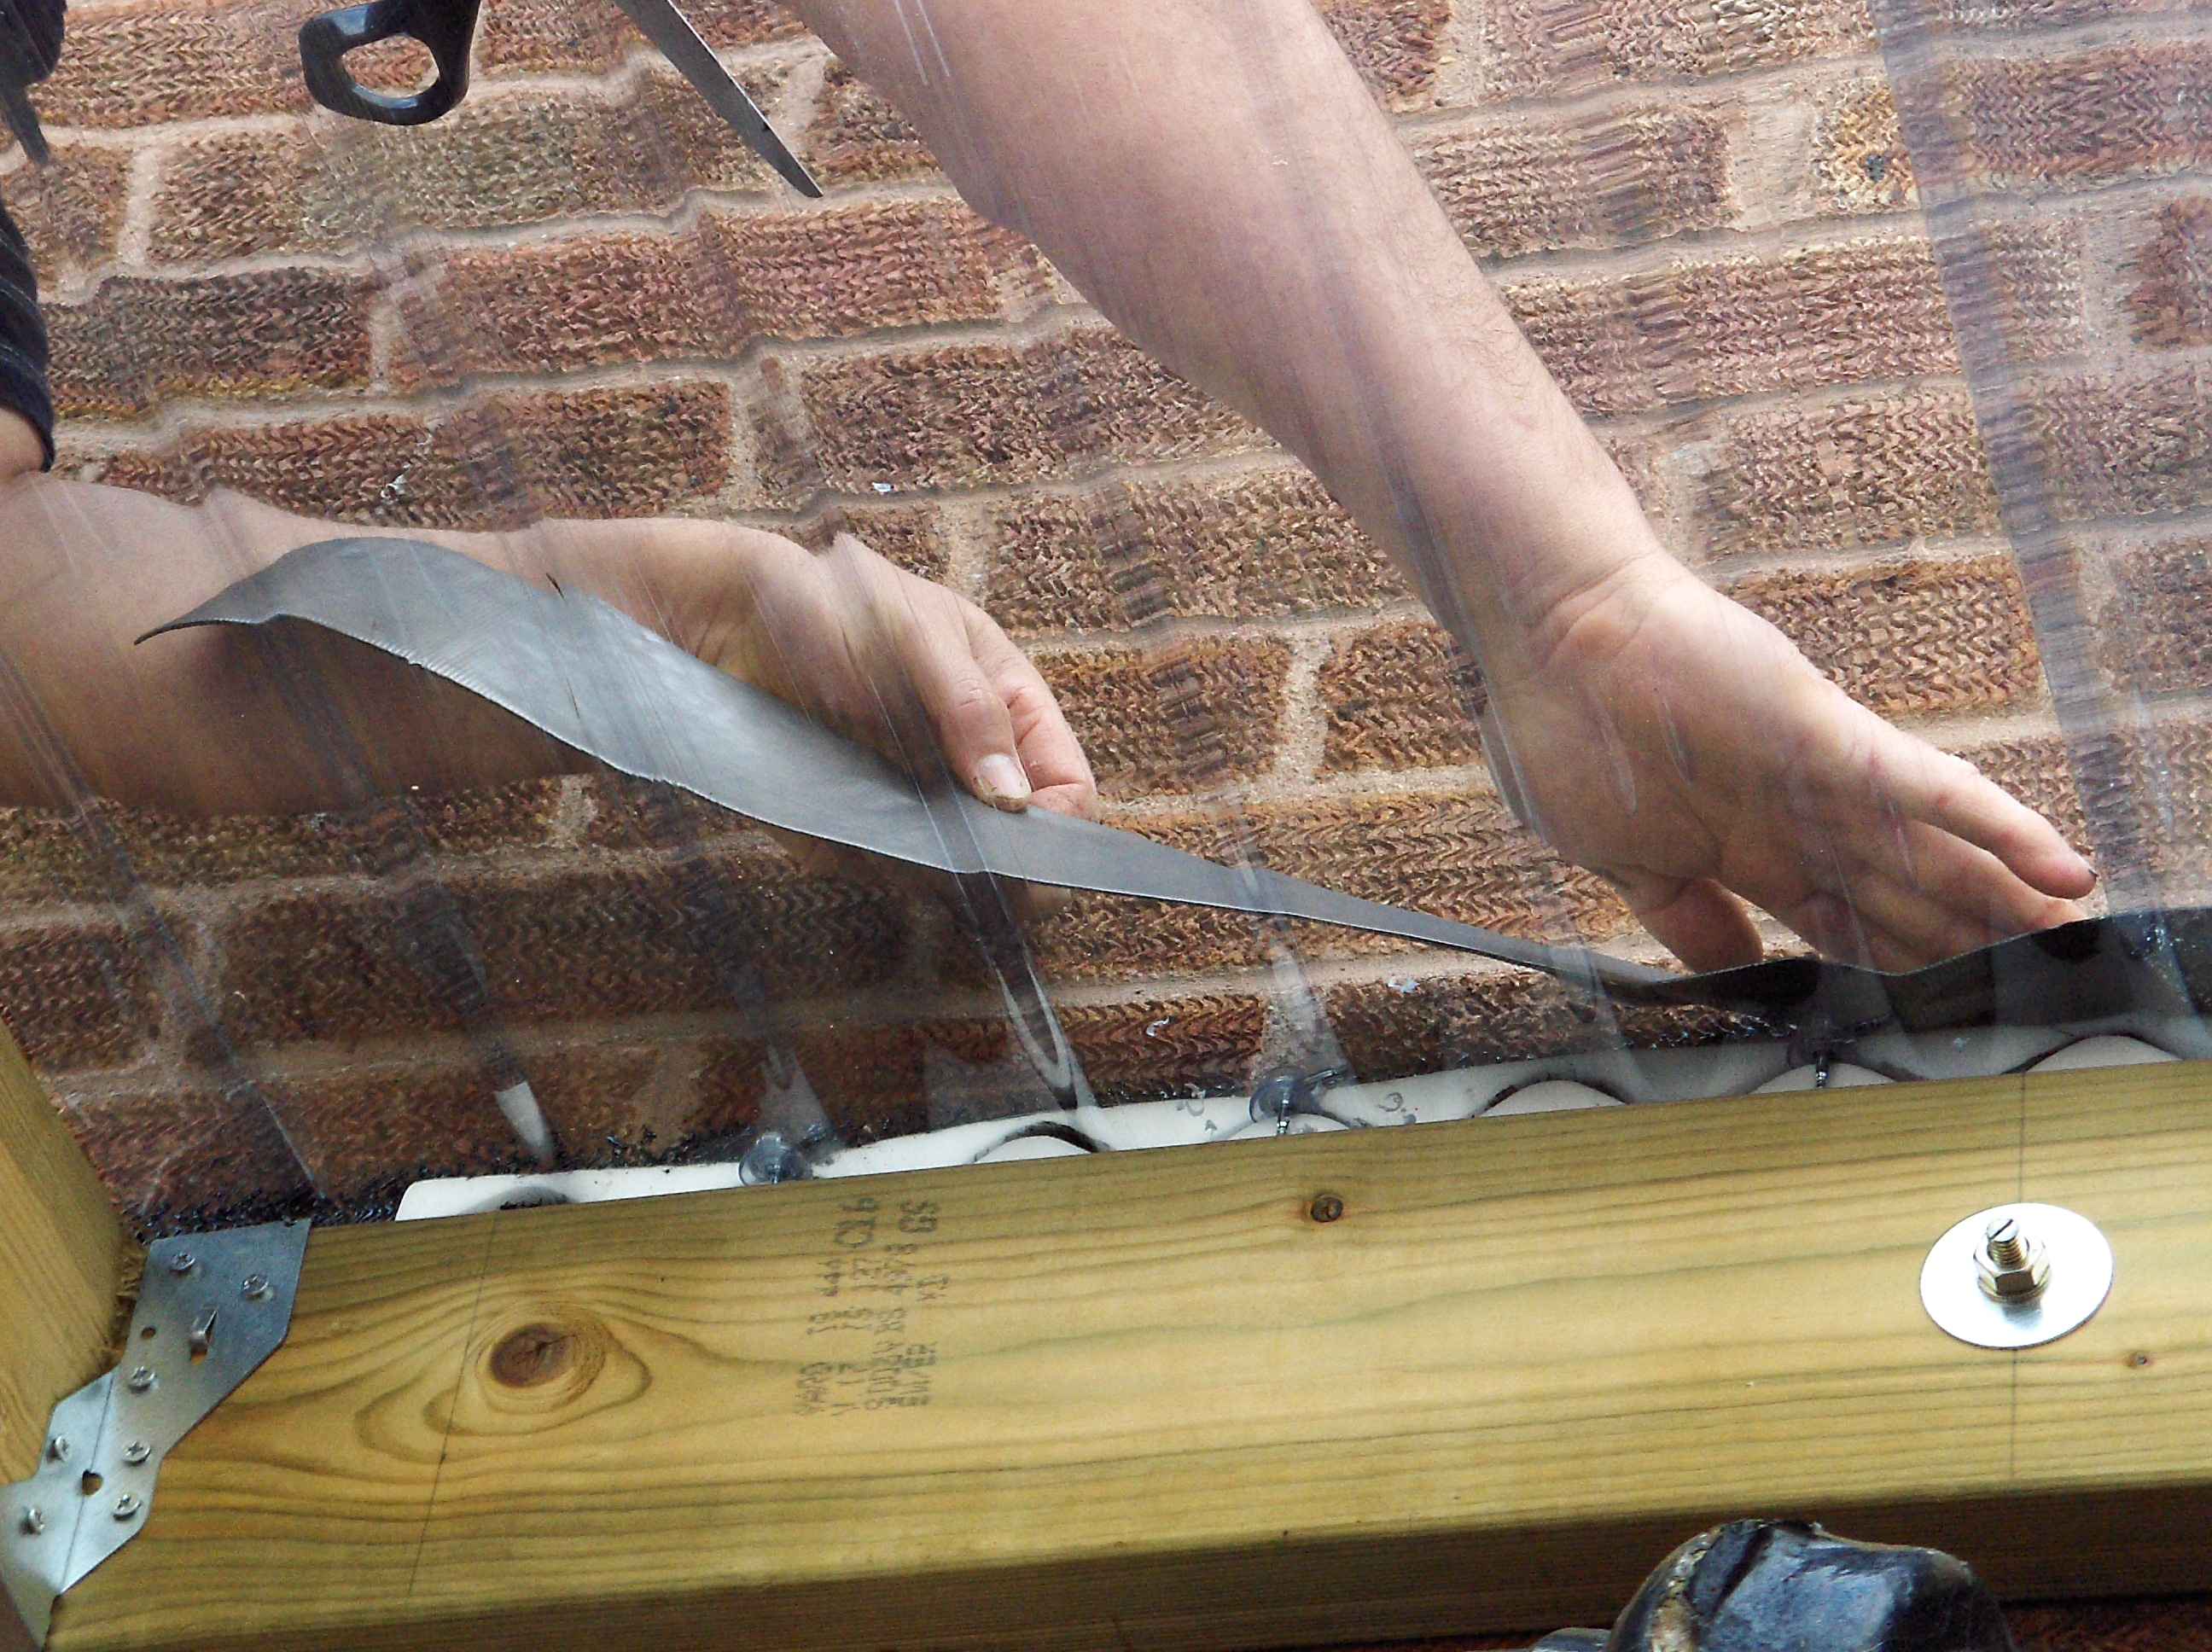
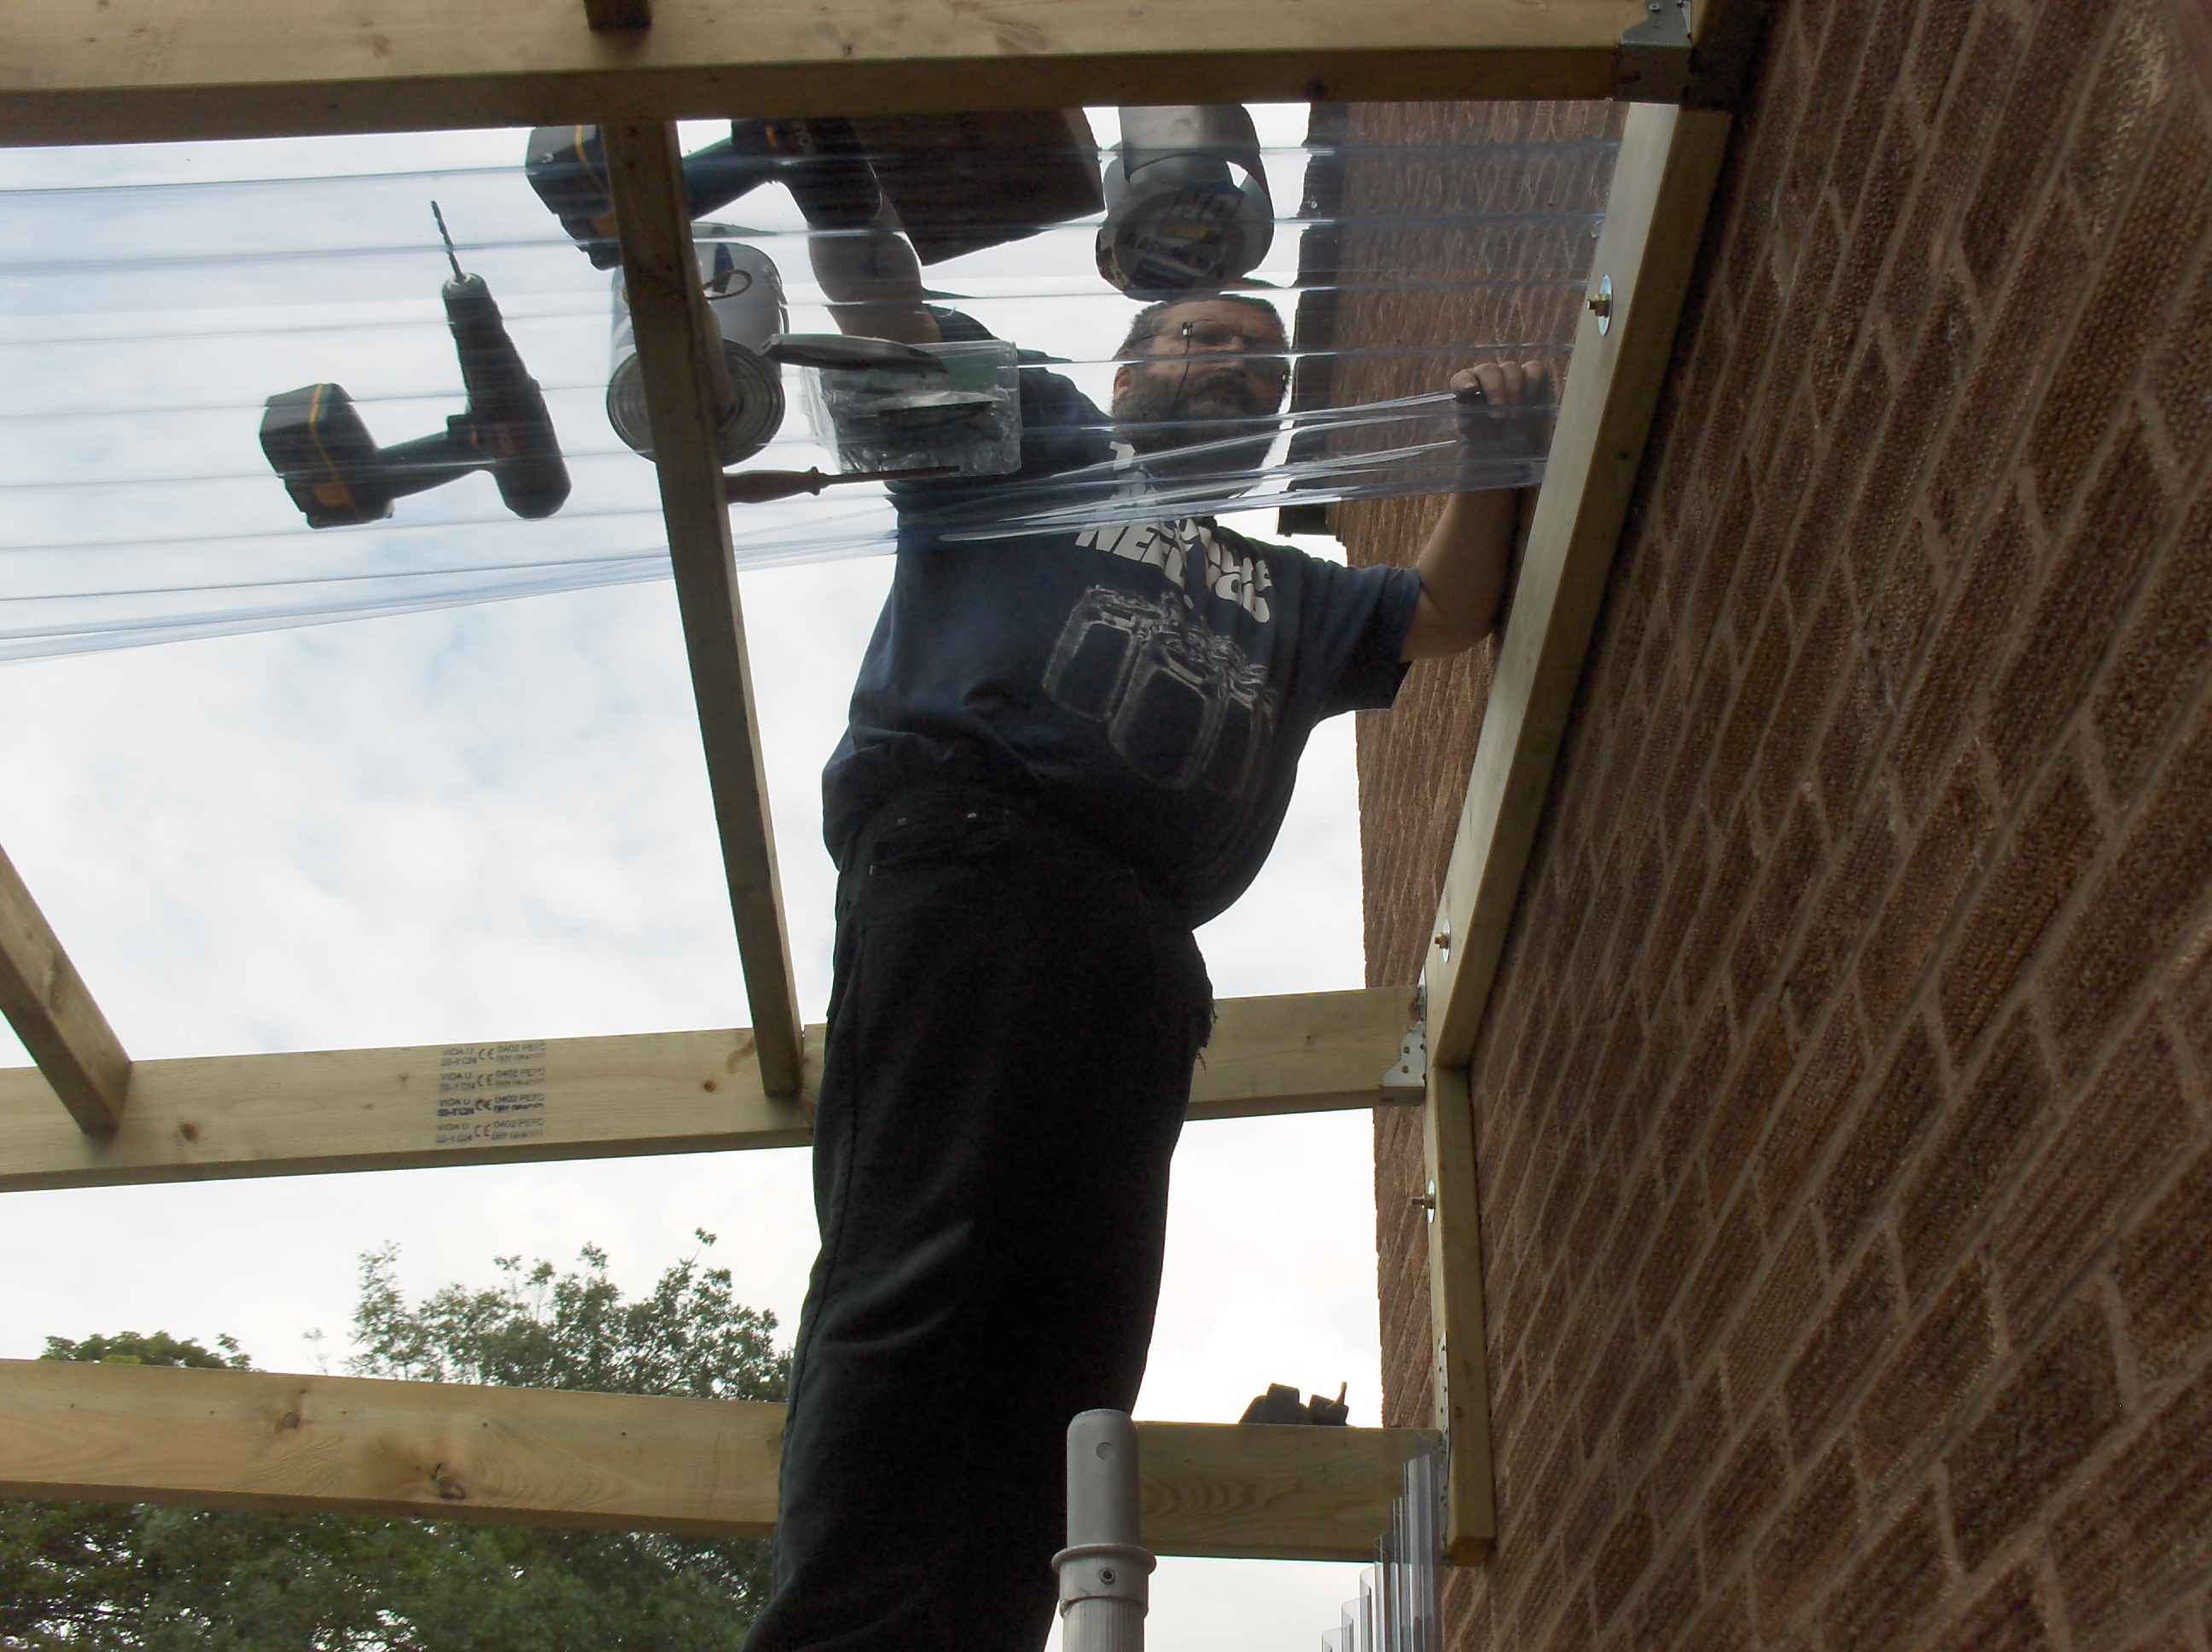
All I had to do now was fix the ripply plastic to the wood...

In order to have as much light as possible I used ripply plastic on the ends too.
I used flashing to seal the top to the house and stop rain ingress. The foam stuff was used with felt roof adhesive to gunge everything in place and help stop leaks. I had to do the flashing in short strips this made it MUCH easyer than trying to do one strip.
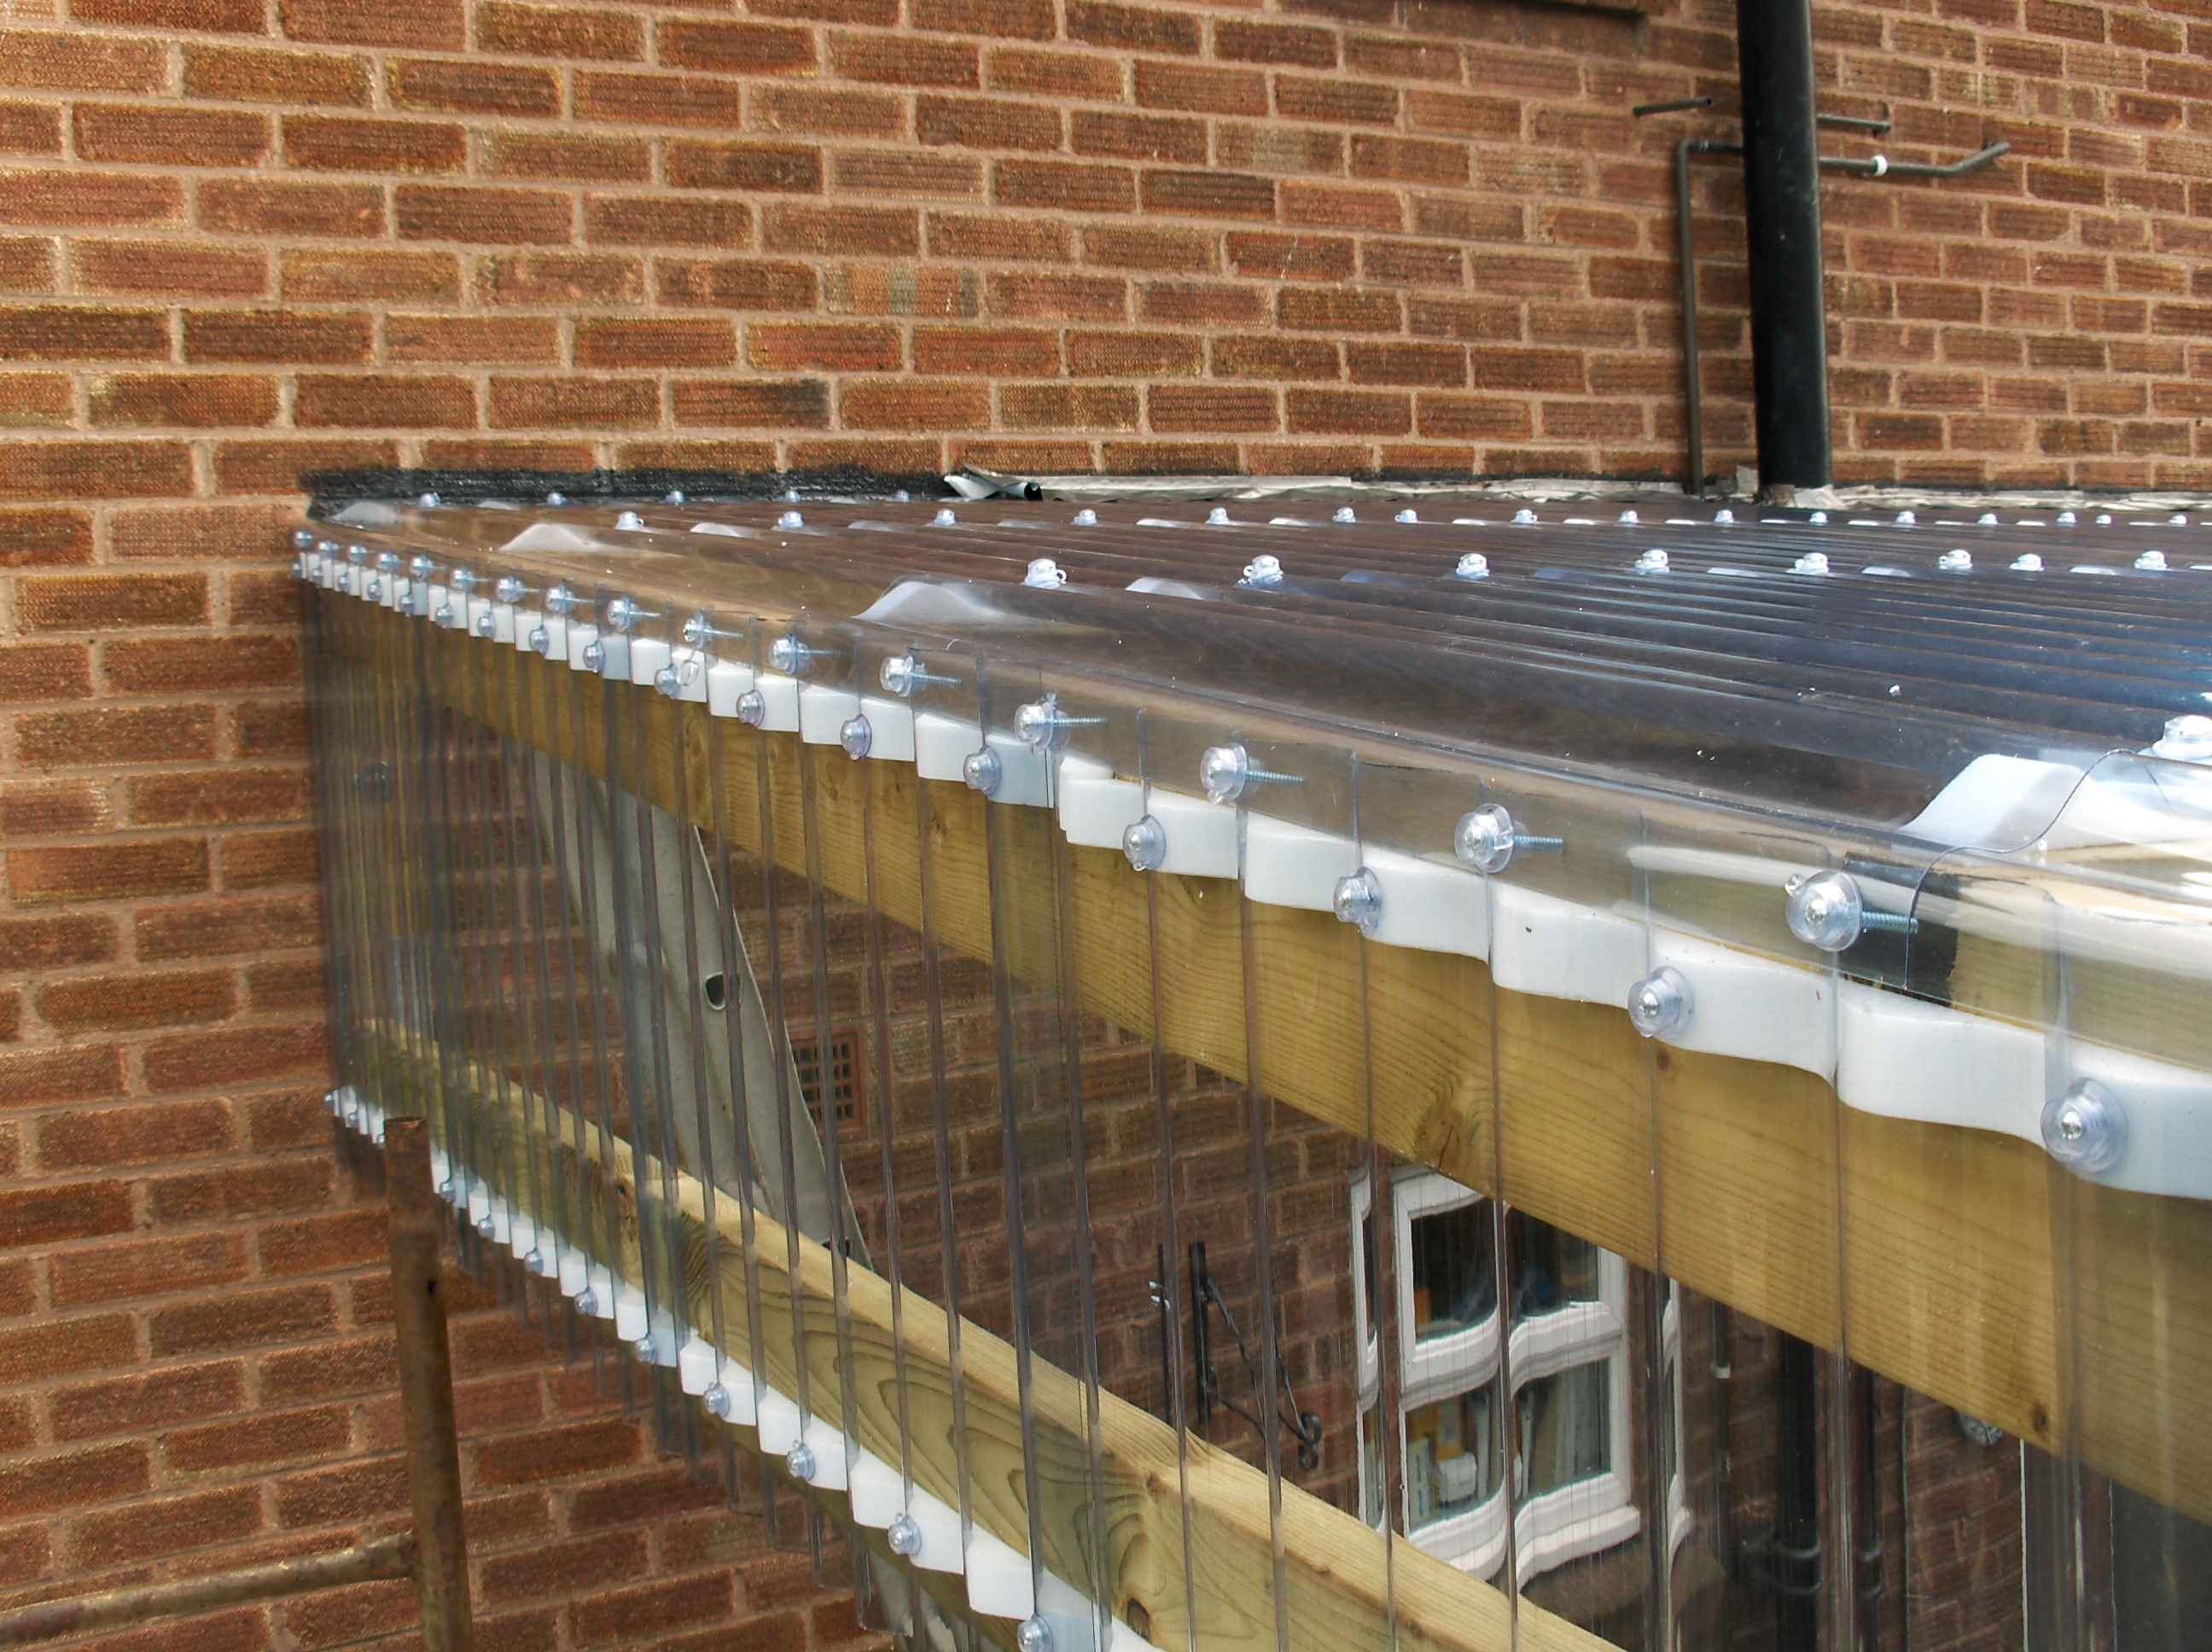
Again I filled the end of the canopy in with plastic and to make the job look tidy I folded the roof plastic over the vertical.
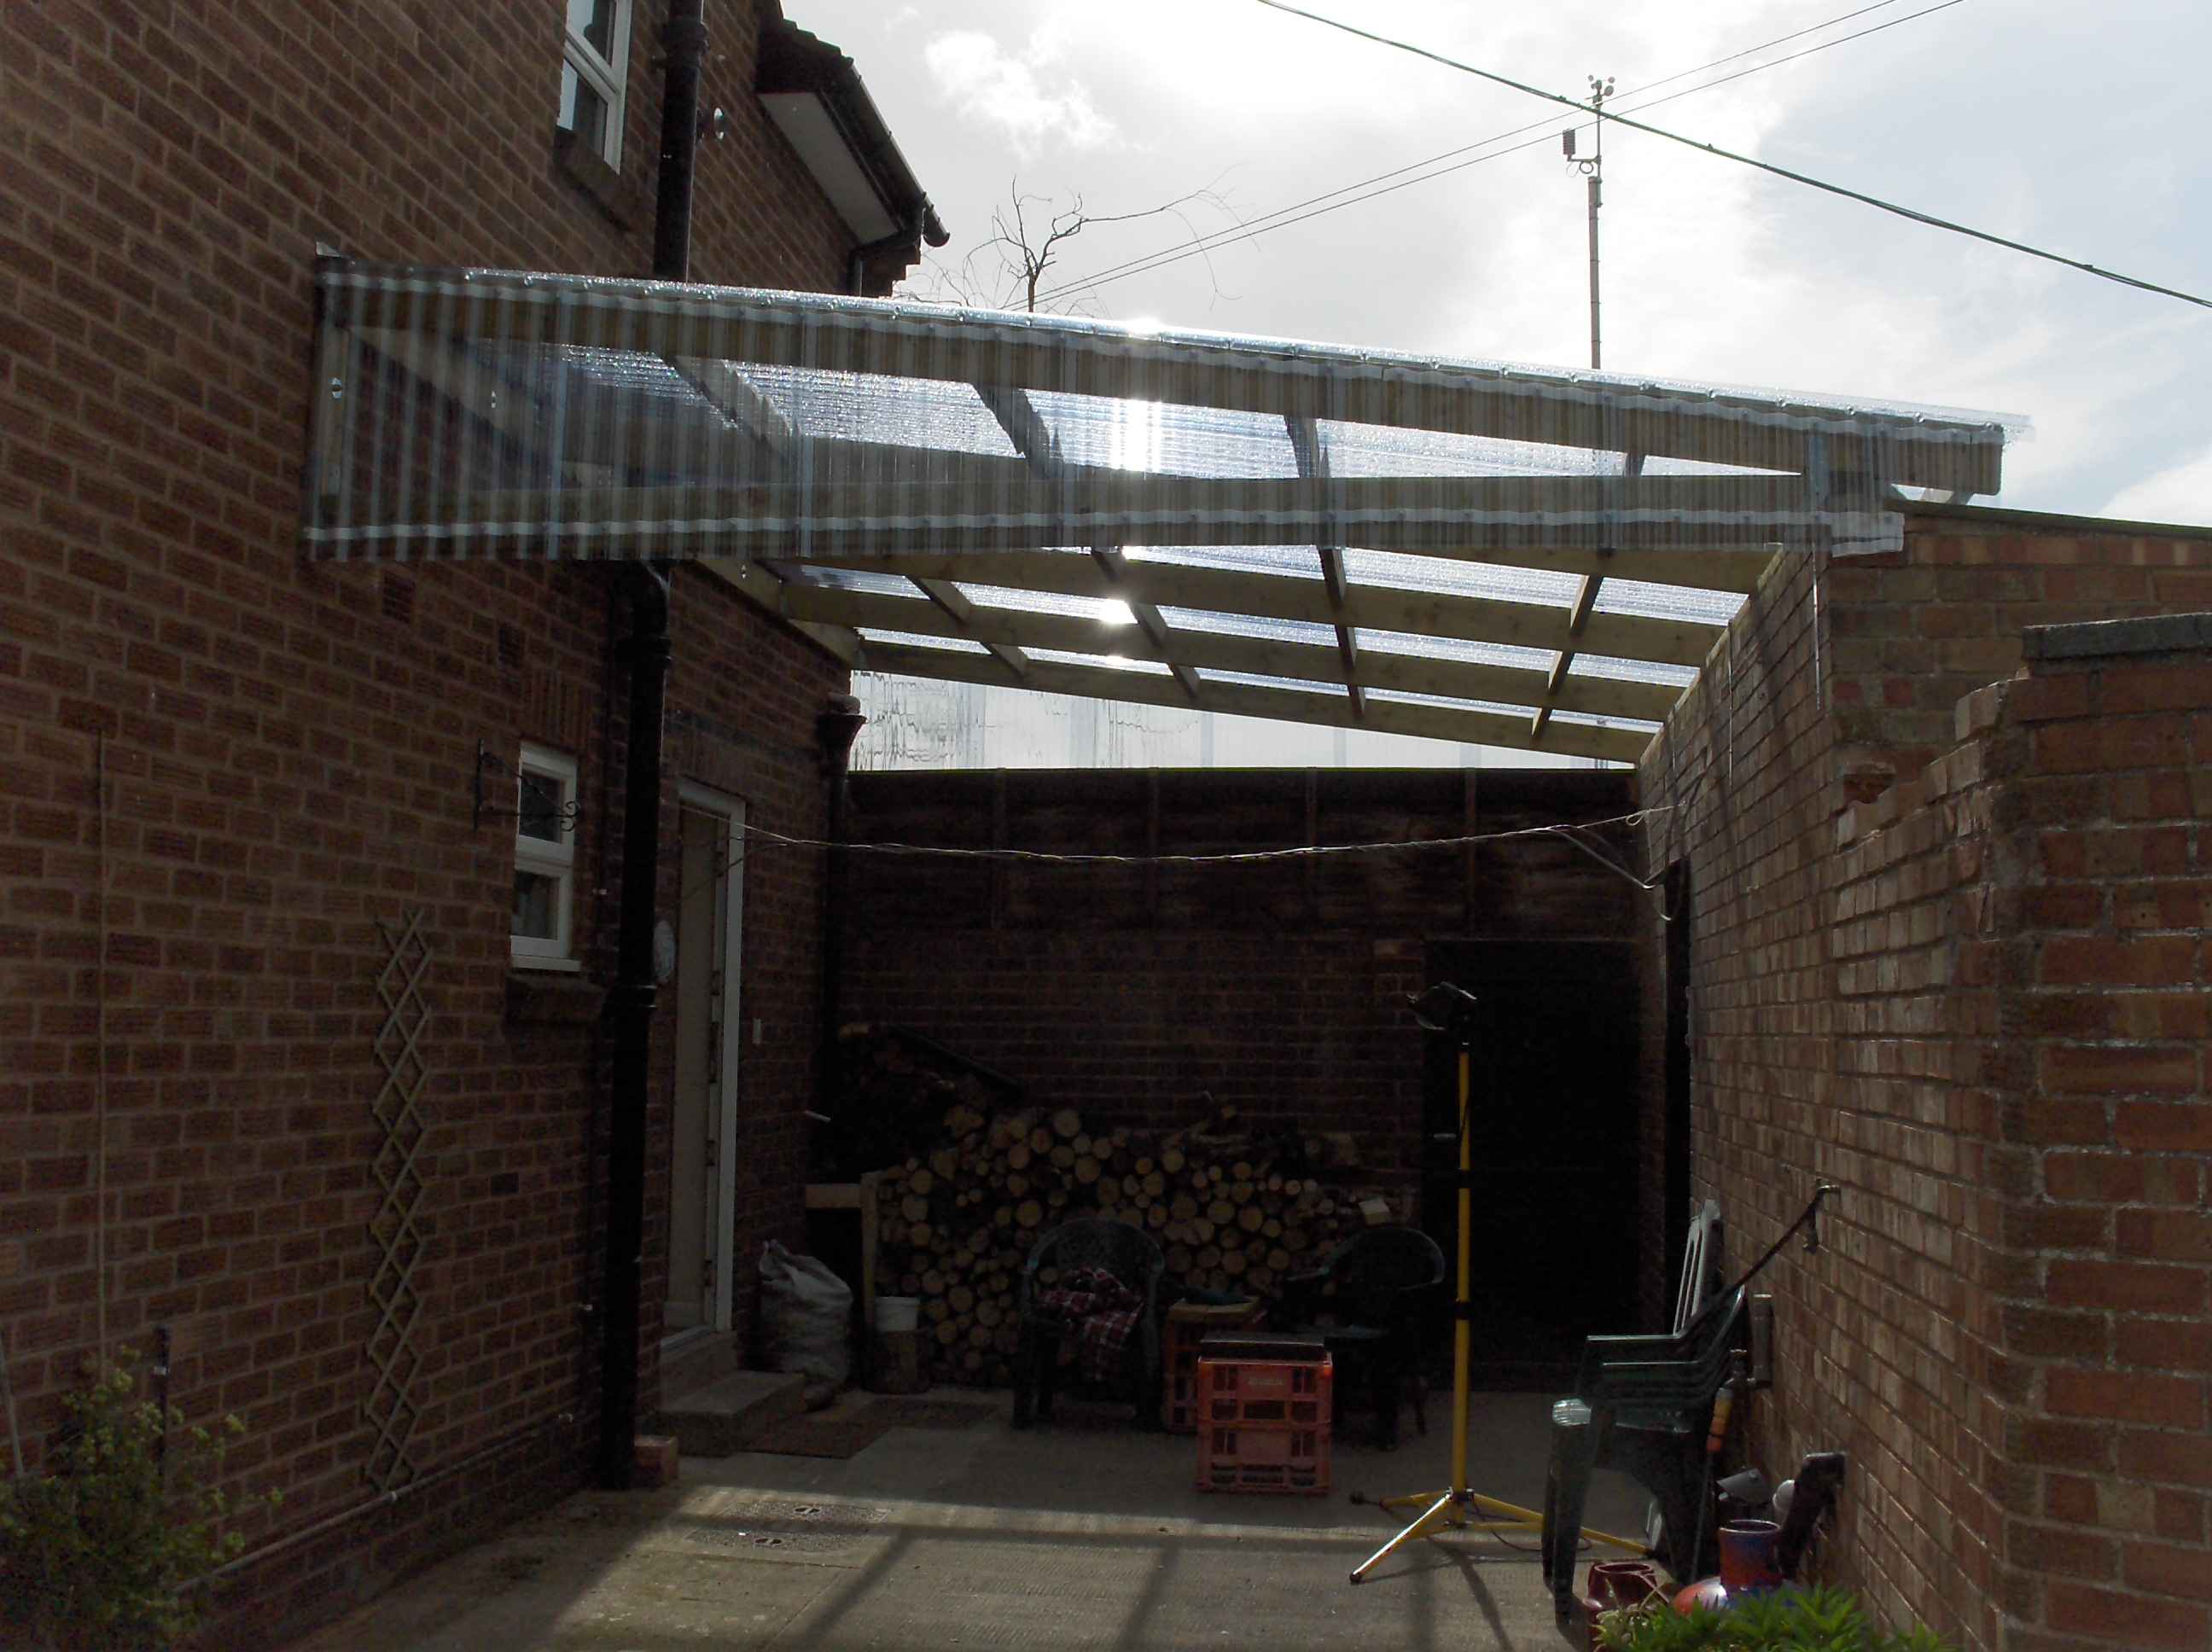
I was very pleased with the finished job.
But eventually I regreted not building the wall at the end of the freezer room and extending the canopy another 1.5m so about 12month later I finaly got a bricky to build the wall and extended it. The first bricky stuff the job up big time so i knocked it down resolved to never go there again and got another chap to do EXACTLY what I wanted. This He did.
Added some more wood...
... and plastic...
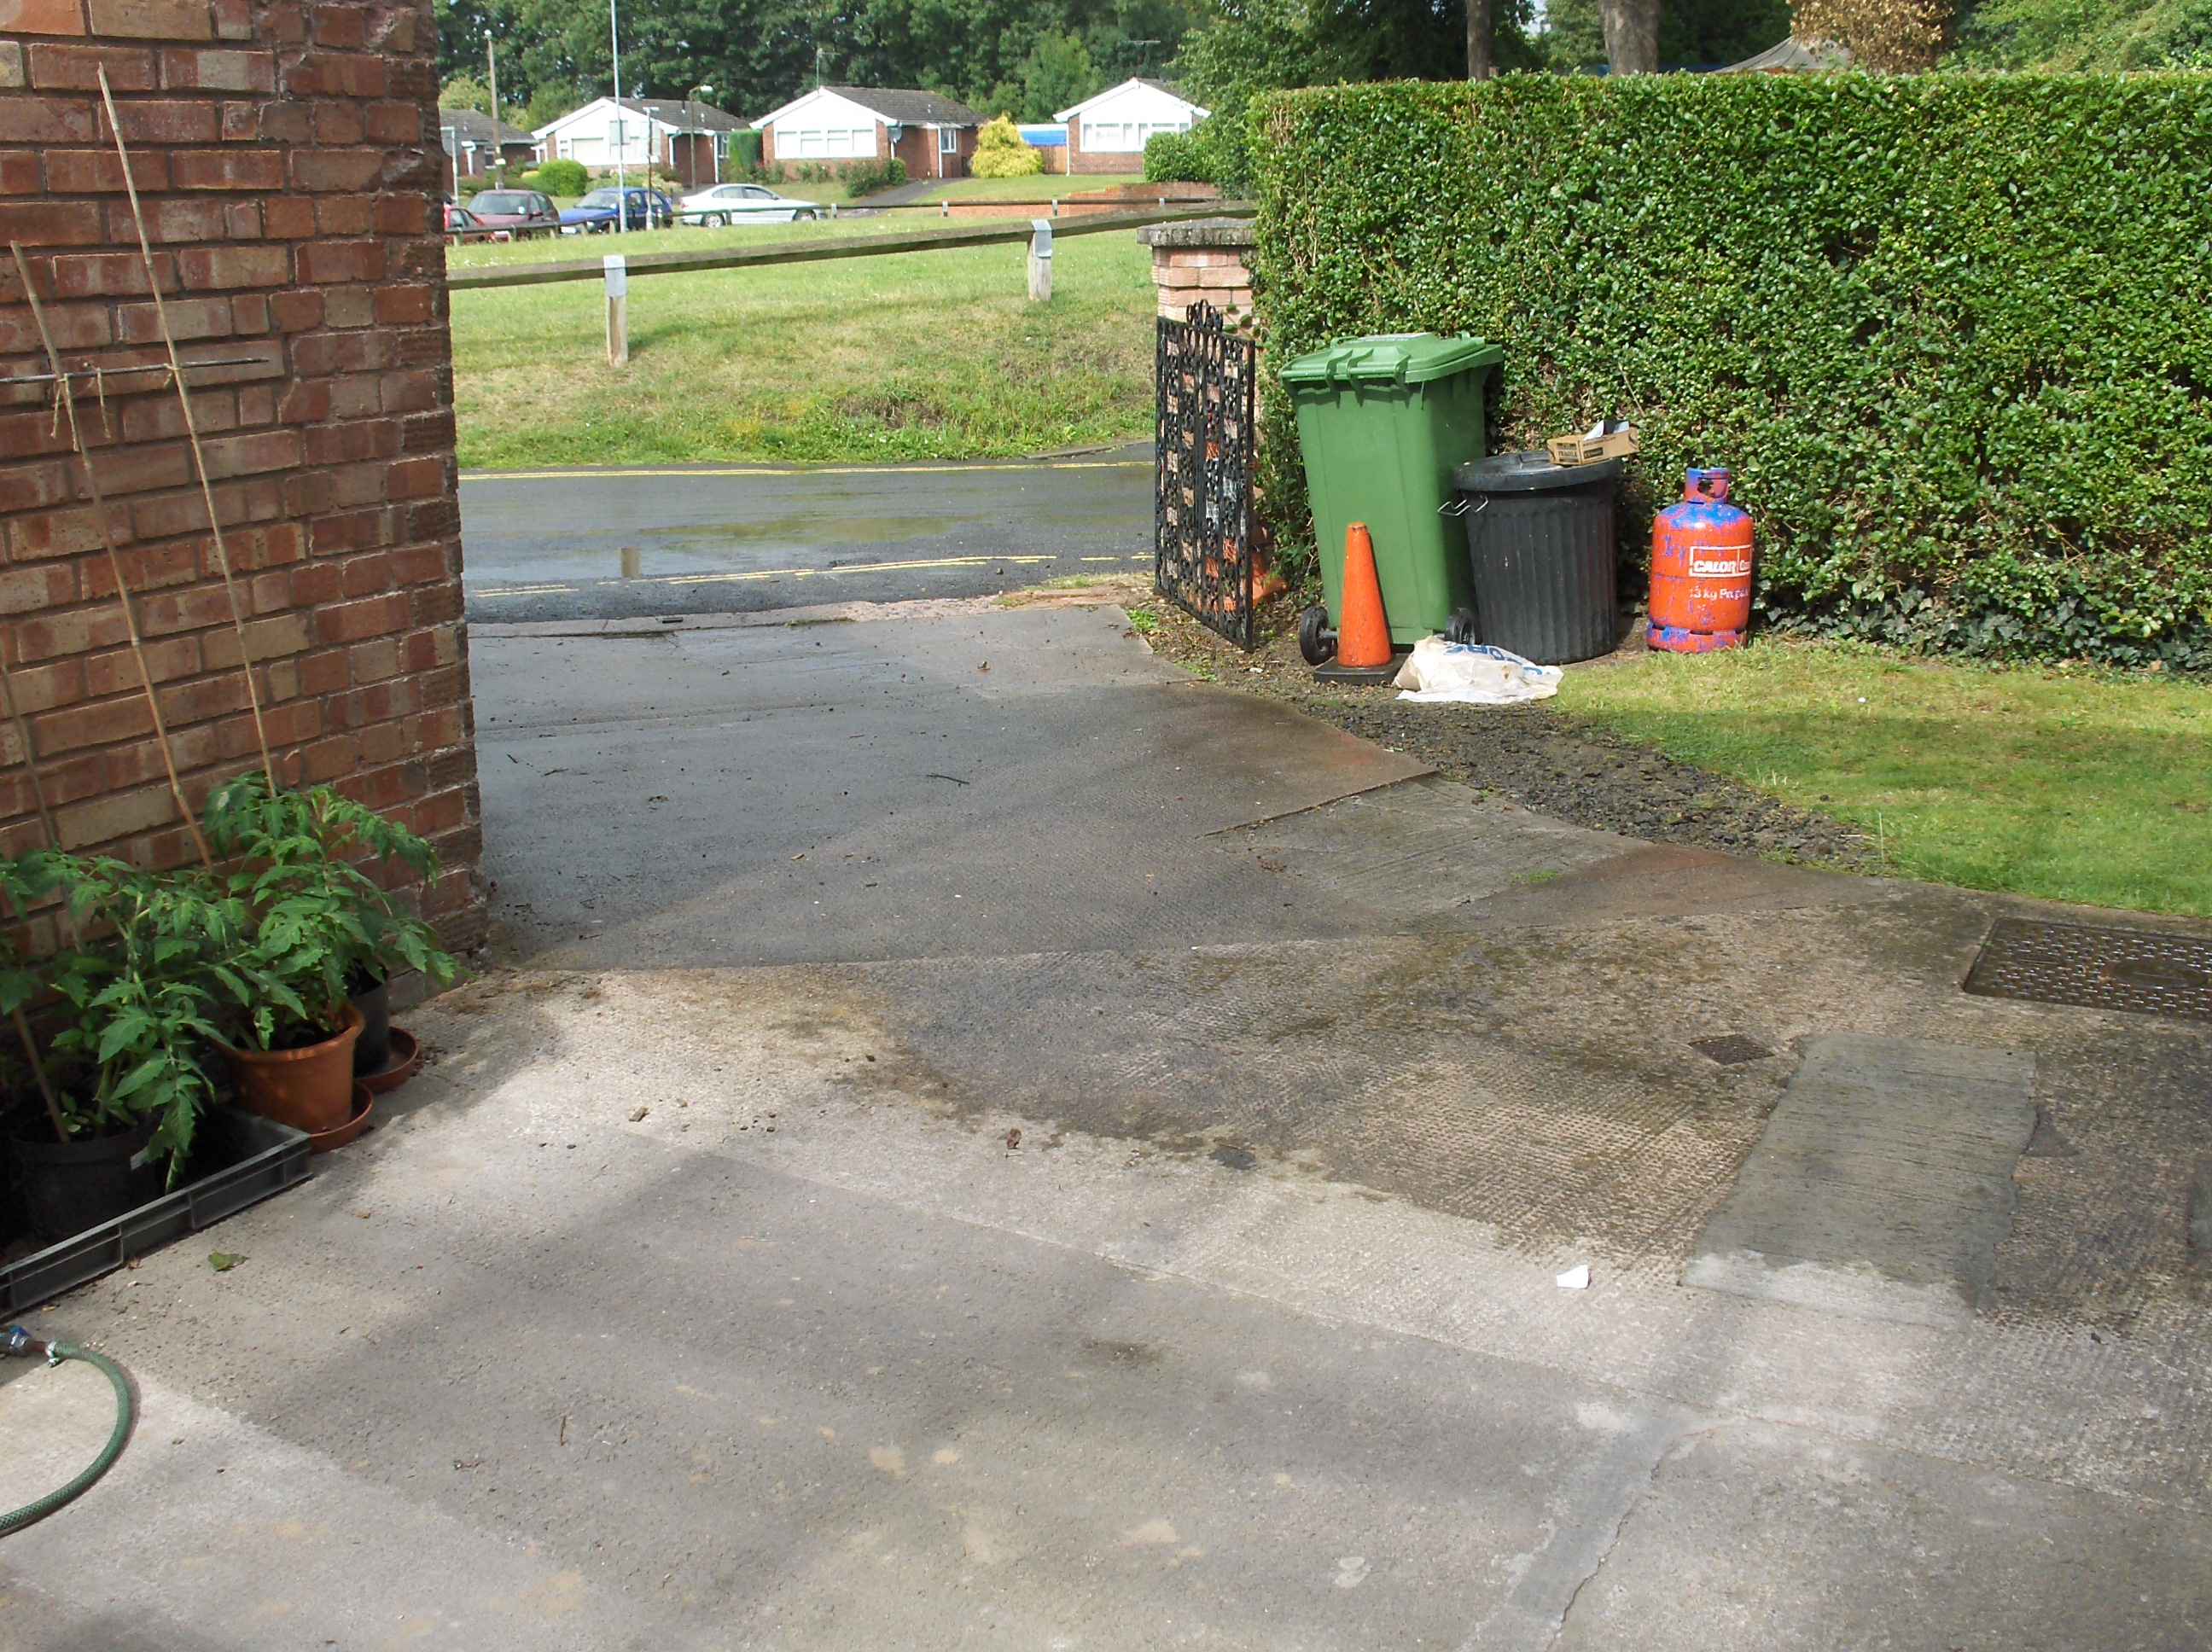
Now when it rains it stays dry over a large enough area to have a BBQ and sit 10 people.