Pergola Roof
The Pergola was the first DIY project I did after Susie died. It was nice to sit under on a fine windless day but you don't get too many of them, so was not getting a lot of use. Moss was growing on the paving stones and I guess I was a tad disappointed mostly with the wind and rain. This aint the Mediterranean. My conclusion was that perhaps a sodding great greenhouse would have been better. Mmmm why not shove a roof over it and maybe a wall or something on the open side. If it was ripply plastic the sun could still get in but no wind and rain. I thought about that for a few years while I did a load of other things. Then I thought hell why not if it looks that bad I can always take it down.
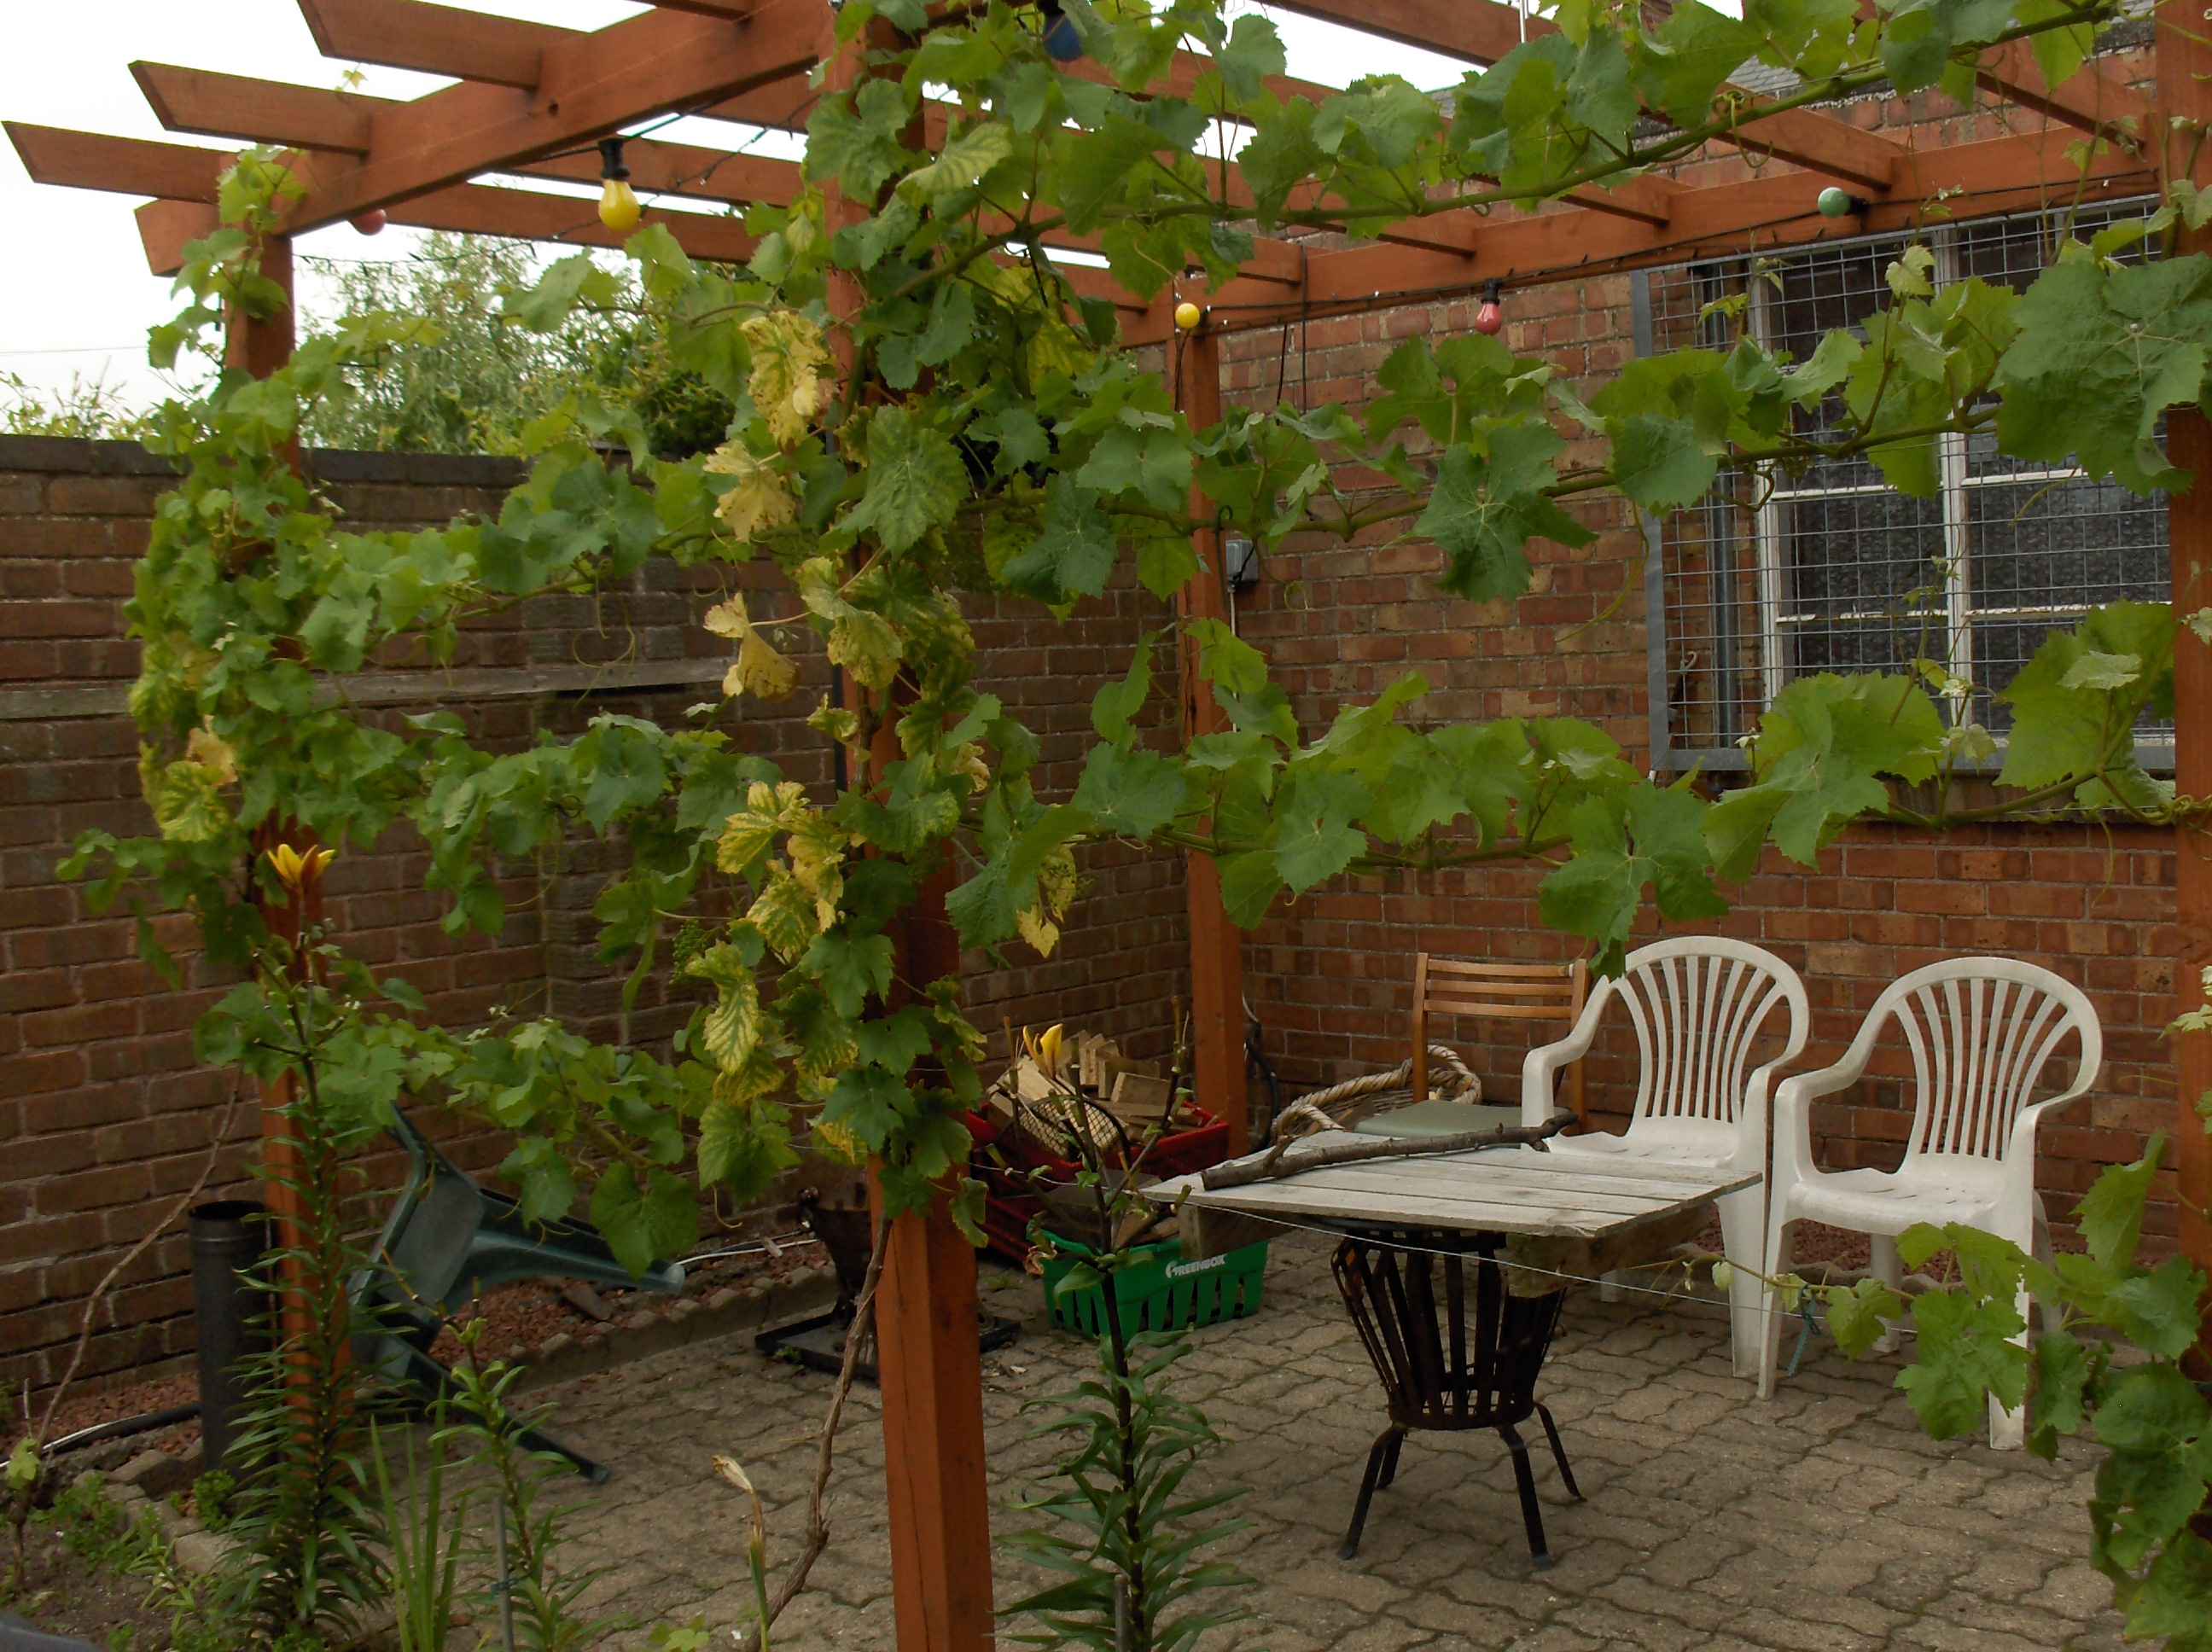
This is the Pergola before I started in 2011. The Grapes I had planted after finishing it had really established themselves well and were surpisingly sweet.
I took this one a little after I started the main frame you can't really see it but it does give an idea of how far on the grapes were as I started the work. It was a bit of a pain working round them and trying not to damage them as I wanted to make wine this year.

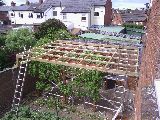
You can see the main frame work of the roof from Robs bedroom. it is supported at 3 corners by a 100x100 timber post rawlbolted to the wall and on the forth corner screwed directly to the house. I did this as screwing the wall plate to the top few bricks of the far wall would simply have destroyed the wall and not provided any strength whatsoever.
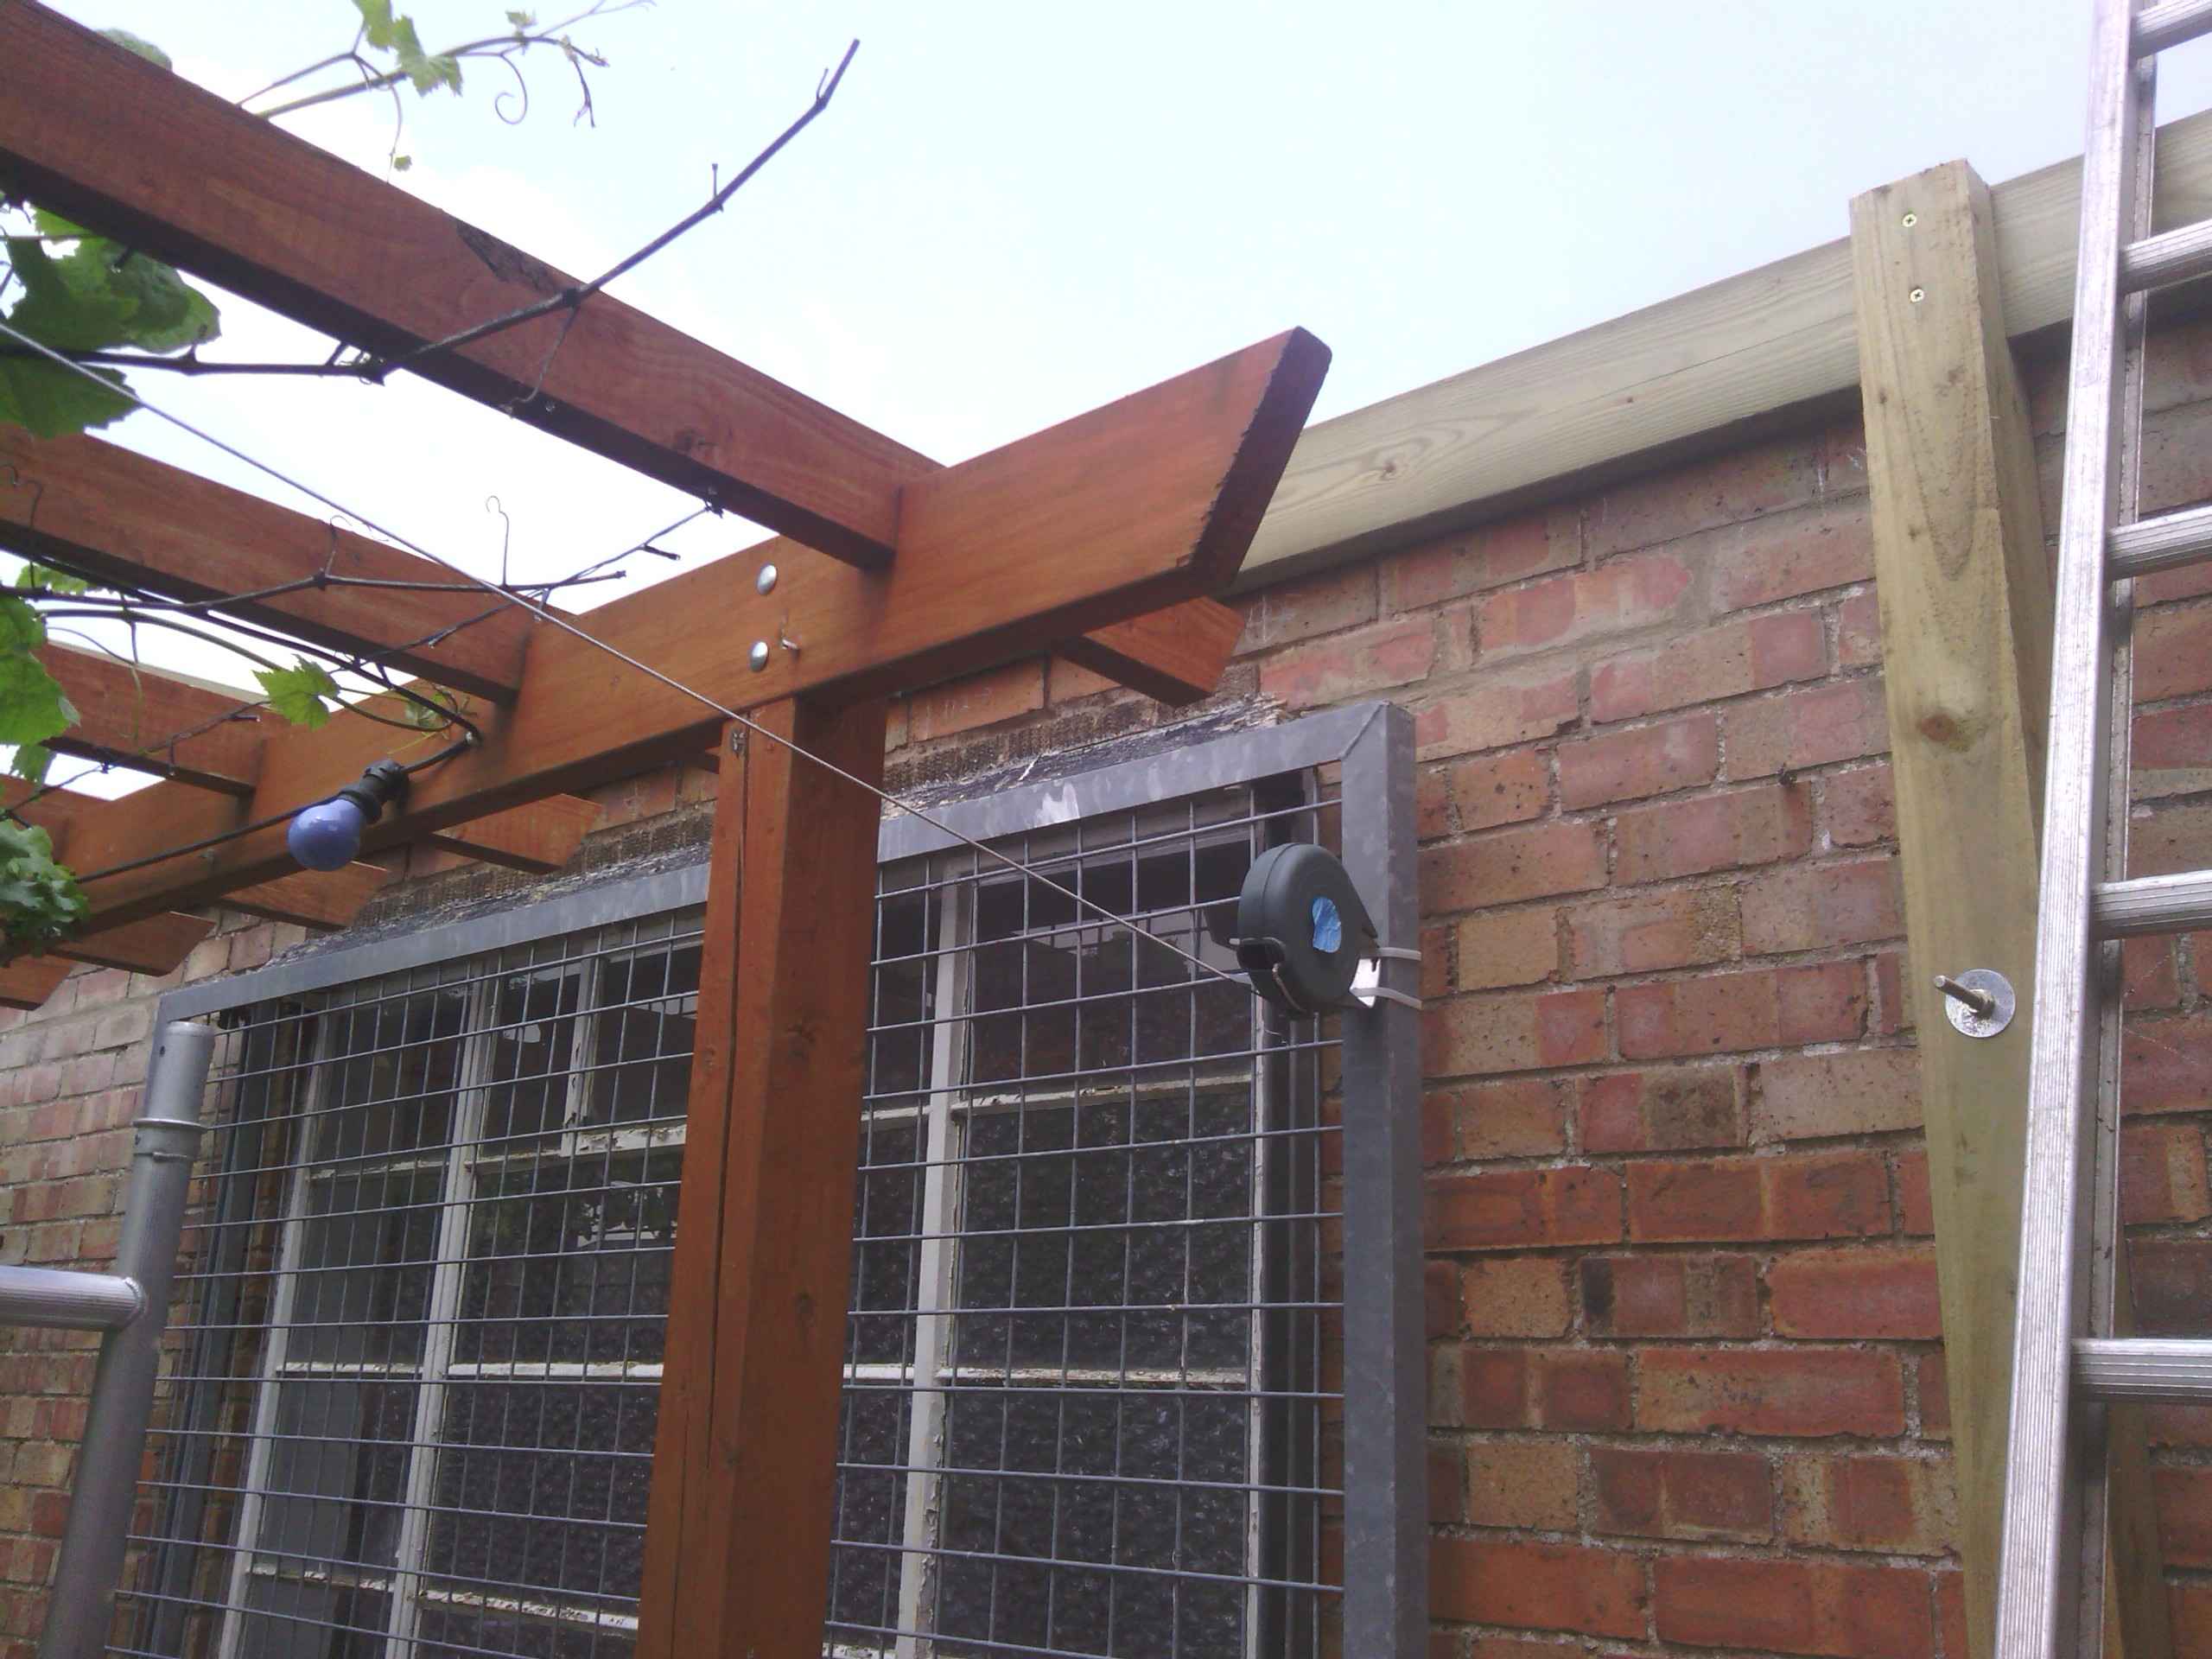
You can see next to the ladder one of the rear supports bolted to the outer wall of the workshop. That is a half lap joint at the top.
This isthe support Structure finished. There are cross lapted joints at the intersection of the joist and cross pieces.
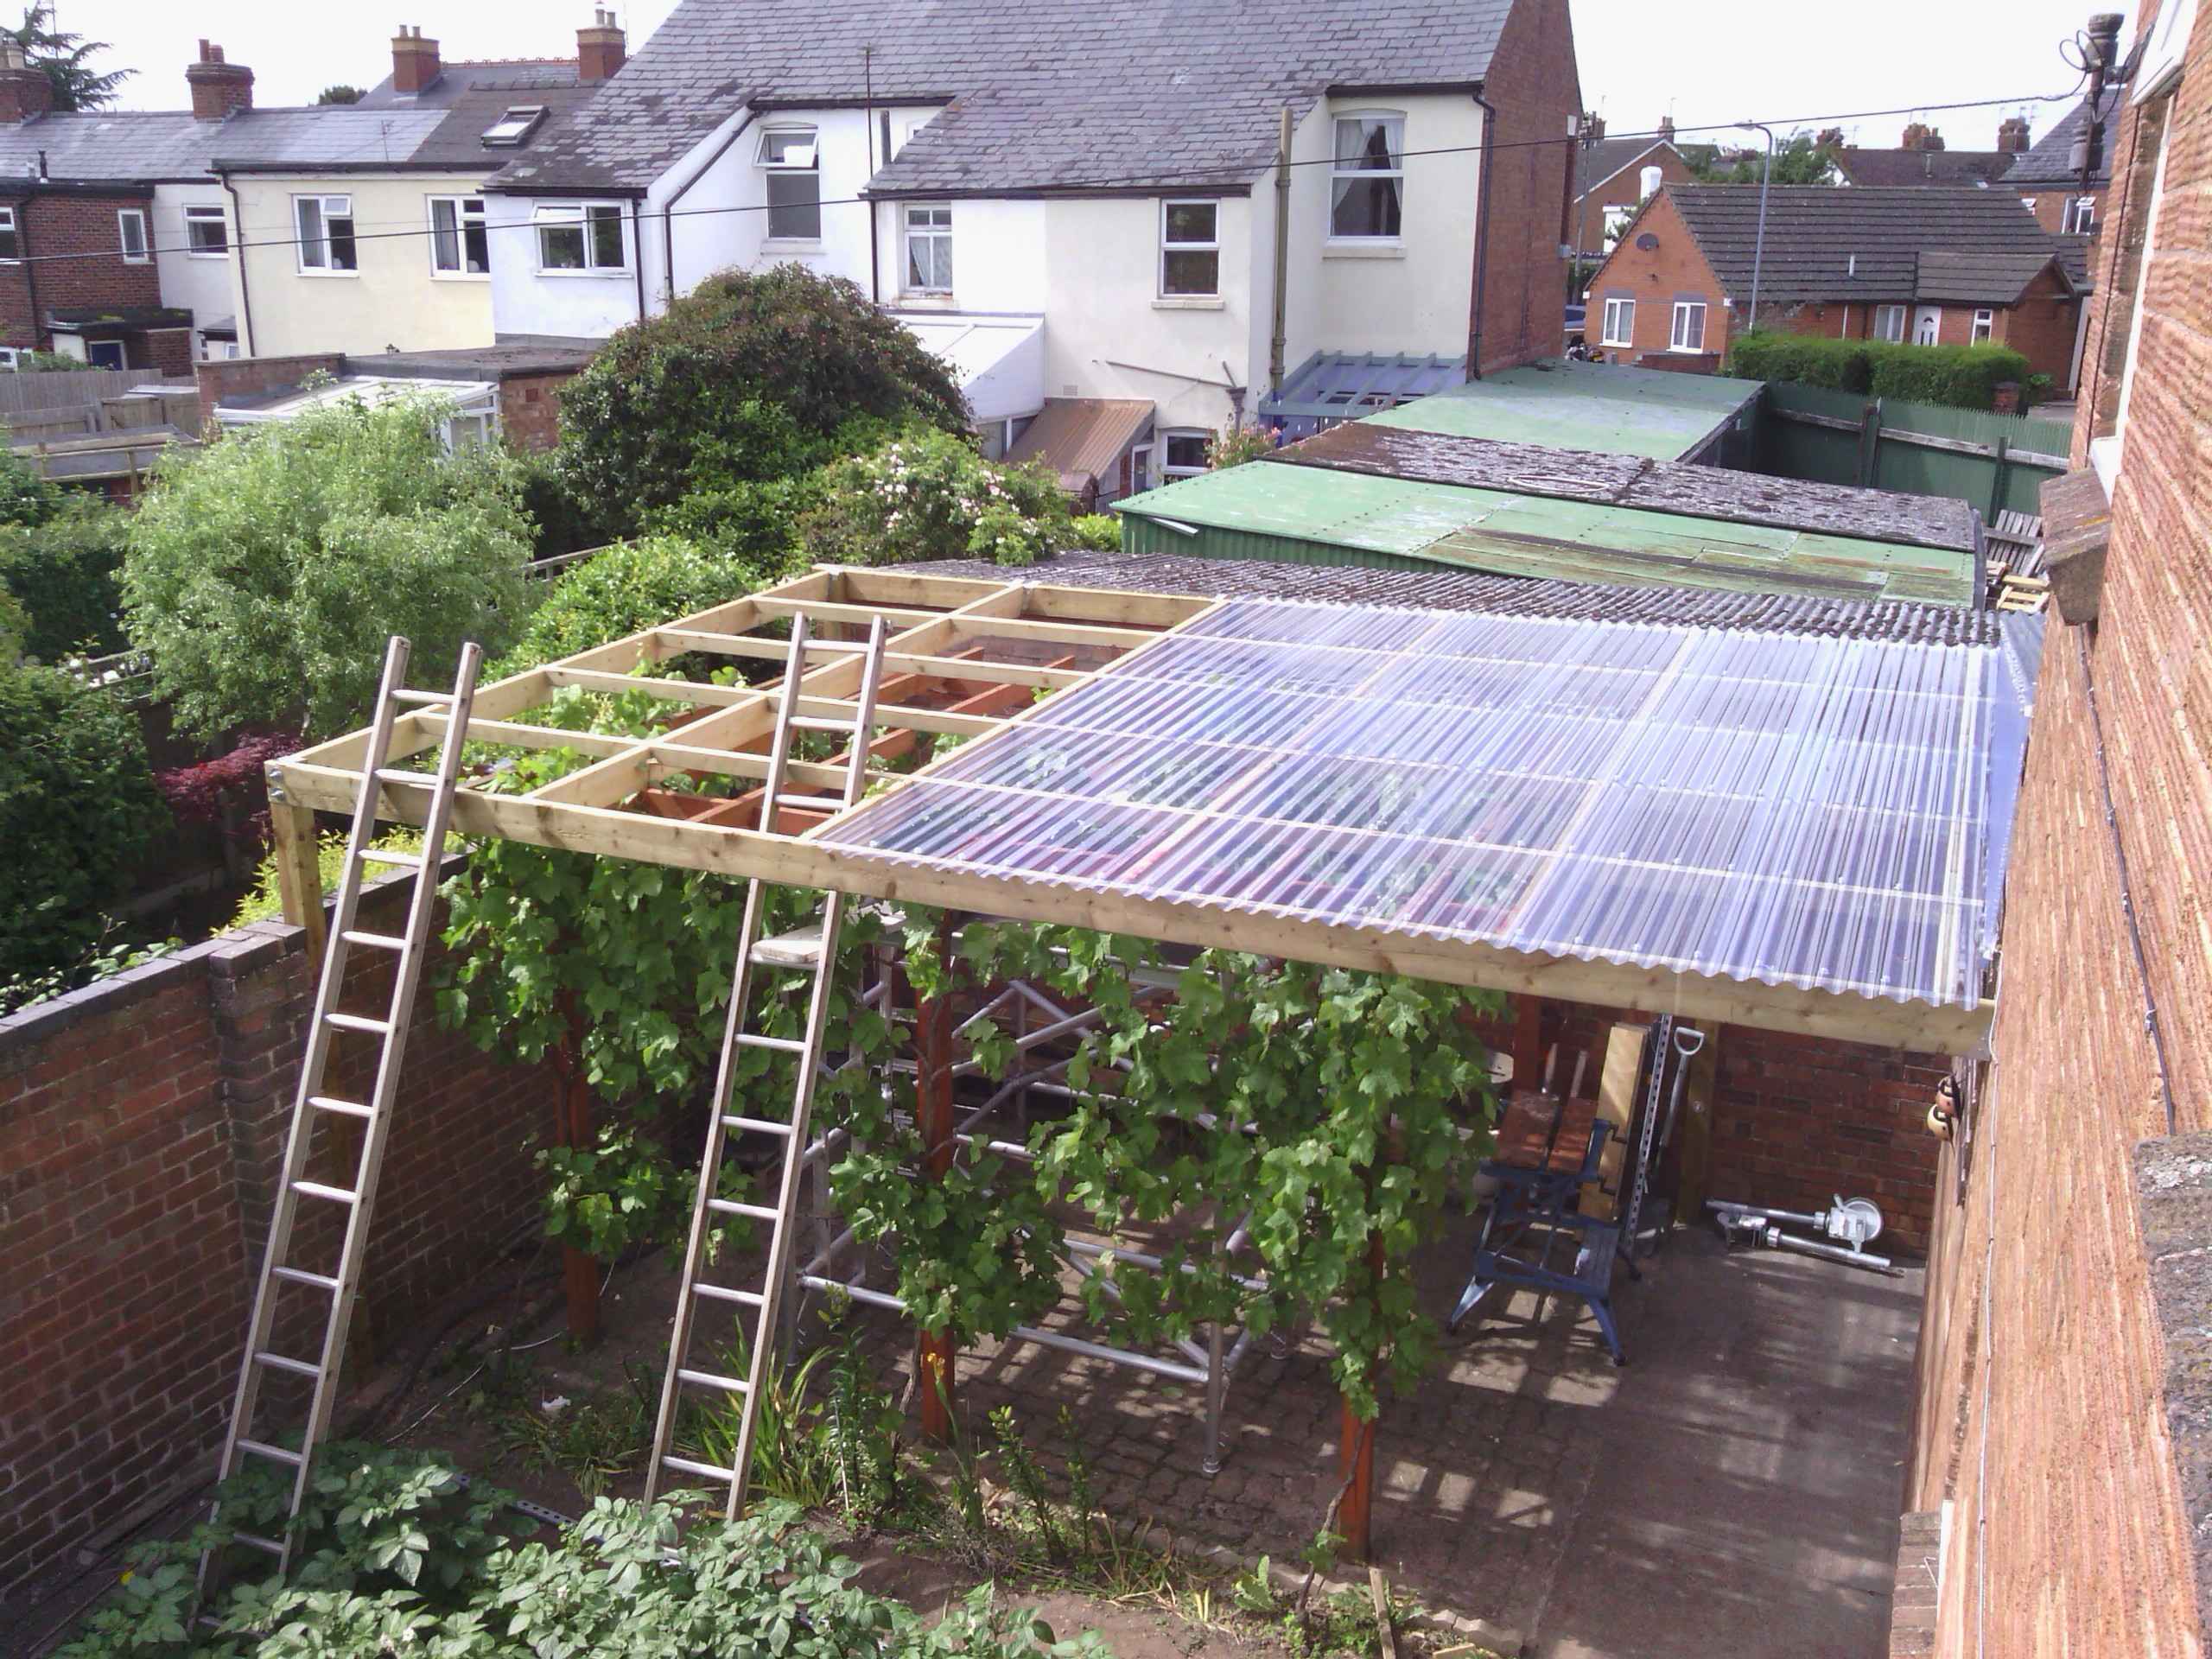
Half the ripply plastic on
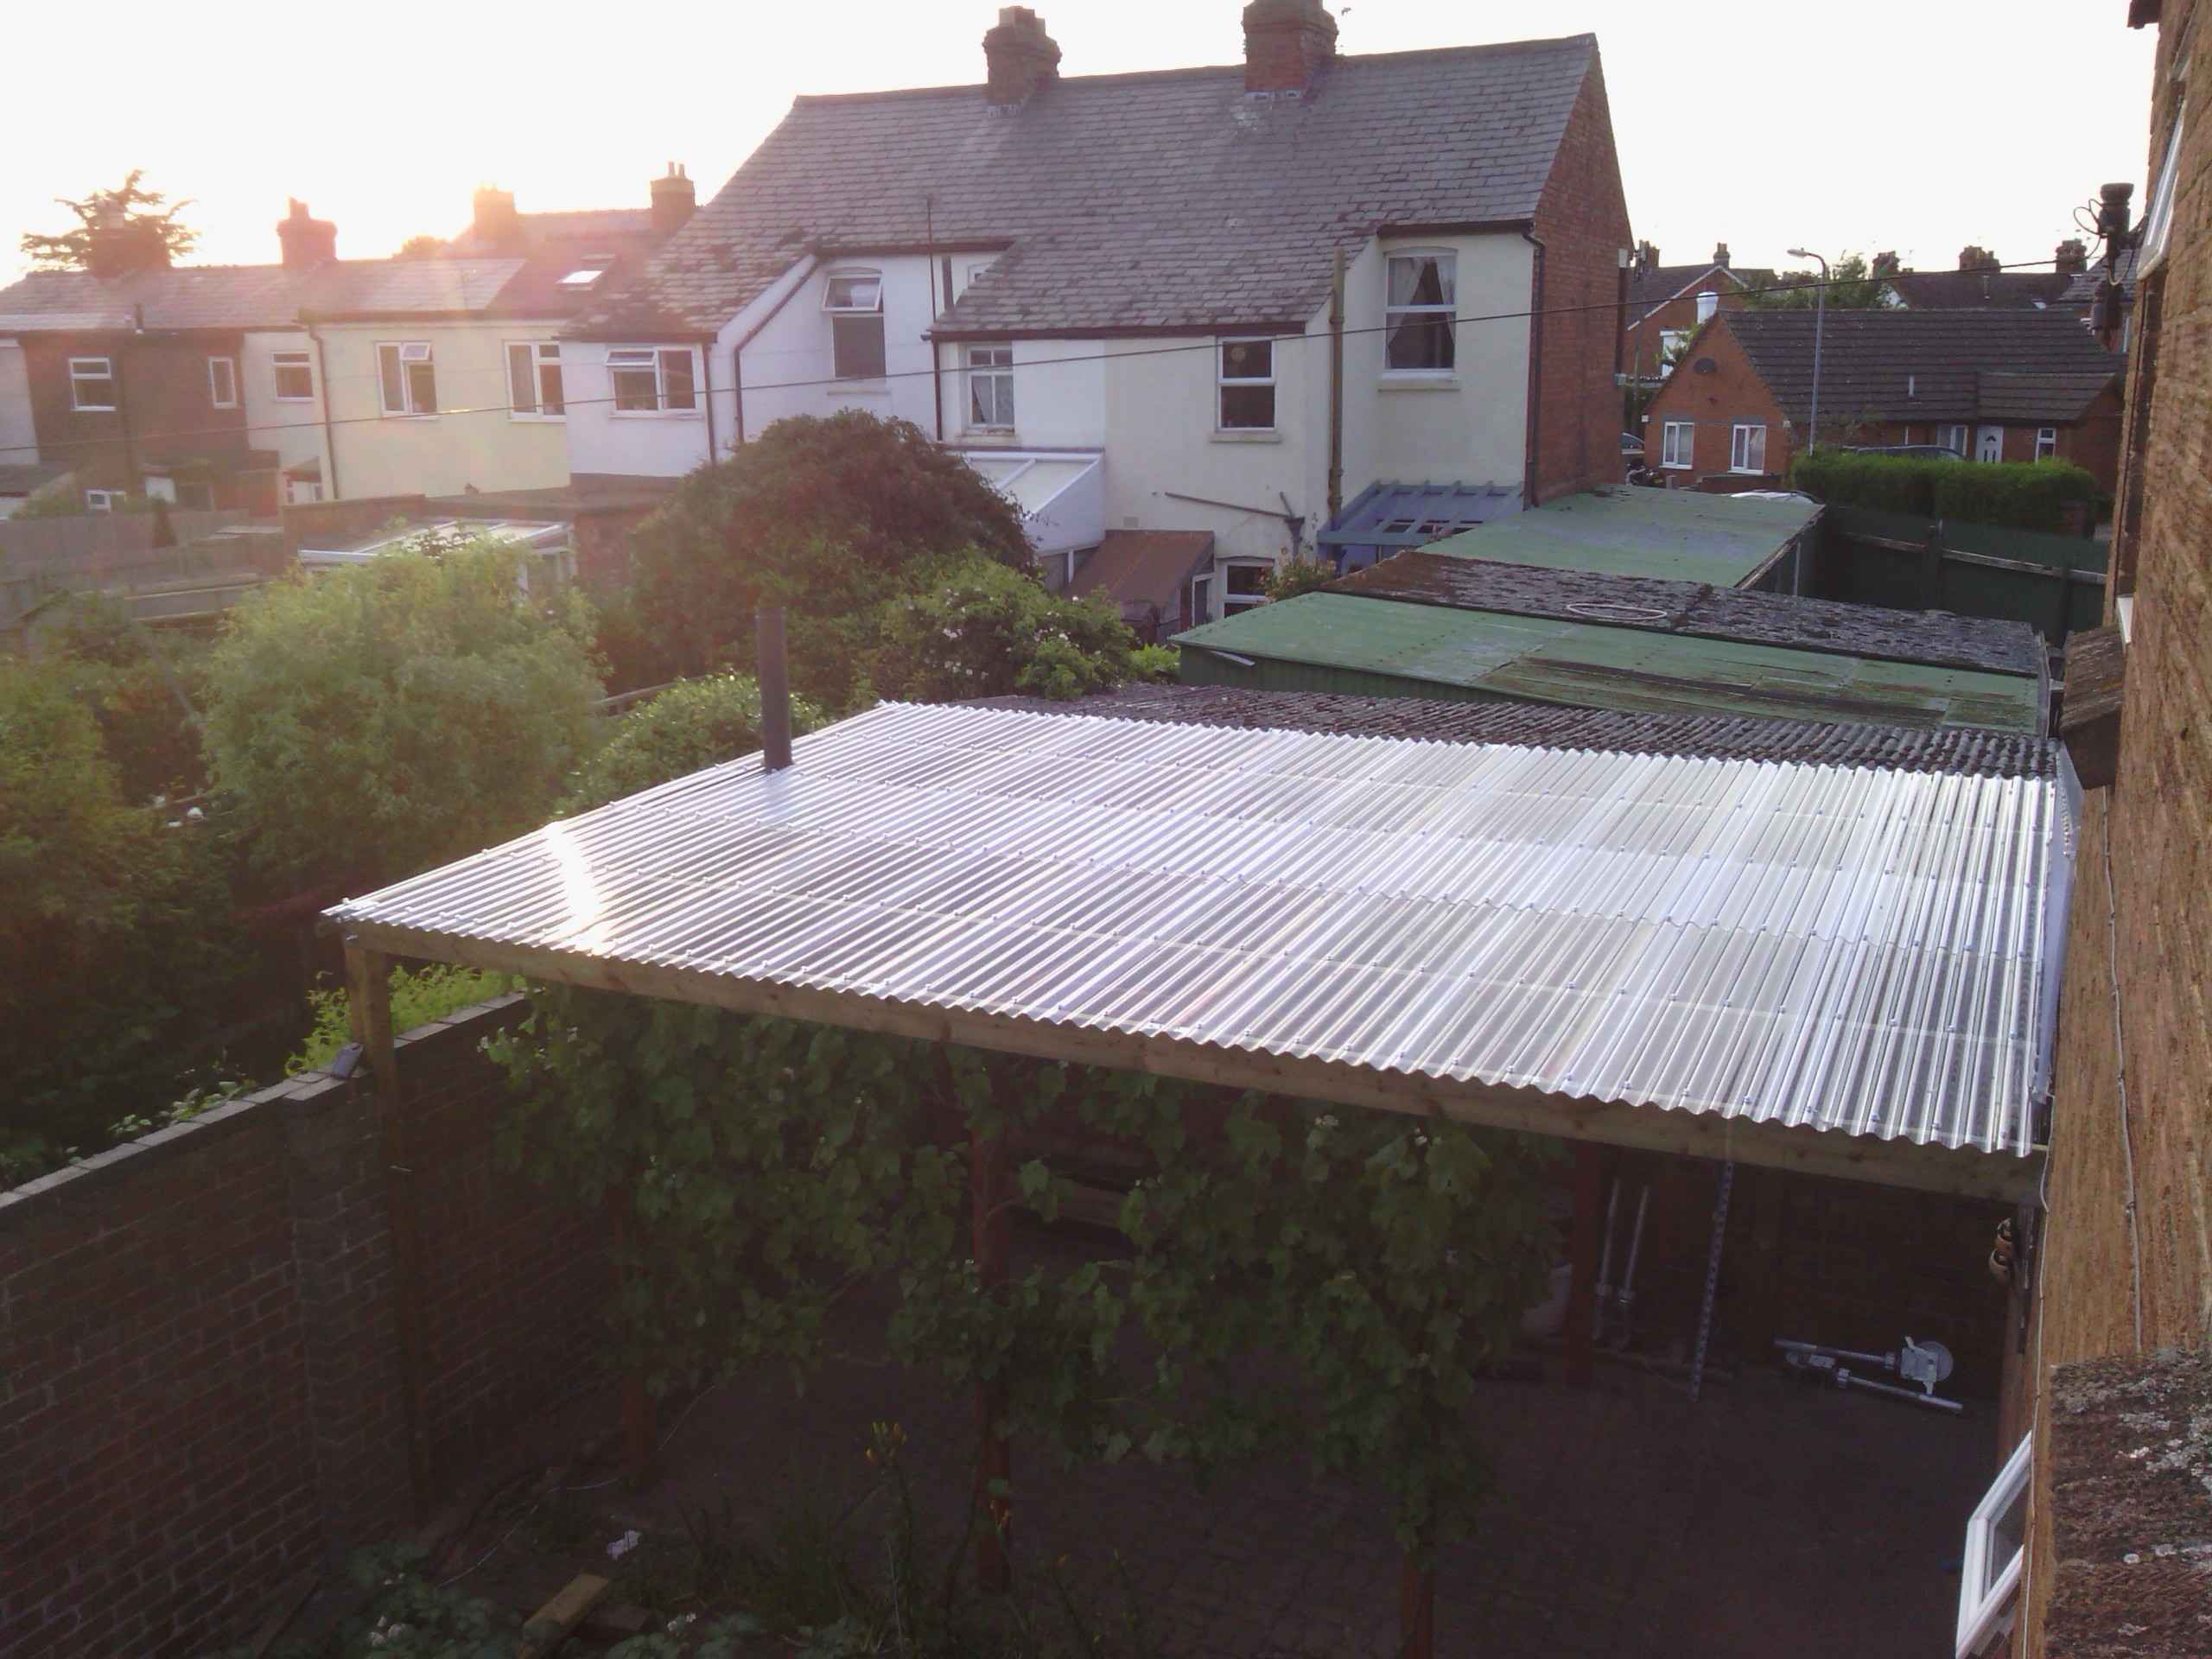
Finished roof. At this point I was uncertain if I was going to close off the opening seen in the photo with a ripply plastic wall or some sort of door or even just leave it open. I decide to leave it a while and go on holiday. When we got back we sat under it a few times and decided it was nice while the sun shone but still a tad windy when it didn't and it needed closing off. especially if I was going to try and use it as a greenhouse to bring my plants on early before the grape leaves grew to big. Much discussion ended in the decission to attempt to put big sliding doors across the 5.9m gap. This would allow acces to the grapes for harvesting and pruning and also allow for good ventilation should it get really hot.

I like unistrut it's very versatile so I decided to make the doors and runners out of it. They make things they call Trollies like the picture here. They are £15 +VAT each with a minimum order of £100... Needless to say I made my own. from bits I had and £6 worth of bearings (20 off) from ebay. I made four for about a tenner. If you look at the ALL PICTURES link above it gives you a hint how. I fixed two lengths to the roof to use as runners for the trollies to go in. I concreted some fixing in the ground so I could use two more lengths at the bottom.
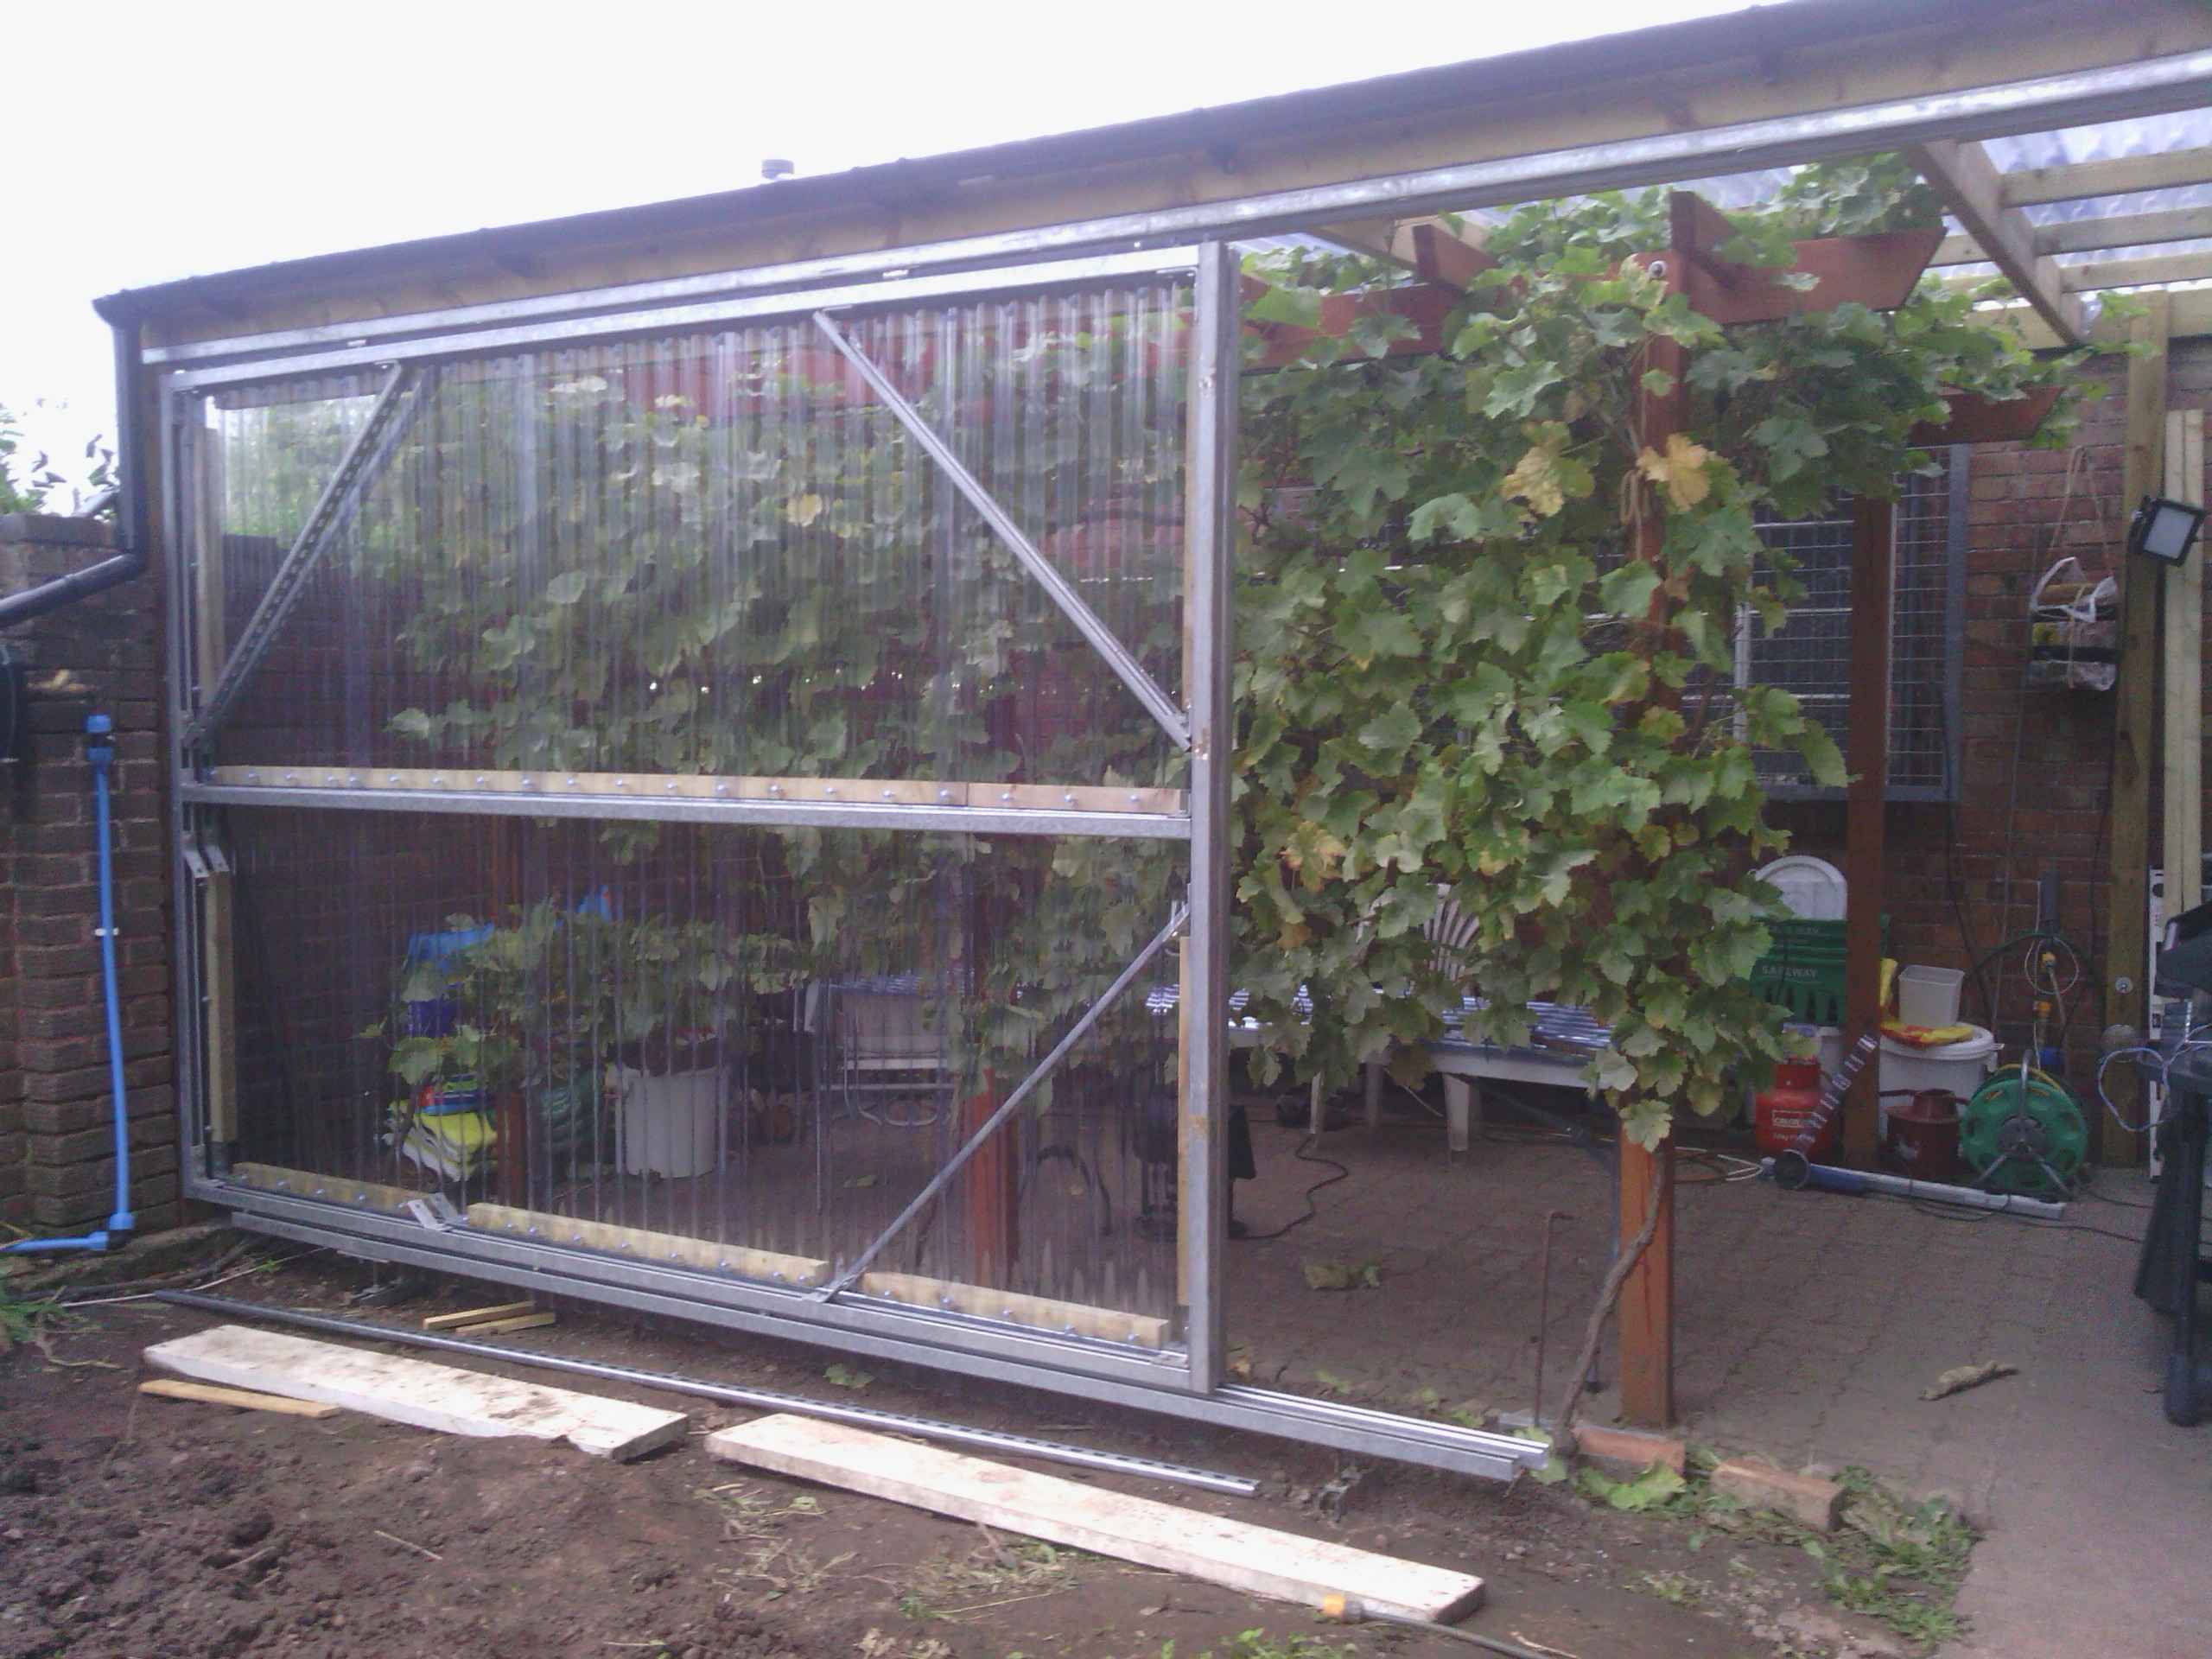
Then I just built the door frame in situ.
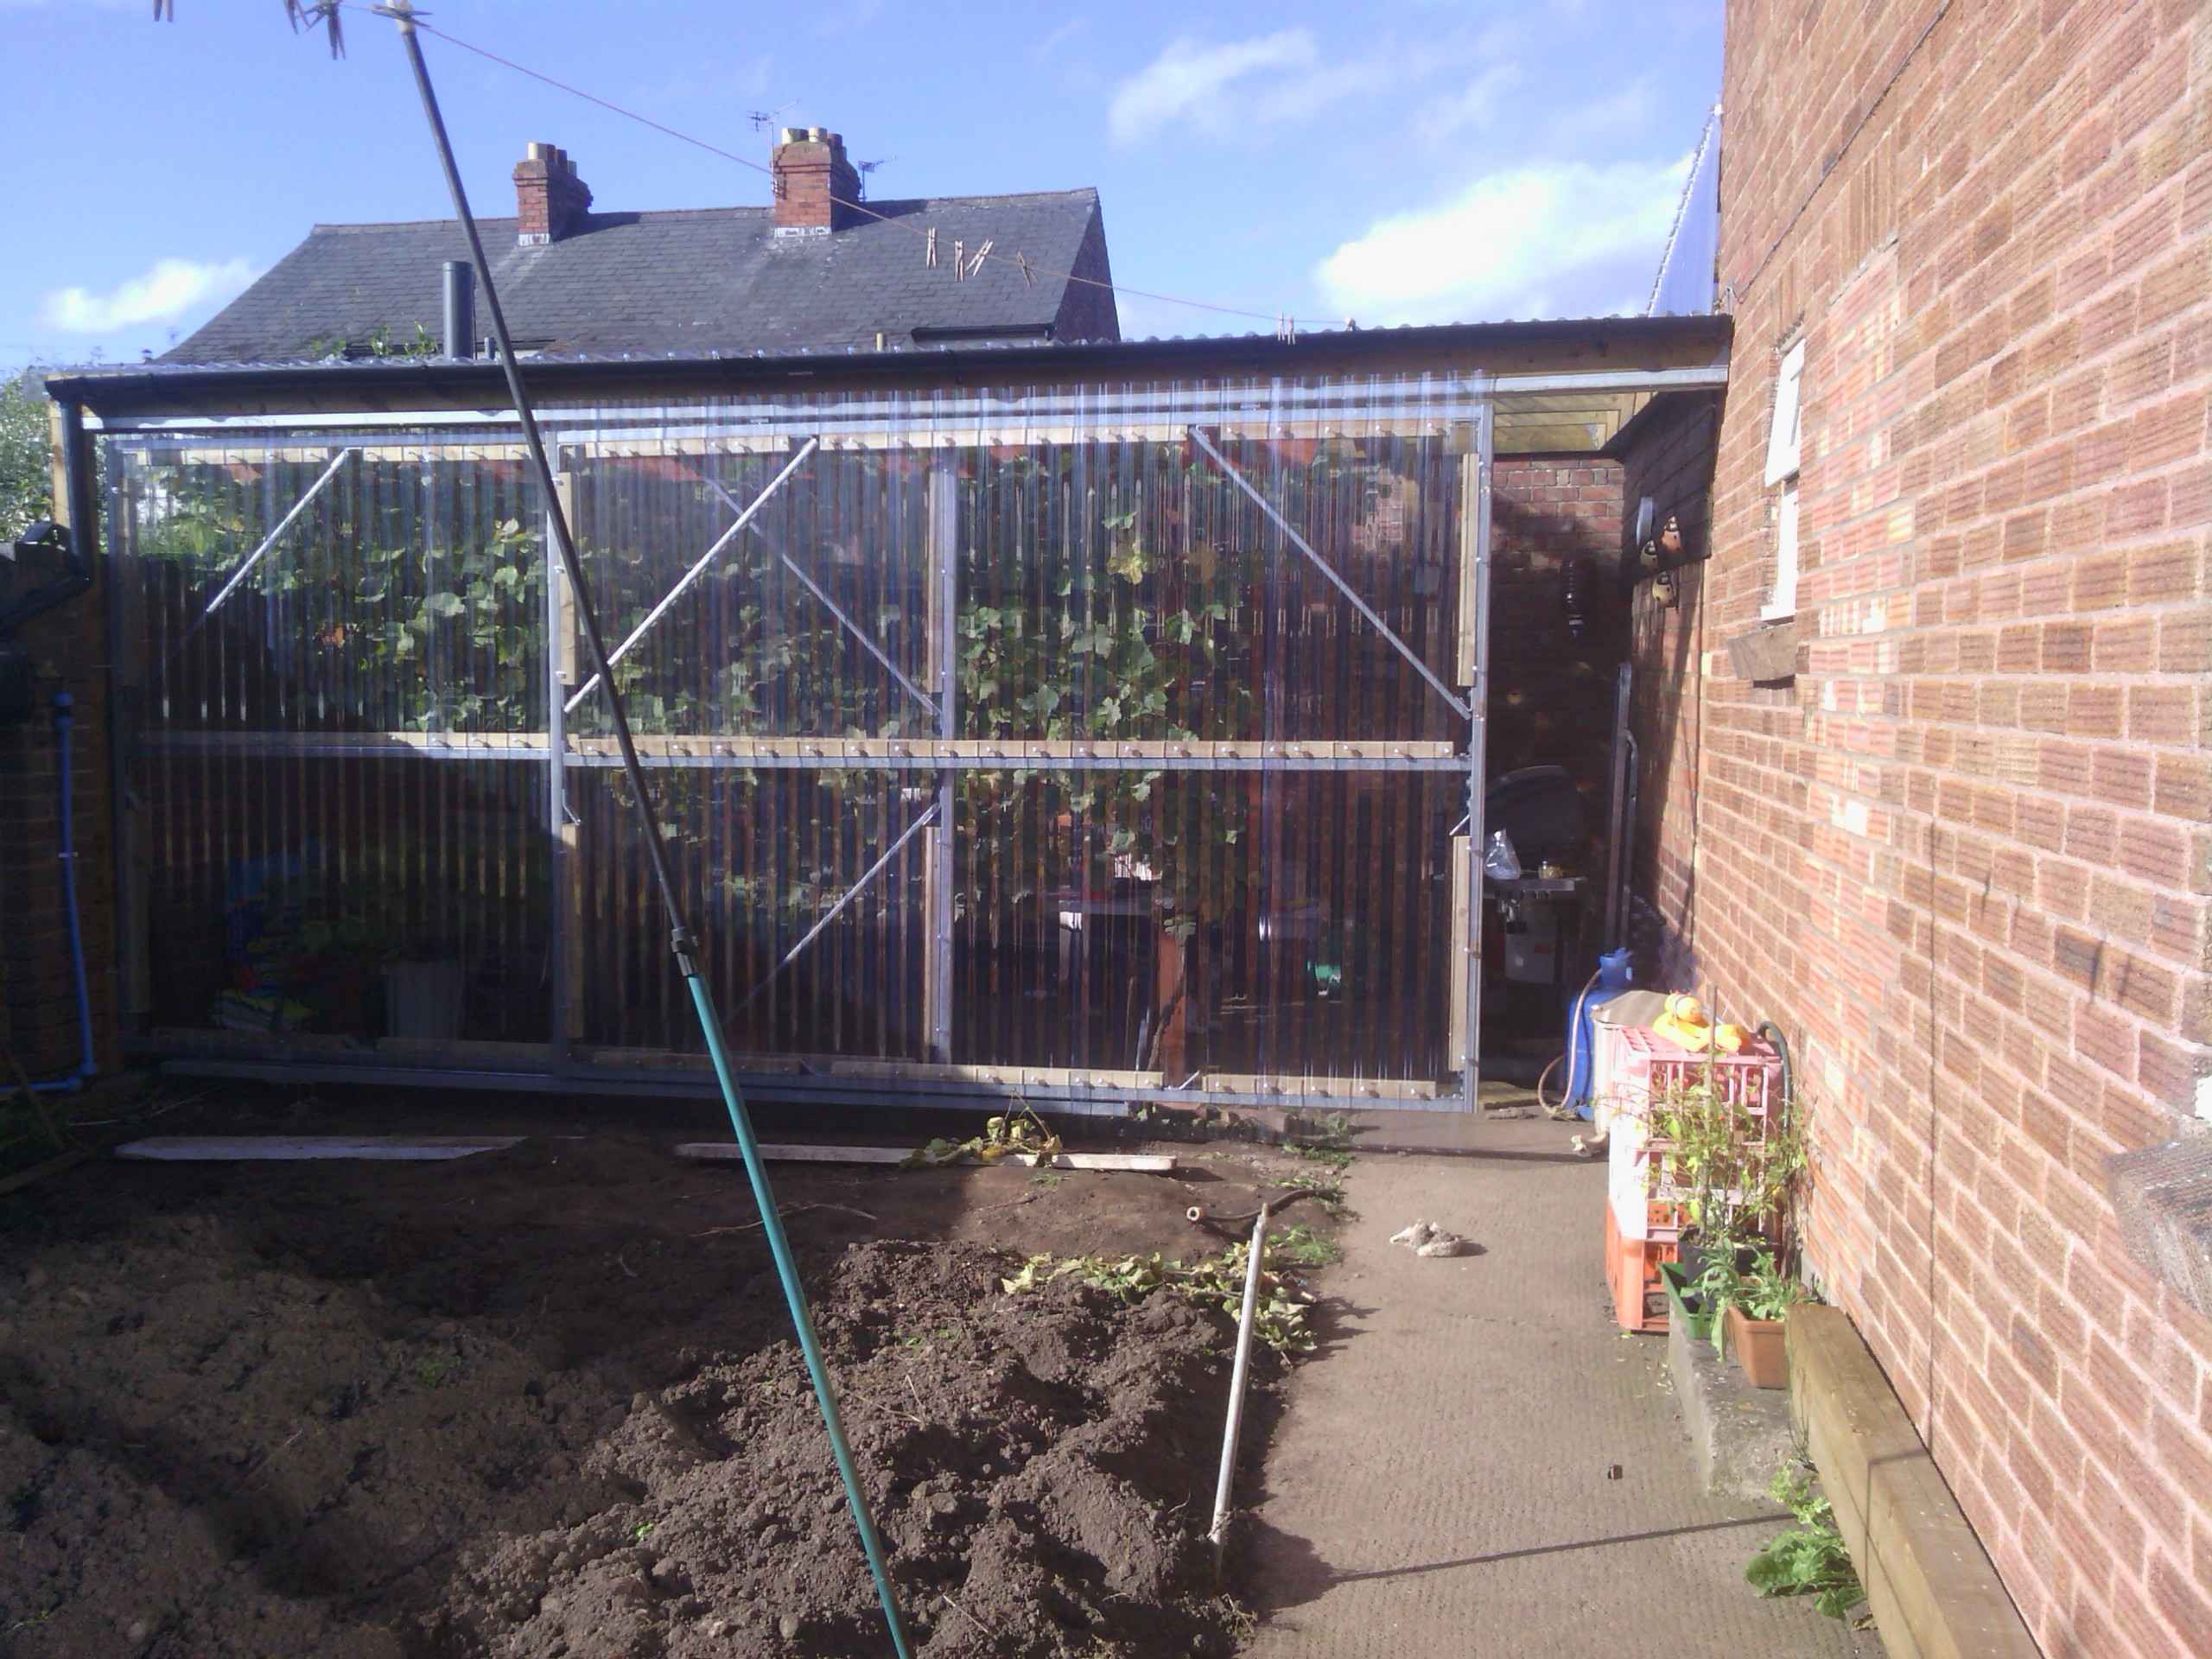
I used wood screwed to the unistrut to screw the ripply plastic in place. Job Done